So, you’re ready to jazz up your dog’s sleeping space with a cozy raised bed? Great choice! It’s not just about style; it’s about comfort and safety too. Think about those chilly nights when your pup needs a snug spot. You can mix and match materials, throw in some memory foam, or even get crafty with personalized touches. You’re probably wondering where to start. Well, let’s get those creative juices flowing and explore some fantastic ideas together.
Stylish Fabric Choices Available
When it comes to choosing a fabric for your raised dog bed, think of it as picking out a cozy blanket for your best friend. You want something that’s soft, durable, and easy to clean.
For a DIY raised dog bed, consider materials like canvas or denim; they’re tough and can handle a bit of roughhousing. If your pup loves to snuggle, fleece or micro-suede might be just the ticket. These fabrics are like puppy hugs.
Don’t forget about color and pattern; after all, your dog’s bed should match your style too. Just imagine your furry friend lounging on a stylish bed that complements your living room.
Our Collection
When it comes to choosing a raised dog bed, you’re in for a treat with our collection.
Whether you’re after memory foam comfort that cradles your pup, eco-friendly materials that make you feel good, or even a personalized touch with embroidered names, we’ve got options that’ll fit your furry friend just right.
Plus, with customizable sizes and washable covers, keeping things fresh and stylish is a breeze—because let’s be real, your dog deserves the best, and you deserve a little less laundry stress.
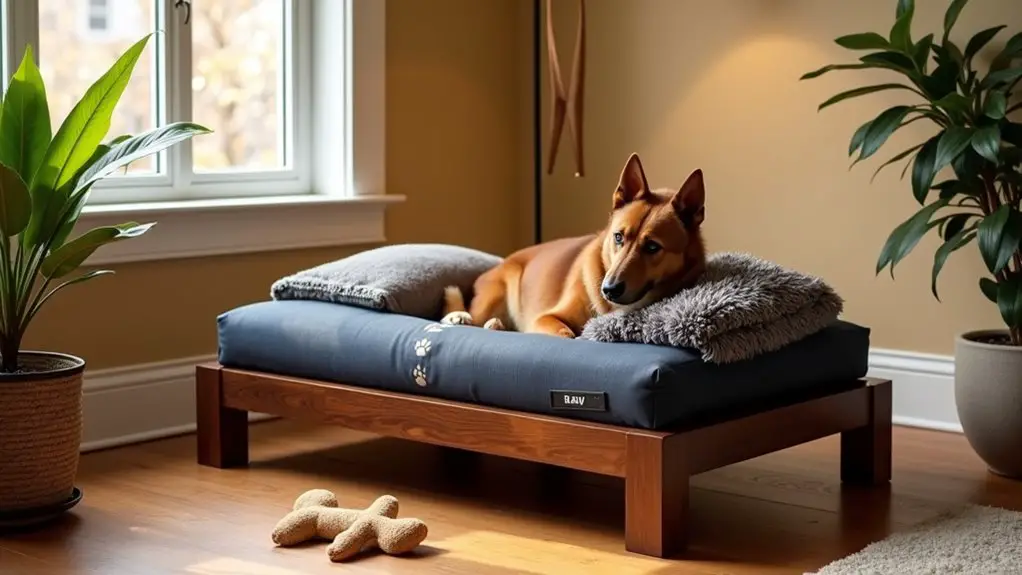
1. Memory Foam Comfort Option
If you’re looking to treat your pup to the ultimate in comfort without breaking the bank, this DIY memory foam dog bed is just the ticket. Not only will it provide your furry friend with a cozy spot to snooze, but it’s also a fun project that adds a personal touch to your home. Plus, who doesn’t want to show off their crafty side? Let’s plunge into it.
Materials Needed:
- 2-inch thick memory foam mattress (enough to fit your dog’s size)
- Soft fabric for the cover (like fleece or cotton)
- Heavy-duty thread
- Sewing machine (or needle and thread for hand sewing)
- Scissors
- Measuring tape
- Straight pins
- Non-slip fabric or rubber mat (optional for the bottom)
- Dog-safe spray adhesive (optional)
Step-by-Step Instructions:
- Measure Your Dog: Start by measuring your dog while they’re lying down. You’ll want to make your bed at least a few inches longer and wider than their body to guarantee they’ve plenty of room to stretch out.
- Cut the Memory Foam: Once you have your measurements, use your scissors to cut the memory foam to size. It’s easy, just go slowly. If you feel like a lumberjack tackling a giant tree—don’t worry, it’s normal.
- Create the Fabric Cover: Cut your fabric to size, adding an extra inch on each side for seams. So, if your foam is 30×40 inches, cut your fabric to 32×42 inches. This will give you a nice snug fit.
- Sew the Edges: With the fabric inside out, fold the edges over about half an inch and pin them down. Sew down the edges, making sure to leave one side open, like a taco waiting to be filled.
- Insert the Foam: Once you’ve sewn three sides, turn the fabric right side out and slide in your memory foam. It should fit like a glove.
- Finish the Cover: Fold in the edges of the open side and pin it shut. Sew it closed, and voilà, you have a cozy cover that’s ready for use.
- Add Non-Slip Bottom (Optional): If you want to prevent your dog’s bed from sliding around, cut a piece of non-slip fabric or rubber mat to fit the bottom of the bed and attach it using fabric glue or spray adhesive.
Optional Add-ons/Variations:
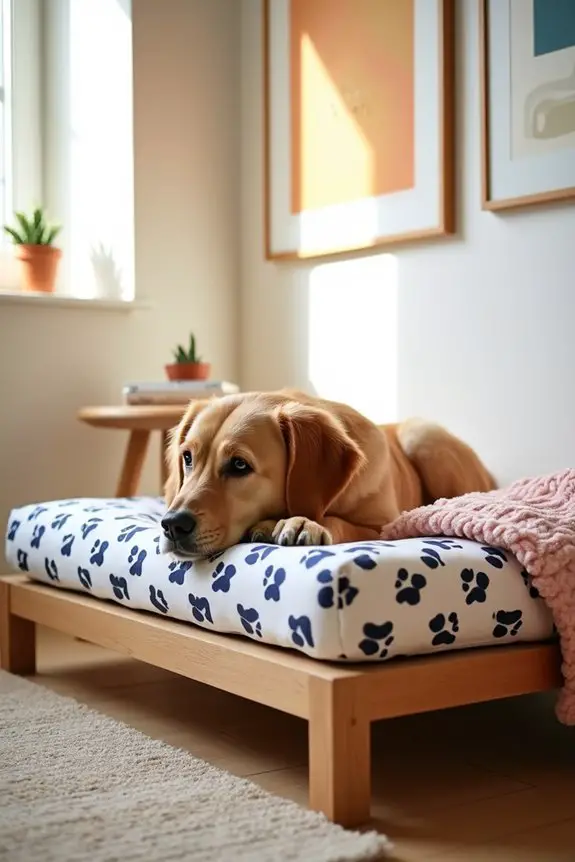
- Choose Colorful Fabrics: Select fun patterns or colors that match your decor. Maybe a snazzy polka dot for a playful vibe or a chic grey for a modern look.
- Personalized Touch: Add your dog’s name to the cover using fabric paint or by sewing on a patch. Imagine how proud your pup will be.
Pro Tip:
To keep the bed fresh and clean, consider making the cover removable so you can toss it in the wash. It’s a simple way to maintain that new-bed smell and keep your furry friend healthy and happy. Luxury orthopedic beds are also available for those looking to provide even more support and comfort.
Now you’re ready to create a cozy sanctuary for your dog that’s not only comfortable but also stylish and budget-friendly. Who knew pampering your pooch could be this fun?
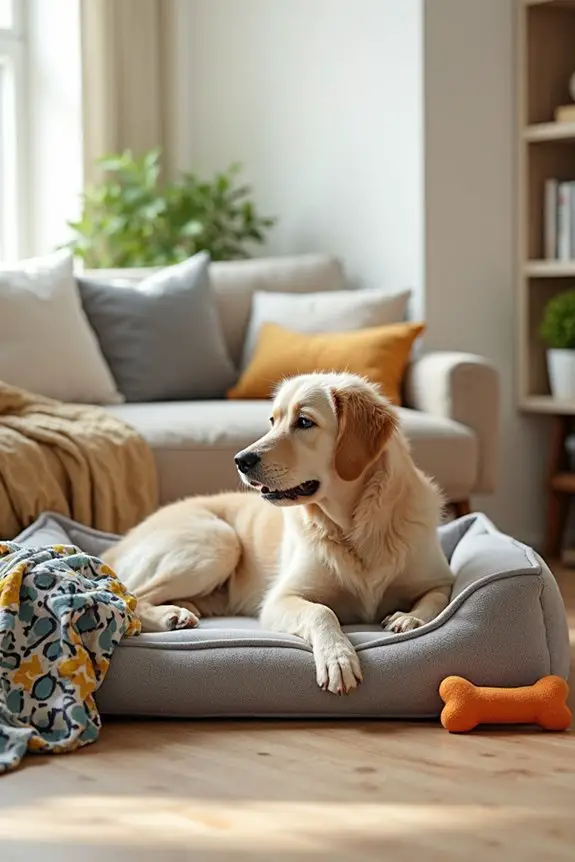
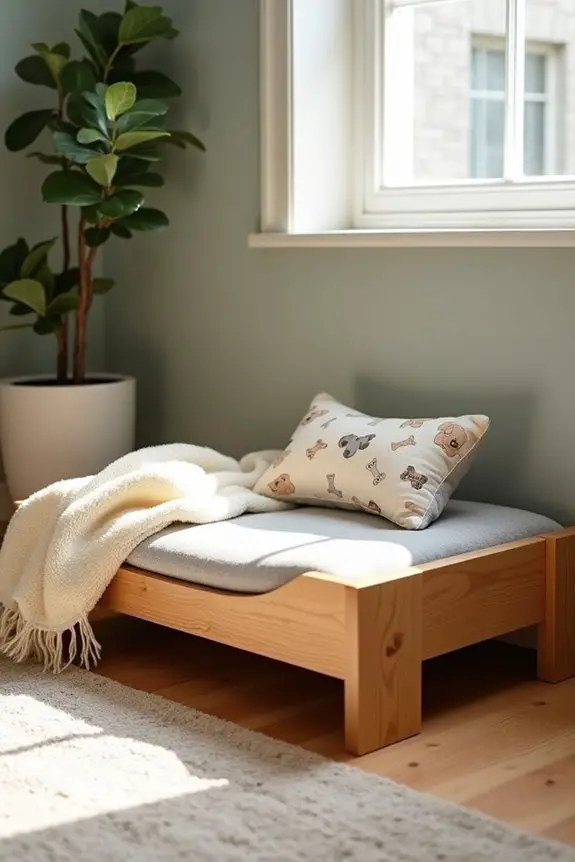
2. Eco-Friendly Materials Selection
If you’re a dog owner who cares about the planet, this DIY project is perfect for you. Not only does it provide your pup with a cozy raised dog bed, but it also allows you to use eco-friendly materials that are better for the environment. Plus, you’ll feel great knowing you’re making a sustainable choice while saving some cash—who doesn’t love that? Additionally, your dog will benefit from the support of luxury orthopedic beds, ensuring they get the best sleep possible.
Materials Needed:
- Recycled or organic cotton fabric (for the bed cover)
- Natural latex or reclaimed memory foam (for comfort)
- Sustainable wood or bamboo (for the bed frame)
- Non-toxic wood glue (for construction)
- Heavy-duty thread (for sewing)
- Measuring tape (to get those dimensions just right)
- Sewing machine (or needle and thread for hand sewing)
- Scissors (to cut your materials)
- Sandpaper (to smooth any rough edges on the wood)
- Non-slip fabric or rubber mat (optional for added safety)
Step-by-Step Instructions:
- Choose Your Dimensions: Measure your dog while they’re lying down. Remember to add a few extra inches for comfort—like a little wiggle room for those adorable stretches.
- Prepare the Frame: Cut your sustainable wood or bamboo to the desired size for the bed frame. If you’re feeling fancy, you can add a few cute designs or grooves, but hey, don’t stress if that’s not your style.
- Sand the Edges: Take your sandpaper and smooth out any rough edges on the wood. This step is important for safety. You don’t want your pup getting splinters—yikes.
- Assemble the Frame: Use non-toxic wood glue to secure the pieces of your frame together. Let it dry according to the glue’s instructions. While you wait, maybe treat yourself to a snack—building a dog bed is hard work.
- Cut the Cover Fabric: Measure out your recycled or organic cotton fabric to create a snug cover. Don’t forget to leave a little extra fabric for seams—just like you wouldn’t want to wear a too-tight sweater.
- Sew the Cover: Fold the edges of your fabric and sew them together, leaving one side open. It’s like making a giant pillowcase for your dog’s mattress.
- Insert the Foam: Slide the natural latex or reclaimed memory foam into your fabric cover. It should fit perfectly, like your dog snuggling up to you after a long day.
- Finish the Cover: Fold in the edges of the open side and sew it closed. You’re almost there, and your dog is going to love this bed.
- Attach Non-Slip Material (Optional): If you’re worried about the bed sliding around, cut a piece of non-slip fabric and glue it to the bottom of the frame. Safety first, right?
Optional Add-ons/Variations:
- Colorful Patterns: Choose vibrant, eco-friendly fabrics that match your home décor. Think about a fun floral print for a playful vibe or a calming pastel for a chic look.
- Personal Touch: Add your dog’s name to the bed cover using eco-friendly fabric paint or by sewing on a custom patch. It’s like giving your furry friend their very own throne.
Pro Tip:
When selecting materials, look for certifications like GOTS (Global Organic Textile Standard) or FSC (Forest Stewardship Council) to verify you’re making the best eco-friendly choices. It’s an easy way to guarantee that your materials are safe for your pup and the planet. Plus, a cozy dog bed made with love and care? That’s just the best.
3. Personalized Embroidered Dog Names
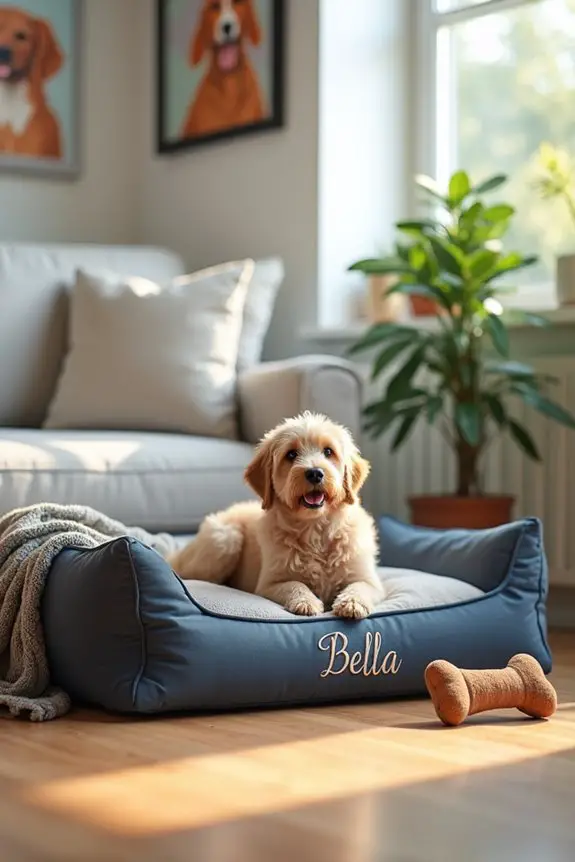
Creating a personalized touch for your dog’s coziness is as simple as adding their name to their new raised dog bed. Imagine your pup snuggling up on a bed that not only fits their style but also showcases their unique personality. Plus, it’s a great way to guarantee their special space stands out in your home. Let’s explore how you can make this happen. Adding a touch of luxury dog crate furniture can enhance the overall aesthetic of your dog’s resting area.
Materials Needed:
- Embroidered fabric or patches (with your dog’s name)
- Heat transfer vinyl or embroidery thread (if you’re making your own)
- Iron or sewing machine (for applying the name)
- Measuring tape (to get the perfect placement)
- Scissors (for trimming excess fabric)
- Fabric adhesive (optional) (for secure attachment)
Step-by-Step Instructions:
- Select Your Name Design: First, decide how you want your dog’s name to look. You can go classic with embroidery or modern with heat transfer vinyl. The options are endless—fancy script, playful fonts, or even paw prints.
- Measure for Placement: With your measuring tape, find the best spot on the dog bed cover for the name. Center it or place it to the side, whatever feels right for your pup’s personality.
- Prepare Your Fabric: If you’re using fabric or patches, cut it to the desired size. Make sure you leave a little extra around the edges for sewing or sticking down.
- Attach the Name: If you’re sewing, carefully stitch the name onto the bed cover, taking your time to keep it neat. If you’re using heat transfer vinyl, follow the manufacturer’s instructions to apply it with your iron. Just don’t burn your fingers—it’s not a good look.
- Secure It Down: If you’re using fabric adhesive, apply it around the edges of your name patch to guarantee it stays put. You want this to last through all those happy dog dreams.
- Let It Set: Give the adhesive or stitched area some time to set. Maybe take your pup for a walk while you wait?
- Show It Off: Finally, place the dog bed in its special spot, and watch your furry friend strut over to their personalized space. Trust me, their tail will wag with approval.
Optional Add-ons/Variations:
- Color Customization: Choose fabric or vinyl in colors that match your home décor or your dog’s personality. Bold colors for a playful pup or soft pastels for a calm companion.
- Patterns and Designs: Consider adding fun designs like paw prints, bones, or even little hearts alongside the name for extra flair.
Pro Tip:
If you want to save a few bucks, check online for DIY embroidery designs. You’ll find tons of free patterns that can help you create a unique look without breaking the bank. Plus, don’t shy away from asking for help at your local craft store; they often have great tips and tricks to make your project smoother.
With these simple steps, you’ll have a cozy, personalized raised dog bed that makes your furry friend feel right at home. Happy crafting!
4. Washable Cover Options
If you’re a proud dog owner, you know how quickly those beloved furballs can turn a cozy bed into a muddy mess. That’s where washable covers come in handy. Not only do they keep your dog’s resting place fresh and clean, but they also save you money on replacements and make your home look spick and span. Plus, they’re super easy to toss in the wash! Let’s plunge into a simple DIY project to create a washable cover for your dog’s raised bed. Additionally, you might want to consider investing in a professional dog washing station to keep your pup clean and happy after their outdoor adventures.
Materials Needed:
- Fabric of your choice (cotton, canvas, or waterproof material)
- Measuring tape (to get the right dimensions)
- Sewing machine or needle and thread (for sewing the cover)
- Scissors (to cut the fabric)
- Pins or fabric clips (to hold the fabric in place while sewing)
- Zipper or velcro strips (for easy removal)
- Iron (to smooth out fabric before sewing)
Step-by-Step Instructions:
- Measure Your Dog Bed: Start by measuring the dimensions of the raised dog bed. Length, width, and height are key. Jot those numbers down so you don’t forget them amidst the chaos of dog toys and treats.
- Cut Your Fabric: Using your measurements, cut your fabric into four panels—two for the sides and one for the top, plus a bottom panel. Add an extra inch on each side for seam allowances. Remember, this is your dog’s cozy throne, so you want it to fit just right.
- Sew the Panels Together: Start with the top panel and sew the side panels to it. Use your pins or fabric clips to keep everything in place. If you’re feeling particularly crafty, you can even add a fun pattern—think paw prints or bones. It’s like a fashion statement for your pup.
- Attach the Bottom Panel: Next, sew the bottom panel to the sides, leaving one side open for the zipper or velcro. This is where the magic happens—your pup will have a stylish bed that can be easily cleaned!
- Install the Zipper or Velcro: If you’re using a zipper, sew it into the open side. For velcro, simply attach it along the edge, making sure it’s secure. This makes it super easy to remove the cover when it’s time for a wash. Your dog might even appreciate the spa day.
- Iron and Finish: Give your new cover a good press with the iron to flatten any seams, making everything look neat. Then, pop it onto the dog bed and admire your handiwork.
- Wash and Repeat: When it’s time for a wash, simply unzip or peel off the cover, toss it in the washing machine, and voilà! You have a fresh bed ready for your pup.
Optional Add-ons/Variations:
- Color and Pattern Customization: Choose fun colors that match your decor or go wild with patterns. Stripes, polka dots, or even a bold floral can add a pop of personality to your dog’s space. Don’t be afraid to go bold. Your pup deserves to live in style, right?
- Waterproof Layer: Consider adding a waterproof layer inside for extra protection against spills. It’s like having a secret shield that keeps all the mess at bay.
Pro Tip:
Always pre-wash your fabric before sewing. This helps prevent any shrinkage later on that could leave your dog bed cover looking like a tiny hat on a Great Dane. Plus, it’s a great way to check for any defects in the fabric before you put in all that hard work.
With this DIY washable cover, you’ll not only enhance your dog’s comfort, but you’ll also save yourself from the never-ending cycle of cleaning and replacing those pesky dog beds. Happy sewing!
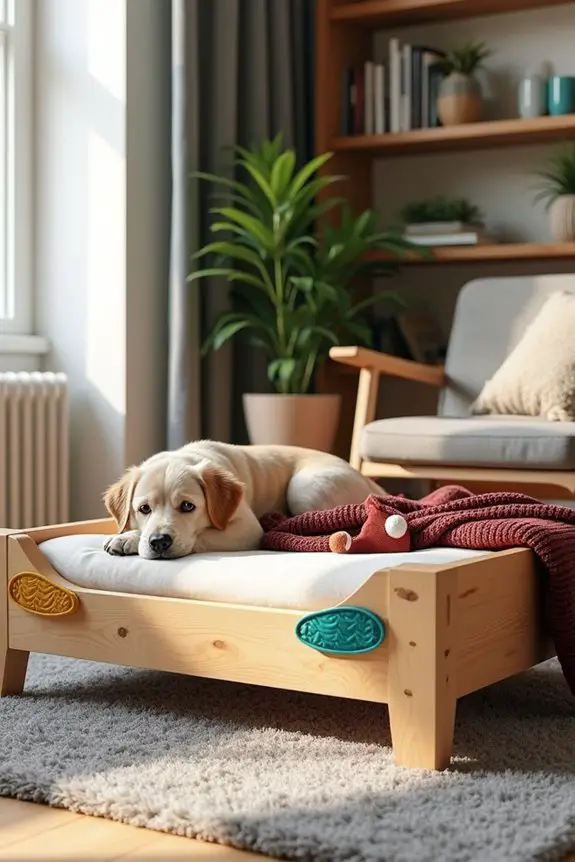
5. Customizable Size Options
If you’re looking to give your furry friend a cozy spot to snooze, creating a raised dog bed in a customizable size is a fantastic project. Not only does it save you money compared to store-bought options, but it also allows you to tailor the bed to fit your dog’s specific needs and your home’s decor. Plus, your pup will appreciate having a bed that’s just right for them. Additionally, consider pairing your new bed with premium dog training equipment for a well-rounded setup for your pet.
Materials Needed:
- Wood planks (choose pine or plywood for a sturdy base)
- Screws (to secure the frame)
- Drill (for assembling the bed)
- Measuring tape (to get those dimensions just right)
- Saw (if you’re cutting the wood yourself)
- Sandpaper (to smooth out any rough edges)
- Wood finish or paint (optional, to personalize the look)
- Non-slip pads (for added stability)
Step-by-Step Instructions:
- Measure Your Dog: Begin by measuring your dog while they’re lying down. Add a few extra inches to guarantee they’ve enough space to stretch out comfortably.
- Decide on Dimensions: Based on your measurements, sketch out a simple plan for the bed. A basic raised bed could be a rectangle with the dimensions of your dog’s length plus a few inches in both width and height.
- Cut the Wood: Using your saw, cut the wood planks according to your measurements. You’ll need four side panels and a base. Don’t worry if your cuts aren’t perfect; a little character never hurt anyone.
- Assemble the Frame: Start by attaching the side panels to the base using screws. Make sure it’s sturdy, as we want the bed to withstand some enthusiastic jumping. A drill makes this part a breeze—just remember to pre-drill your holes to avoid splitting the wood.
- Smooth the Edges: Once the frame is assembled, take your sandpaper and smooth out any rough edges. You don’t want your pup getting splinters, after all. Plus, it’ll look nicer.
- Finish It Off: If you’d like to personalize the bed, now’s the time to paint or apply a wood finish. Choose a color that matches your home, or go wild with a fun design. After all, your dog deserves a little flair!
- Add Non-Slip Pads: To keep the bed stable and safe, attach non-slip pads to the bottom of the legs. This will help prevent any sliding during those epic dream chases.
- Place the Bed: Find a cozy corner of your home to place the new bed. Add a soft, washable blanket or cushion for that extra touch of comfort.
Optional Add-ons/Variations:
- Use Different Materials: Instead of wood, consider making a raised bed with PVC pipes for a lightweight option. Just cut the pipes to size and connect them with corner pieces.
- Personalize with Fabrics: Drape the bed with a stylish fabric or a cute blanket that matches your home decor. You could even sew a custom pillow with your dog’s name on it.
Pro Tip:
When choosing your wood, consider using treated lumber if your dog likes to chew. It’s durable and can withstand a little roughhousing. Plus, don’t forget to check for any sharp edges before letting your pup near their new bed—safety first.
With just a little effort, you can create a cozy raised dog bed that’s perfectly tailored for your furry friend, making those nap times even more delightful. So, grab those tools and let the crafting begin!
6. Non-Slip Base for Stability
Creating a cozy raised dog bed is a wonderful project that not only gives your furry friend a comfortable place to rest but also adds a touch of charm to your home. One of the vital features of any raised bed is a non-slip base. This guarantees that your dog’s bed stays put, even during those wild dream chases or when they jump in for a nap. Plus, it’s an easy DIY addition that enhances safety and stability without breaking the bank.
Materials Needed:
- Wood planks (pine or plywood for a sturdy base)
- Screws (to secure everything together)
- Drill (for easy assembly)
- Measuring tape (to get the right dimensions)
- Saw (if you’re cutting the wood yourself)
- Sandpaper (for smoothing edges)
- Wood finish or paint (optional for personalization)
- Non-slip pads (to keep the bed in place)
- Wood glue (for extra security)
Step-by-Step Instructions:
- Measure Your Bed Frame: If you’ve already built your raised dog bed, measure the dimensions of the legs or base where you’ll attach the non-slip pads. This is essential for guaranteeing a snug fit.
- Select Your Non-Slip Pads: Choose pads that are sturdy and have a good grip. You can find them in hardware stores, and they come in various sizes. If you’re feeling fancy, you can even opt for colorful ones to match your decor.
- Prep the Surface: Before attaching the pads, verify that the bottom of your bed frame is clean and free from dust. A little elbow grease goes a long way here, trust me. You want those pads to stick well.
- Attach the Pads: Peel off the backing from the non-slip pads and press them firmly onto the corners or legs of your bed frame. Make sure they’re evenly placed for balanced support. And hey, if one goes on wonky, it just adds character, right?
- Double Check Stability: Once all the pads are attached, gently push the bed around to test its stability. If it slides, you might want to think about adding a bit of wood glue on top of the pads for extra hold.
- Final Touches: Place your newly stabilized bed in a cozy corner, add a plush blanket, and watch as your dog jumps in, tail wagging with joy. Don’t forget to take a picture of that cute moment.
Optional Add-ons/Variations:
- Colorful Non-Slip Pads: Instead of the standard black or gray, opt for bright colors or patterns that complement your home decor. It’s a fun way to add some flair.
- Custom Fabric Cover: Sew a removable cover for your dog’s bed using fabric that matches your living space. This not only makes it look fabulous but also makes washing it a breeze.
Pro Tip:
To guarantee your non-slip pads last longer, think about checking them periodically for wear and tear. If they start to lose their grip, simply replace them. A little maintenance goes a long way in keeping your dog’s bed safe and comfy.
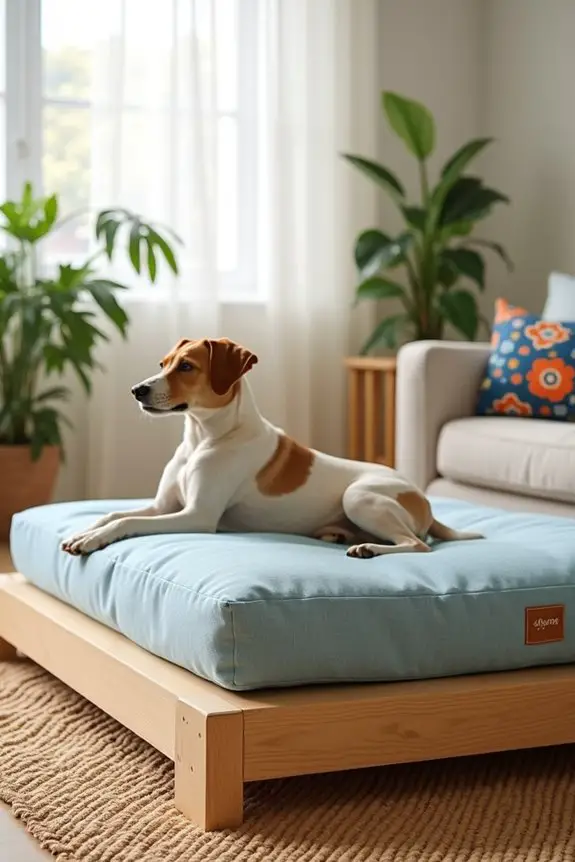
7. Elevated Design for Comfort
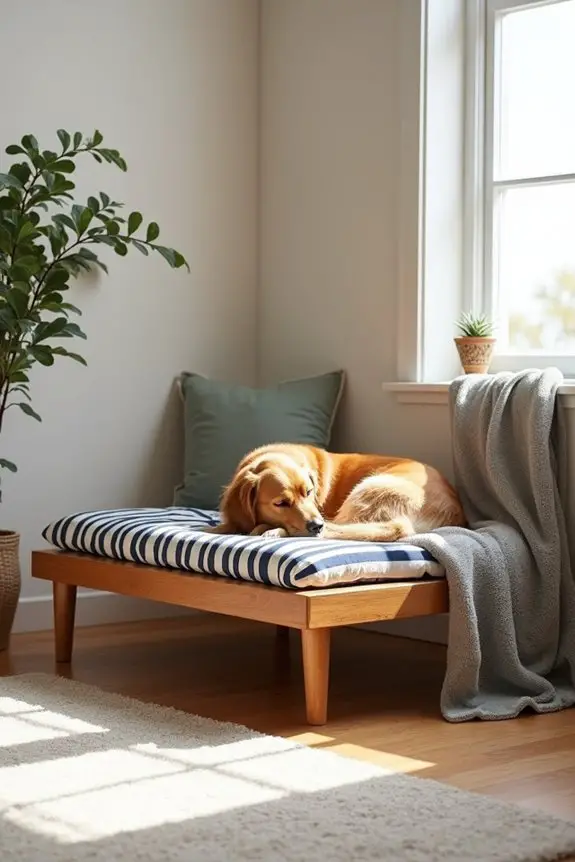
Creating an elevated dog bed is a fantastic DIY project that not only provides your furry friend with a comfortable place to snooze but also keeps them off cold floors and away from pesky drafts.
Plus, it’s a budget-friendly way to enhance your home’s décor while ensuring your dog gets the cozy rest they deserve. Who knew dog beds could be so stylish and functional?
Materials Needed:
- Wood planks (2x4s or 1x3s work well for the frame)
- Wood screws (to hold everything together)
- Drill (for those easy assembly moments)
- Measuring tape (you want to get this right)
- Saw (if you’re feeling handy)
- Sandpaper (to smooth out those edges)
- Wood finish or paint (optional for that extra flair)
- Heavy-duty fabric (like canvas or denim for the bed surface)
- Staple gun (for attaching the fabric)
- Foam padding or cushion (for added comfort)
Step-by-Step Instructions:
1. Measure and Cut Your Wood: Start by measuring how large you want your dog bed to be. Cut your wood planks to size for the frame, making sure to account for your dog’s size.
You don’t want a Great Dane trying to squeeze into a tiny bed!
2. Assemble the Frame: Using your wood screws, assemble the rectangular frame by connecting the planks at the corners. A drill will make this part a breeze.
If you’re like me and struggle with directions, just remember: it’s like making a big wooden picture frame.
3. Add the Legs: Decide how high you want the bed to be elevated. Cut four additional pieces of wood for the legs and attach them to each corner of the frame, ensuring they’re secure.
You want this bed to be sturdy enough for your dog’s enthusiastic leaps.
4. Sand the Edges: Grab your sandpaper and smooth out all the edges of the frame. Trust me, you don’t want your pup getting splinters.
Not a good look.
5. Attach the Fabric: Cut your heavy-duty fabric to fit over the frame and staple it down tightly. You can pull it taut for a nice, clean look.
If you’re feeling fancy, you can layer some foam padding underneath for extra comfort. It’s like giving your dog a cloud to sleep on.
6. Finish It Up: If you want to, paint or stain the wood for a polished finish. Let it dry, and then place your new elevated bed in your dog’s favorite spot.
Don’t forget to take a moment to appreciate your handiwork.
7. Enjoy the Snuggles: Watch your dog jump in and settle down as if they’re the king or queen of the castle.
It’s heartwarming, isn’t it?
Optional Add-ons/Variations:
– Personalized Fabrics: Instead of plain fabric, choose fun patterns or colors that match your home decor.
Maybe a cute paw print or stripes? The possibilities are endless.
– Weatherproofing: If your dog loves the outdoors, consider using treated wood and outdoor fabric to make the bed weather-resistant.
Now your pup can lounge in style, come rain or shine.
Pro Tip:
Always make sure to double-check the weight capacity of your wooden planks.
If you’re unsure, err on the side of caution and choose thicker wood. You want this bed to stand the test of time (and all those enthusiastic jumps).
Remember, a little planning goes a long way, just like making sure you have enough snacks for a movie night.
Now grab those tools and let’s get building. Your dog will thank you for it, and you just might find yourself feeling like a DIY superstar.
Extra Tips & Ideas
While you might think a cozy raised dog bed is all about the design, there’s so much more to contemplate when crafting the perfect sleeping spot for your furry friend.
First off, think about the bedding. You want something soft yet durable—like a plush blanket or a memory foam pad. And don’t forget about washing it; removable covers can save you from those “oops” moments.
Consider adding a little personal touch. Maybe sew on your pup’s name or use a fabric that matches your decor. You could even throw in their favorite toy for that extra comfort factor.
Finally, remember to position the bed in a quiet spot where your dog can chill out without distractions. You’ll both appreciate the peace.
Frequently Asked Questions
What Size Raised Dog Bed Is Best for My Dog?
To determine the best size raised dog bed for your dog, measure your pet’s length and width while they’re lying down. Add a few inches for comfort, ensuring they have enough space to stretch out.
How Do I Clean and Maintain a Raised Dog Bed?
“A stitch in time saves nine.” To clean your raised dog bed, remove the cover and wash it regularly. Wipe the frame with a damp cloth and inspect for wear; maintain it to keep your pup comfy.
Can I Use a Raised Dog Bed Outdoors?
Yes, you can use a raised dog bed outdoors. Just make certain it’s made of weather-resistant materials, and consider placing it in a shaded area to keep your dog comfortable and protected from the elements.
What Materials Are Used for Raised Dog Beds?
Imagine a sturdy ship sailing through calm waters; that’s what materials like wood, metal, and durable fabric do for raised dog beds. They guarantee comfort and stability, creating a safe haven for your furry friend.
Are Raised Dog Beds Suitable for Puppies and Senior Dogs?
Yes, raised dog beds are suitable for both puppies and senior dogs. They provide support and comfort, promoting better sleep and joint health, ensuring your furry friends stay cozy and happy throughout their different life stages.
Conclusion
So, there you have it—your blueprint for a cozy raised dog bed that’ll have your pup wagging their tail. Think of it like baking a cake: you mix the right ingredients, layer in some love, and voilà, you’ve got something special. Just like dogs, every bed needs a little personal touch. Whether it’s a splash of color or a comfy memory foam layer, your furry friend deserves the best. Now, go on and create that perfect nook for their snoozing!

Hi, I’m Ali Tarek, the founder of Animalsman. I’ve always been passionate about pets, especially dogs and cats, and I created this website to share practical tips, easy recipes, and helpful care advice for fellow pet lovers. My goal is to make pet care simple, enjoyable, and accessible for everyone. When I’m not writing or curating content, you’ll usually find me spending time with my furry friends or learning new ways to keep them happy and healthy.

