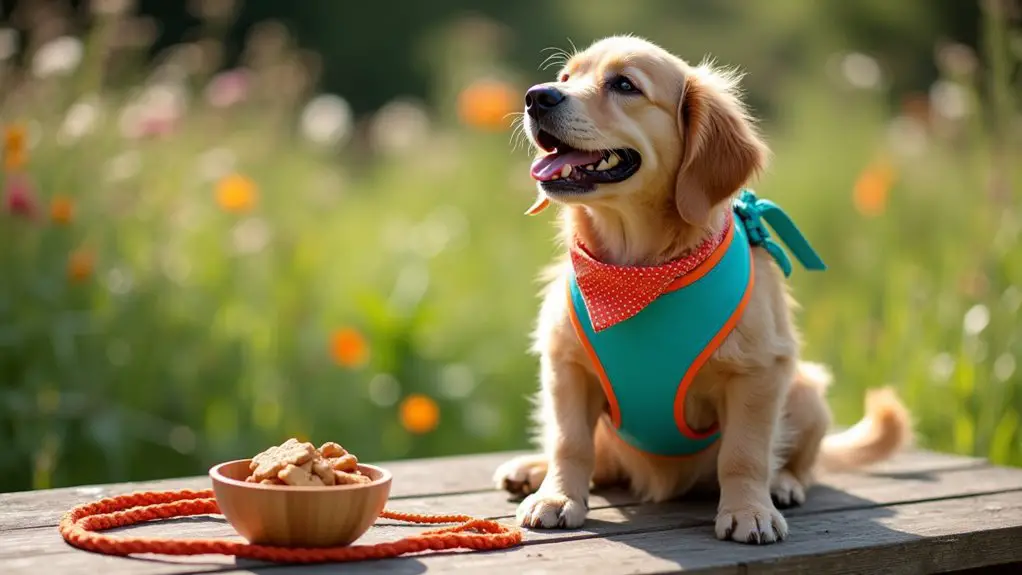
Ever thought about how a good dog harness can make walks more enjoyable for both you and your pup? It’s true. A comfy, stylish harness can turn an ordinary stroll into an adventure. From vibrant patterns that reflect your dog’s personality to practical designs that keep them safe, there are so many options to explore. Plus, you’ll save some cash with DIY projects. Curious how to get started? Stick around; I’ve got some fun ideas to share.
Creative Harness Color Combinations
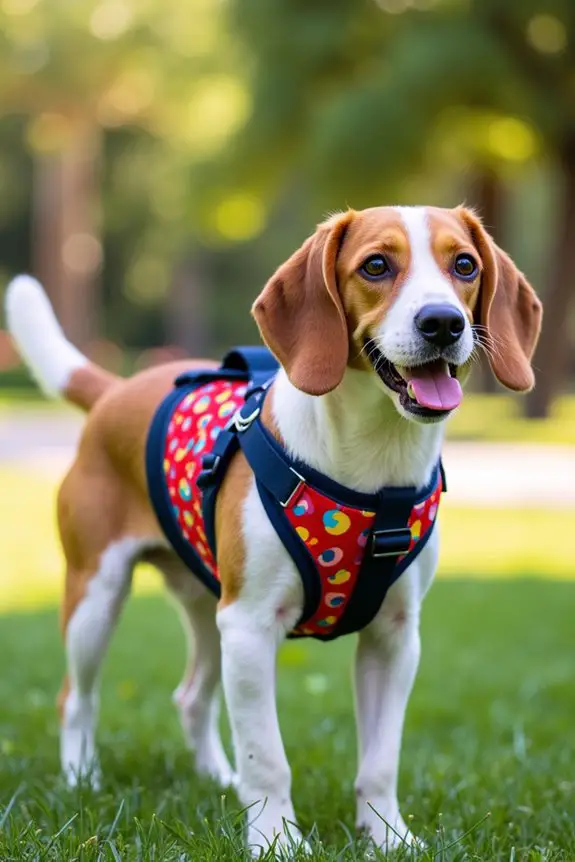
When it comes to picking colors for your dog’s harness, the options are practically endless—think of it like choosing toppings for a pizza, except your pup doesn’t care if you mix pineapple with pepperoni.
You might love bold colors like electric blue or bright pink, but don’t forget about softer hues, too. A pastel green can make your furry friend look adorable.
When crafting a DIY dog harness, consider contrasting colors for a fun look—like orange with navy or yellow with gray.
Want to make a statement? Try a tie-dye effect.
And if you’re feeling extra creative, why not add some funky patterns? Your dog’s harness is a chance to express their personality, and hey, you might just start a trend.
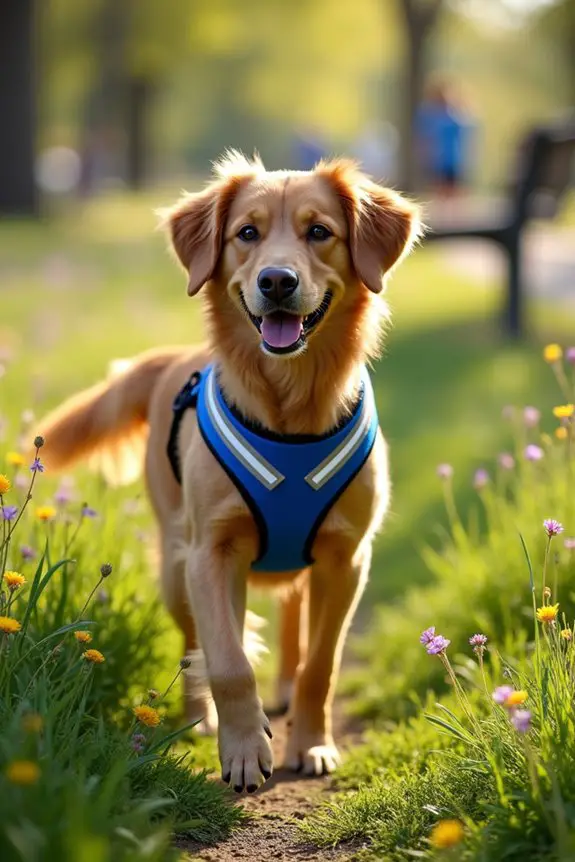
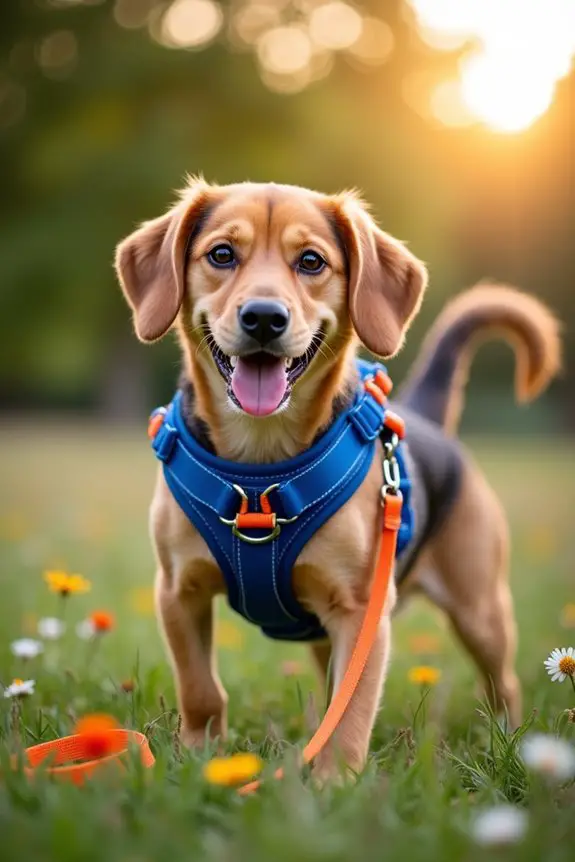
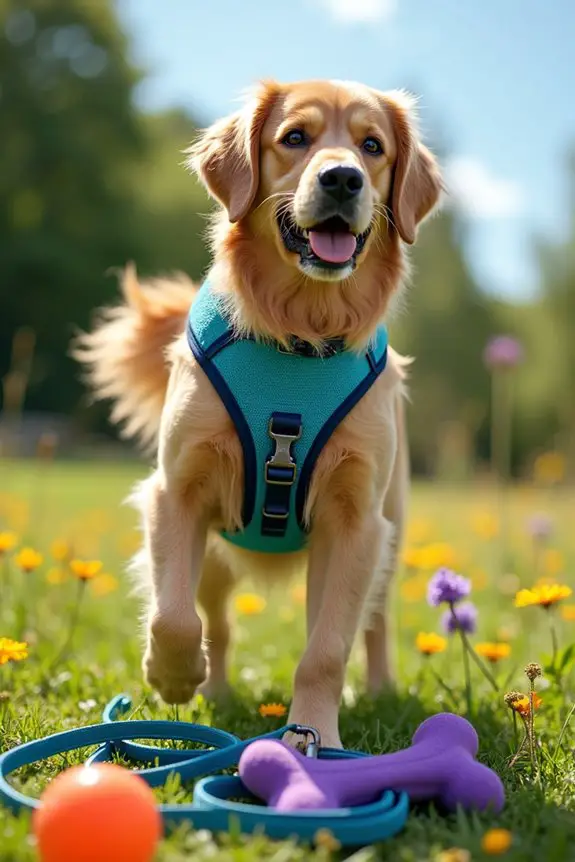
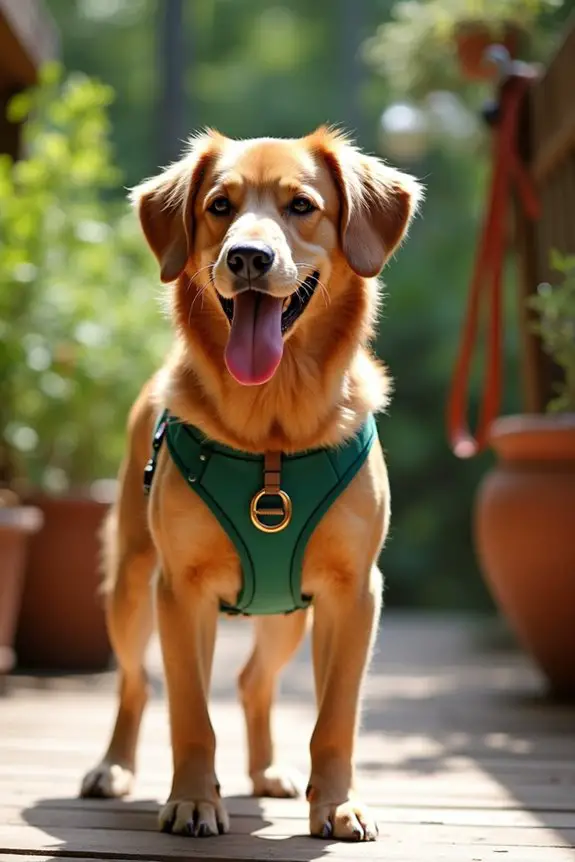
Our Collection
Now that you’ve explored some fun color combos, let’s check out our collection of dog harnesses.
You’ll find options like a reflective safety harness for those late-night walks, an adjustable fit harness for your pup’s unique shape, and even a breathable mesh harness perfect for those hot summer days.
And if you’re feeling crafty, how about a customizable patterned harness or an eco-friendly fabric option to show off your love for the planet?
1. Reflective Safety Harness
Creating a reflective safety harness for your furry friend is a fantastic way to guarantee their safety during nighttime walks, all while saving some cash. You’ll not only keep your pup visible and safe, but you’ll also have the satisfaction of making something unique that fits them perfectly. Plus, who doesn’t love a crafty project that keeps their dog stylish and safe? Maintaining your dog’s overall health, including dental care for dogs, is essential to ensure they enjoy their walks.
Materials Needed:
- 1 inch wide nylon webbing (enough to fit your dog)
- Reflective tape or fabric
- Scissors
- Sewing machine or needle and thread
- D-ring (for attaching a leash)
- Adjustable buckle
- Measuring tape
- Fabric glue (optional, for added durability)
Step-by-Step Instructions:
- Measure Your Pup: Using the measuring tape, measure around your dog’s chest and neck. Make sure to leave a little wiggle room; we don’t want any tight squeezes here. Jot down these measurements.
- Cut the Webbing: Based on your measurements, cut the nylon webbing. You’ll need two pieces for the chest strap and one for the neck strap. Remember, it’s better to cut a little more than too little.
- Add Reflective Tape: If you’ve got reflective tape, now’s the time to get creative. Cut small strips and attach them to the webbing using fabric glue for extra hold. You can create fun patterns or just run a strip down the middle, depending on your style.
- Sew the Straps: Using your sewing machine (or needle and thread if you’re feeling adventurous), securely sew the ends of the straps. For durability, sew in an “X” shape where the straps meet. This is where your pup’s strength will test your handiwork, so make it sturdy!
- Attach the D-ring and Buckle: Thread the D-ring onto the neck strap and secure it by sewing it down. Then, attach the adjustable buckle to the ends of the chest strap. This will allow you to adjust the fit as needed.
- Final Adjustments: Before you let your dog strut their stuff, give the harness a final fit. Adjust the straps to guarantee a snug but comfortable fit. You don’t want them to slip out while chasing squirrels or doing their best “I swear I didn’t eat that” face.
- Show It Off: Put the harness on your pup, grab the leash, and take them for a walk. Watch as heads turn—your dog is now the most stylish (and safest) pooch in the neighborhood.
Optional Add-ons/Variations:
Why stop at just one reflective tape color? Mix and match with different colors or patterns. You could use a fun polka dot tape for a playful look or even fabric with your dog’s favorite cartoon character.
Personalizing the harness not only makes it unique but also adds a touch of your dog’s personality.
Pro Tip:
When sewing, use a heavy-duty needle for your sewing machine. This helps pierce through the tough nylon webbing without breaking, because let’s be honest, no one wants to stop mid-project to replace a needle.
Also, always double-check the fit after a few uses; as your pup plays and grows, you might need to make some adjustments.
Now, you’re not just a dog owner; you’re a DIY superhero! Enjoy those walks, and remember, safety first, style second (but just barely).
2. Adjustable Fit Harness
If you’re looking for a way to guarantee your dog is comfy while also being able to adjust the fit as they grow or change shape, an adjustable fit harness is the perfect DIY project for you. Not only will this harness provide your pup with comfort and support, but it’ll also save you money compared to purchasing a ready-made harness. Plus, you’ll have the satisfaction of making something special just for them. Additionally, using premium dog training equipment can enhance your dog’s walking experience even further.
Materials Needed:
- 1 inch wide nylon webbing (enough to fit your dog)
- Adjustable buckles (two)
- D-ring (for attaching a leash)
- Scissors
- Sewing machine or needle and thread
- Measuring tape
- Fabric glue (for extra durability)
- Optional: decorative fabric or tape for personal flair
Step-by-Step Instructions:
- Measure Your Dog: Grab that measuring tape and measure your dog’s chest and neck. It’s important to get the right size for a snug but comfortable fit. Write down those measurements.
- Cut the Webbing: Based on your measurements, cut the nylon webbing into three pieces: one for the neck strap and two for the chest straps. Remember, it’s better to have a little extra than not enough.
- Create the Adjustable Straps: Take one of the chest strap pieces and thread it through the adjustable buckle. This will allow you to change the length as needed. Sew the end of the strap securely to the buckle, making sure it won’t slip out during your dog’s adventures.
- Assemble the Harness: Attach the other end of the chest strap to the D-ring for the leash. Next, take the neck strap and attach it to the other side of the D-ring. Make sure everything is lined up nicely.
- Secure the Straps: Sew down all the connections—this is where you want to be extra careful. An “X” shape or a few back-and-forth stitches will help keep everything strong and sturdy. It’s like a little hug for your pup’s harness.
- Final Fitting: Put the harness on your dog and adjust the straps for a comfortable fit. You want it snug enough that they can’t wriggle out, but not so tight that they can’t breathe. Think of it like a warm embrace, not a wrestling match.
- Take a Test Stroll: With everything in place, grab the leash and take your pup out for a spin. Enjoy the comfort of knowing you made something just for them, and watch as they strut their stuff in style.
Optional Add-ons/Variations:
Why not personalize it a bit? You can use different colors of webbing or add decorative fabric or tape to give it a unique touch. Maybe even embroider their name on it for that extra flair. After all, every dog deserves a harness that reflects their personality.
Pro Tip:
When sewing the straps, consider using a zigzag stitch for added durability. It gives a little stretch, which can be helpful, especially for active pups. And hey, if you’re feeling adventurous, try using a little reflective tape along the edges for nighttime visibility. Better safe than sorry, right?
3. Breathable Mesh Harness
If your pup loves to romp around and explore, a breathable mesh harness is a fantastic DIY project to contemplate. Not only does it keep your furry friend cool and comfortable during those hot summer walks, but it also offers great support without any of the bulk. Plus, making your own harness can save you some bucks—who doesn’t love that? Let’s delve into this fun project that’ll have your dog strutting in style.
Materials Needed:
- Breathable mesh fabric (enough to cover your dog’s chest and back)
- Soft webbing (for straps)
- Adjustable buckles (two)
- D-ring (for leash attachment)
- Scissors
- Sewing machine or needle and thread
- Measuring tape
- Fabric glue (for extra durability)
- Optional: fun fabric patterns or colors for a stylish twist
Step-by-Step Instructions:
- Measure Your Dog: Using the measuring tape, take measurements of your dog’s chest and neck. This helps in cutting the right size for a snug fit. Don’t skip this step; it’s essential for comfort.
- Cut the Fabric and Straps: Based on your measurements, cut out pieces from the mesh fabric for the harness body and also cut soft webbing for the straps. You’ll want one piece for the neck and two for the chest. Again, it’s always better to have a little extra than to come up short.
- Sew the Harness Body: Take the mesh fabric and fold it into the shape you want for the back of the harness. Sew the sides together, creating a little pocket for your dog’s body. This part is a bit like wrapping a gift—just make sure there’s a nice snug fit without being too tight.
- Attach the Straps: Now, take the webbing straps and thread them through the adjustable buckles. Sew the ends of the straps securely into the harness body, making sure they’re placed at the right locations for a comfortable fit.
- Secure the D-ring: Attach the D-ring to the back of the harness. This is where you’ll clip on the leash. Make sure it’s secure, as your adventurous pup might give it a good tug!
- Final Fitting: Put the harness on your dog and adjust the straps. It should feel snug but comfortable. You want them to be able to move freely without any choking hazards. Remember, it’s all about that perfect balance—like being wrapped in a cozy blanket without feeling trapped.
- Field Test: Grab a leash and take your dog out for a stroll. Observe how they move in the harness. If it’s too tight or too loose, adjust accordingly. A well-fitted harness makes all the difference during your daily adventures.
Optional Add-ons/Variations:
Feeling crafty? You could use different colors of mesh fabric to match your dog’s personality or add cute patterns to make it pop. You could also think about adding reflective strips for nighttime walks—safety first, right?
Pro Tip:
Always double-check the stitching on the harness before taking your dog out. You want to confirm everything is secure, so your pup can enjoy their walk without any mishaps. A little extra care goes a long way in keeping your furry friend safe and stylish.
Additionally, incorporating proper dog training equipment can enhance your walking experience, ensuring both you and your dog are comfortable and confident on your adventures.
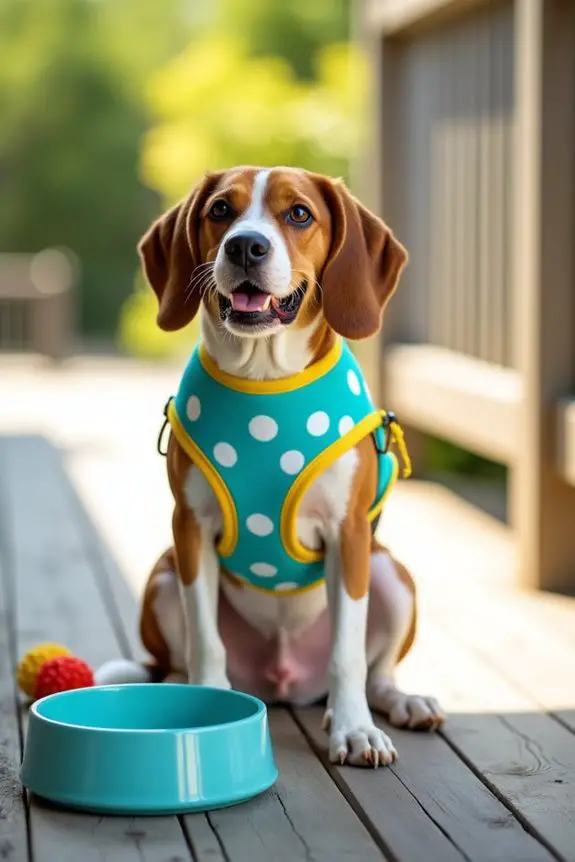
4. Customizable Patterned Harness
If you’re looking to add a dash of personality to your dog’s gear while ensuring they stay comfortable, then a customizable patterned harness is the perfect DIY project for you. This harness not only keeps your furry friend secure, but it also allows you to express your pup’s unique style. You can even enhance the look with premium dog collar accessories that complement your handmade creation.
Plus, you’ll save some cash while creating something truly special. So, let’s explore this fun and creative project that’ll have your dog turning heads on every walk.
Materials Needed:
- Sturdy fabric with fun patterns (like polka dots, stripes, or your favorite cartoon characters)
- Soft webbing (for the straps)
- Adjustable buckles (two)
- D-ring (for leash attachment)
- Scissors
- Sewing machine or needle and thread
- Measuring tape
- Fabric glue (for extra durability)
- Optional: iron-on patches or embellishments for personalization
Step-by-Step Instructions:
- Measure Your Dog: Grab your measuring tape and take note of your dog’s neck and chest measurements. This is essential for creating a harness that fits just right. A snug fit is key, so don’t rush through this step.
- Cut the Fabric and Straps: Based on your measurements, cut the patterned fabric for the harness body and the soft webbing for the straps. You’ll need one piece for the neck and two for the chest. Remember, a little extra fabric can save you from a last-minute trip to the store.
- Sew the Harness Body: Fold the patterned fabric into the shape of your harness. Sew the sides together, creating a pocket for your dog’s body. Think of it like wrapping a present, but instead of a birthday surprise, you’re crafting a stylish accessory for your pup.
- Attach the Straps: Take your webbing straps, thread them through the adjustable buckles, and sew the ends securely to the harness body. Position them where they’ll give your dog a comfortable fit without pinching or rubbing.
- Secure the D-ring: Attach the D-ring to the back of the harness for the leash. Make sure it’s firmly in place—your adventurous dog will want to try and pull you toward every interesting smell.
- Final Fitting: Slip the harness on your dog and adjust the straps. It should feel snug but comfortable. You want your dog to be able to prance around happily, not feel like they’re in a straightjacket.
- Field Test: Take your dog out for a stroll and watch how they move in their new harness. If they seem uncomfortable or if the harness is sliding around, make those final adjustments. It’s all about getting that perfect fit.
Optional Add-ons/Variations:
- Fabric Swap: Why not try using different fabrics for a two-tone effect? A solid color for the straps and a patterned fabric for the body can create a striking look.
- Patches Galore: Get creative with iron-on patches or even fabric paint to add your dog’s name or fun designs. Personalizing it can make the harness feel even more special.
Pro Tip:
Always double-check the strength of your seams, especially where the straps are attached. A little extra reinforcement can go a long way in ensuring your pup stays safe and secure during their adventures.
Plus, a sturdy harness will save you money in the long run by lasting through all those enthusiastic pulls and tugs.
5. Eco-Friendly Fabric Harness
If you care about the planet and want your furry friend to be stylish and comfortable, then this DIY eco-friendly fabric harness is just what you need. Not only does it help reduce waste by using sustainable materials, but it also gives you the chance to create something unique for your pup. Plus, you’ll save a few bucks along the way, and who doesn’t love that? Let’s plunge into this eco-conscious project that’s sure to make tails wag. Moreover, dressing your dog in luxury dog accessories can elevate their style while ensuring comfort and quality.
Materials Needed:
- Eco-friendly fabric (such as organic cotton or recycled polyester)
- Soft webbing (preferably made from recycled materials)
- Adjustable buckles (two)
- D-ring (for leash attachment)
- Scissors
- Sewing machine or needle and thread
- Measuring tape
- Fabric glue (for added strength)
- Optional: natural dyes or fabric paints for customization
Step-by-Step Instructions:
- Measure Your Dog: Start with your measuring tape to get your dog’s neck and chest measurements. This is super important to guarantee the harness fits just right. You don’t want a harness that’s too loose or tight—think of it like fitting into your favorite jeans.
- Cut the Fabric and Straps: Based on your measurements, cut the eco-friendly fabric for the harness body and the soft webbing for the straps. You’ll need one piece for the neck and two for the chest. Don’t worry if you cut a little extra; it’s better to have some wiggle room.
- Sew the Harness Body: Fold your fabric into the shape of a harness, and sew the sides together. You’re basically creating a cozy little pocket for your pup. It’s like making a tiny sleeping bag, but for their daily adventures.
- Attach the Straps: Take the webbing straps, thread them through the adjustable buckles, and securely sew the ends to the harness body. Make sure the straps are placed where they won’t chafe your dog’s skin. Comfort is key, after all.
- Secure the D-ring: Attach the D-ring to the back of the harness so you can clip on the leash. Make sure it’s stitched on tightly—your pup might be a bit of a puller when they spot a squirrel.
- Final Fitting: Slip the harness on your dog and adjust the straps. You want it snug enough that they can’t wiggle out but not so tight that they can’t breathe. Think of it as giving your dog a warm hug.
- Field Test: Take your dog for a walk and watch how they move in their new harness. If they seem uncomfortable or if the harness shifts too much, make some adjustments. You want them strutting proudly, not stumbling around like they’re wearing a costume from a bad movie.
Optional Add-ons/Variations:
- Consider using different colors of eco-friendly fabric or tie-dyeing your harness for a fun, personalized touch. You could even create matching collars to go with the harness.
- Use natural dyes or fabric paints to add your dog’s name or a cute design. Imagine your pup rocking a harness with a hand-painted paw print—total showstopper.
Pro Tip:
When sewing, always backstitch at the beginning and end of your seams to guarantee durability. It’s a little extra effort that goes a long way in making sure your harness stands the test of time (and your dog’s playful antics).
Plus, if you’re using fabric glue, let it dry completely before taking your dog out. You don’t want a sticky situation on your hands… or paws.
6. Padded Comfort Harness
If you’re looking to pamper your furry friend while keeping them safe and secure, this DIY padded comfort harness is just what you need. It’s designed to provide maximum comfort for your dog, reducing chafing and pressure points while on walks. Plus, making your own means you can save some cash and show off your DIY skills. Let’s get started on this pawsome project that’s bound to make your dog wag with joy.
Materials Needed:
- Soft, padded fabric (like fleece or quilted cotton)
- Durable nylon webbing
- Adjustable buckles (two)
- D-ring (for leash attachment)
- Scissors
- Sewing machine or needle and thread
- Measuring tape
- Fabric glue (for added durability)
- Optional: fun fabric patterns or colors for customization
Step-by-Step Instructions:
- Measure Your Dog: Grab your measuring tape and measure your dog’s neck and chest. This step is essential. A well-fitted harness is like a hug that doesn’t squeeze too tight.
- Cut the Fabric and Straps: Using your measurements, cut out your soft, padded fabric for the harness body. You’ll need one piece for the neck and two for the chest. Don’t stress if you cut a bit more than needed; better safe than sorry, right?
- Sew the Harness Body: Fold the padded fabric in the shape of a harness and sew the sides together. It’s like crafting a cozy little cocoon for your pup.
- Attach the Straps: Take your nylon webbing straps, thread them through the adjustable buckles, and sew the ends to the harness body. Make sure to position them so they won’t rub against your dog’s skin. Comfort is key—no one likes a scratchy harness.
- Secure the D-ring: Stitch the D-ring onto the back of the harness for leash attachment. It needs to be sturdy—your pup might be ready to take off after a squirrel at any moment.
- Final Fitting: Slip the harness on your furry friend and adjust the straps. It should be snug, but they should still be able to breathe easily. Think of it as giving your dog a gentle hug that keeps them safe.
- Field Test: Take your dog for a spin around the block and observe how they move. If the harness shifts too much or doesn’t seem comfortable, it might be time for some adjustments.
Optional Add-ons/Variations:
You can personalize your padded comfort harness with fun fabric patterns or colors. How about a bright polka dot design or a calming pastel color? You could even add some reflective strips if your walks often happen at dusk. Your pup won’t only be comfortable but also look fabulous.
Pro Tip:
When sewing, always double-stitch the areas that will bear the most weight, like where the straps meet the harness body. This will enhance durability and give you peace of mind that your dog is safe and secure.
And if you’re like me and prone to little mishaps, keep some extra fabric handy for quick patch-ups. Trust me, you’ll thank yourself later.
7. Lightweight Travel Harness
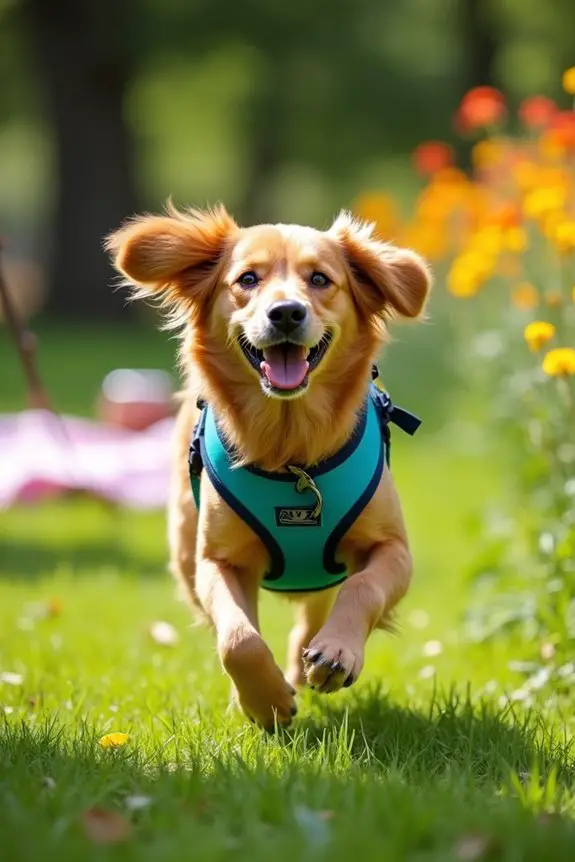
If you love taking your dog on adventures but hate dealing with bulky gear, this DIY lightweight travel harness is perfect for you. It’s not just a practical solution; it also gives your pup the freedom to roam without feeling weighed down. Plus, you can create it for a fraction of the cost of store-bought options, leaving you with more money for treats—because who doesn’t love spoiling their furry friend?
Materials Needed:
- Lightweight, breathable fabric (like ripstop nylon or mesh)
- Adjustable nylon straps (two)
- Buckle (one)
- D-ring (for leash attachment)
- Scissors
- Sewing machine or needle and thread
- Measuring tape
- Fabric tape (optional, for extra durability)
- Optional: reflective tape or fun fabric patterns for personalization
Step-by-Step Instructions:
- Measure Your Dog: Start by measuring your dog’s neck and chest. This is where you’ll find that perfect fit! A well-fitted harness is crucial for comfort and safety, so don’t skip this step.
- Cut the Fabric and Straps: Using your measurements, cut the lightweight fabric into the main harness shape. Think of a simple “H” shape that will comfortably rest along your dog’s back and around their neck. Also, cut your adjustable straps long enough to accommodate some wiggle room.
- Sew the Harness Body: Fold the fabric pieces together, aligning them neatly, and sew them along the edges, leaving the sides open for the straps. It’s like crafting a cozy little vest for your pup—one that lets them strut their stuff.
- Attach the Straps: Feed the adjustable straps through the sides of the harness body and secure them with a few stitches. Make sure they can easily slide for adjustment but are firmly anchored to prevent any slips during your adventures.
- Secure the D-ring: Stitch the D-ring onto the back of the harness. This is where the leash will go, so make sure it’s firmly attached. You want it to hold up when your dog sees another furry friend and gets excited.
- Final Fitting: Slip the harness on your dog and adjust the straps. It should fit snugly without constricting movement. Think of it like a comfy jacket that allows your pup to run and play without any restrictions.
- Field Test: Take your dog for a short walk or play session to test the harness. Watch how they move. If it shifts or seems uncomfortable, make any necessary adjustments. After all, you want to guarantee your dog is as happy as can be during your outings.
Optional Add-ons/Variations:
Add some reflective tape for those evening strolls, or choose a vibrant fabric pattern that shows off your dog’s personality. You could even make matching accessories, like a bandana, for a coordinated look. After all, who wouldn’t want a stylish pup?
Pro Tip:
Always double-check your stitching, especially where the D-ring is attached. A little extra reinforcement can save you from unexpected surprises when your dog decides it’s time to chase that elusive squirrel. Trust me, it’s better to be safe than sorry.
Extra Tips & Ideas
When it comes to DIY dog harnesses, a few extra tips can really elevate your project. First, think about using soft, breathable fabric. Your pup won’t want to wear something scratchy, trust me.
Also, double-check the harness size. You don’t want it too tight or too loose—imagine trying to wear a sweater three sizes too big. That’s just awkward.
Consider adding reflective strips for those evening walks. Safety first, right?
Oh, and if you’re feeling adventurous, try customizing it with patches or your dog’s name. It’s like giving your furry friend a little fashion statement.
Finally, don’t stress about perfection. If it’s a bit wonky, it’ll just be a unique masterpiece—just like my baking attempts.
Frequently Asked Questions
What Materials Are Best for Making a Dog Harness?
The best materials for making a dog harness include durable nylon or polyester for strength, breathable mesh for comfort, and soft padding to prevent chafing. You’ll want something that’s both sturdy and lightweight for your dog.
How Can I Measure My Dog for a Harness?
“Measure twice, cut once.” To measure your dog for a harness, wrap a soft tape measure around their chest, just behind the front legs. Don’t forget to check their neck size for a snug fit!
Are Homemade Harnesses Safe for All Dog Breeds?
Homemade harnesses can be safe for many dog breeds if they’re designed properly. You’ll need to guarantee the materials are durable and the fit is comfortable. Always monitor your dog for any signs of discomfort.
How Do I Ensure My Dog Doesn’t Escape the Harness?
Think of a clever magician’s trick; you want your dog securely harnessed. Choose a snug fit, check for escape points, and regularly inspect for wear. Reinforce training, so your pup learns to enjoy the journey, not dart away.
Can I Customize a Harness for Specific Training Needs?
Yes, you can customize a harness for specific training needs. By adjusting straps, adding features like handles, or selecting materials, you can create a harness that enhances control and comfort for your dog’s unique training requirements.
Conclusion
So there you have it—seven DIY dog harness ideas to make your walks a blast. Whether you’re channeling your inner fashion designer with colorful patterns or going for eco-friendly materials, there’s a perfect option waiting for you and your pup. Remember, comfort and safety are key. Ready to tackle that next project? Just imagine the look on your dog’s face when they strut in their new gear. Happy crafting, and may your walks be filled with wagging tails and joyful barks.

Amr Mohsen is a software engineer who traded his keyboard for a leash — at least on weekends. His love for dogs inspired him to share what he learns as a dog owner and enthusiast, bringing a detail-oriented, research-driven perspective to every article he writes. If it’s about dogs, he’s probably already looked it up twice.

