
Did you know that creating a DIY Slinky Dog costume can be more fun than a game of fetch? Seriously, it’s like taking a beloved toy and turning it into a fashion statement for your pup. Imagine vibrant colors, fun textures, and a sprinkle of creativity. So, are you ready to transform your furry friend into the ultimate Slinky sensation? Let’s plunge into some clever designs you won’t want to miss.
Slinky Color Combination Ideas
When it comes to creating the perfect Slinky Dog costume, you can’t underestimate the power of color combinations—seriously, they can make or break your look.
To nail that DIY Slinky Dog costume, start by choosing the classic browns and yellows. Think about mixing darker shades with lighter ones, like a warm caramel for the body and a sunny mustard for the collar.
Don’t forget the eyes; they can pop with a bold black or deep blue. You might even try splashes of vibrant colors for a playful touch—who says you have to stick to the norm?
Our Collection
Let’s talk about the fun stuff in our collection.
You’ll find everything you need to create that iconic Slinky Dog look, from the tail construction materials to the cute Slinky dog paw covers.
Need some zing? Don’t forget the Slinky-inspired costume shoes to really tie your costume together, because who doesn’t love a little extra spring in their step?
1. Tail Construction Materials

If you’ve ever wanted your furry friend to prance around as the beloved Slinky Dog from Toy Story, creating the tail is a must! Not only is this DIY project a key part of your dog’s costume, but it’s also a fun and budget-friendly way to showcase your pup’s personality during holidays or parties.
Plus, you get the satisfaction of making something unique that adds charm to your dog’s costume! Installing a luxury dog door can elevate your home while ensuring your pet can move freely in and out.
Materials Needed:
- A long strip of soft fabric (preferably in a vibrant color)
- Craft foam or felt sheets (for the springy effect)
- A lightweight wire (like floral wire)
- A sewing kit (or fabric glue if you’re not sewing-inclined)
- Scissors
- Velcro or snap fasteners
- Ruler or measuring tape
- Marker or chalk
Step-by-Step Instructions:
- Measure the Tail Length: Decide how long you want the tail to be. A good length is about 2-3 feet, depending on your dog’s size. Use your ruler or measuring tape to get it right.
- Cut the Fabric: Cut your fabric strip according to the desired length and make it about 5-7 inches wide. Don’t worry if it’s a little crooked, that just adds character, right?
- Create the Spring Effect: Cut the craft foam or felt into thin strips (around 1 inch wide) and roll them up like little curls. Attach these rolls along the length of the tail fabric using sewing or fabric glue. This is what gives your tail a springy, bouncy look—like a real slinky!
- Add the Wire: Take your lightweight wire and place it against the fabric tail. Gently fold the fabric over the wire to create stiffness in the tail while still allowing it to bend slightly. Secure the ends with a few stitches or glue.
- Sew or Attach Fasteners: At the base of the tail, sew or glue Velcro or snap fasteners. This way, you can attach and detach it from your dog’s costume easily—no need for your pup to wear it all the time.
- Finishing Touches: Give the tail a good shake and fluff it up. Make any final adjustments for length or fluffiness.
- Try It Out: Have your pup wear the tail for a few minutes, adjusting the fit and comfort. Make sure it doesn’t restrict their movements.
Optional Add-ons/Variations:
- Color Choices: Instead of using just one color, why not mix and match? Use a rainbow of fabrics for a fun, colorful tail that stands out!
- Patterns: Choose fun patterns or printed fabrics that represent your dog’s personality—stripes, polka dots, or even character-themed prints are great options.
Pro Tip:
When working with wire, be careful of sharp edges. You can cover the ends with tape to avoid any prickly situations. Also, if your dog tends to chew or tug at things, consider using strong fabric glue, as it’s less likely to fall apart than simple stitching.
There you have it! With just a few steps and some creativity, your furry friend will be ready to take center stage as the adorable Slinky Dog.
Just imagine the compliments you’ll get while your pup struts their stuff—after all, who can resist a dog dressed as a beloved character? Happy crafting!
2. Dog-Sized Slinky Toy
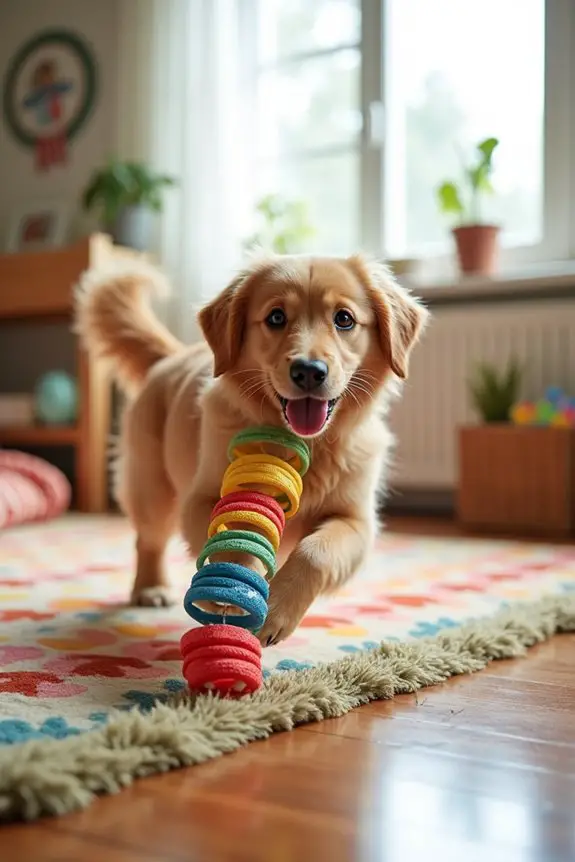
Want to bring a bit of the Toy Story magic to your dog’s playtime? Creating a dog-sized slinky toy is a fantastic DIY project that combines fun and practicality. With a homemade slinky, your dog can enjoy endless entertaining moments without the hefty price tag from store-bought toys.
Plus, it enhances the overall fun for your pup while saving you some bucks. It’s a win-win situation, right?
Materials Needed:
- Multiple strips of stretchy fabric (old T-shirts work great)
- Lightweight plastic or cardboard tubing (for the slinky form)
- Scissors
- Fabric glue or a hot glue gun
- Measuring tape or ruler
- Marker
Step-by-Step Instructions:
- Gather Your Materials: First, make certain you have all the supplies laid out. You’ll want to create a clean workspace so you don’t end up lost in a sea of fabric and glue—a situation I’ve found myself in all too often.
- Measure and Cut the Strips: Take your stretchy fabric and cut it into long strips about 2 inches wide and 12-15 inches long. The longer the strip, the bigger and more springy your slinky can be. Honestly, I just eyeball it, but measuring does help for consistency.
- Prepare the Tubing: If you’re using tubing, cut it to your desired length. It should be long enough for your dog to get a good grip on it but not so long that it looks like it’s being choked. (We definitely don’t want your pup thinking they’re chasing a giant noodle).
- Attach the Fabric Strips: Begin gluing one end of each fabric strip to the tubing. Space the strips out evenly around the tubing, and make sure they cling to it well—try not to create a fashion faux pas—your dog deserves to strut their stuff in style.
- Wrap and Secure: Once you’ve attached all the strips, start wrapping them around the tubing. This way, they’re tightly secured and appear like a slinky. Don’t be afraid to overlap a little. I went a little overboard once and ended up with a very fluffy slinky—my dog loved it, though!
- Final Touches: Once it’s all wrapped up, give it a gentle shake. Verify all the strips are well attached. You can always add a bit more glue if needed. Give your creation a little tug to test its durability—if it holds up under gentle tugging, you’re golden.
- Test It Out: Hand it over to your pooch and watch the magic happen. Observe how they interact with it and remember to supervise playtime, especially at first. After all, we want playtime to be safe and fun!
Optional Add-ons/Variations:
- Color Craze: Use different colored fabrics to create a vibrant, rainbow slinky that will surely catch your dog’s eye. You know your pup loves a little flair, right?
- Personal Touch: Customize the fabric strips by adding your dog’s name or fun patterns using fabric markers. Not only will it be uniquely theirs, but it also makes for a super cute photo op.
Pro Tip:
Think about durability—use fabric that can withstand a little chewing and tugging. Also, always check on the slinky after a few play sessions to make sure it’s still secure and safe. You don’t want your furry friend to end up with a slobbery mess of fabric.
Now, go get your craft on, and may your dog’s playtime be filled with endless joy!
3. Slinky Headband Attachment
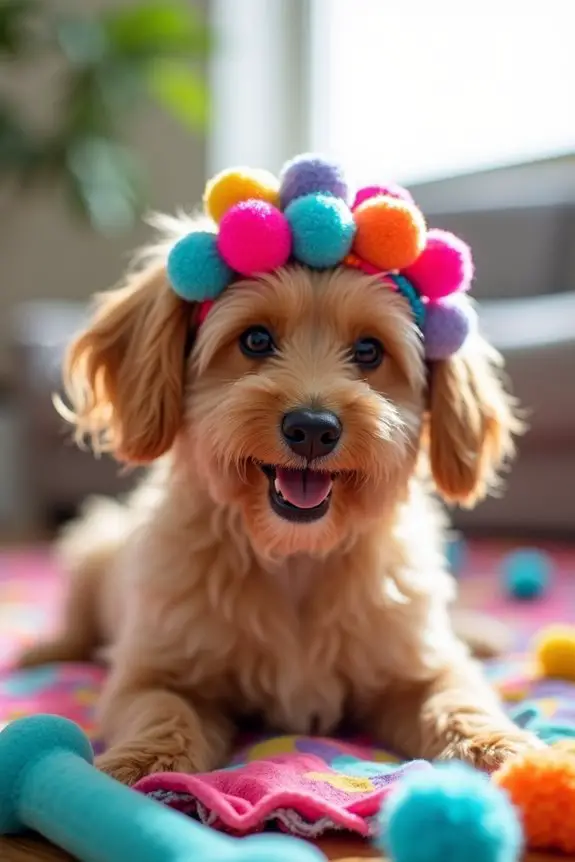
Looking to add a whimsical touch to your pup’s costume without emptying your wallet? This DIY Slinky Headband project isn’t only a fun activity but also a great way to create a unique accessory for your furry friend. Just imagine your dog strutting around in their homemade slinky headband, channeling that iconic Toy Story style.
Plus, crafting your own accessories means you can customize them to fit your pup’s personality and your aesthetic, making it a delightful bonding experience too.
Materials Needed:
- Sturdy headband (you can repurpose an old one)
- Colorful felt or fabric (think slinky colors: pink, blue, yellow)
- Scissors
- Fabric glue or a hot glue gun
- Pom-poms (for added flair)
- Measuring tape or ruler
- Marker
- Optional: Wire (for extra structure)
Step-by-Step Instructions:
1. Gather Your Supplies: First things first, gather all your materials and find a work area. Ideally, one that’s free from distractions—or sticky little paws looking to assist.
2. Cut the Fabric: Take your colorful felt or fabric and cut it into long strips about 1 inch wide and 6-8 inches long. The key here is variety. I ended up with a rainbow explosion last time—I couldn’t resist!
3. Prepare Your Headband: Take your sturdy headband and lay it on your workspace. If it’s worn, you might want to give it a little clean-up or a fresh coat of paint.
4. Glue the First Strip: Start with one of your fabric strips by applying a small amount of glue to one end, then stick it to the headband. This will be your starting point where the slinky effect begins.
5. Add the Slinky Effect: Continue to glue additional fabric strips around the headband, overlapping each one slightly. You can curl these strips to create that classic slinky look as you go.
Yes, it might look a bit wild, but trust me—it’ll be a masterpiece when it’s done.
6. Decorate with Pom-Poms: For a touch of whimsy, grab those pom-poms and glue them onto your headband. You can place them sporadically or in clusters—let your inner designer shine.
7. Final Check and Test: Once everything is glued down, gently shake the headband and check that no strips are coming loose. Give it a little test on your dog—just for sizing and comfort—supervise the whole time, of course.
Optional Add-ons/Variations:
- Color Combinations: Use different colors of fabric for each strip to create a vibrant, multi-colored headband, perfect for festive occasions or just brightening up a dull day.
- Add Bling: Consider sticking on some sequins or glittery embellishments for a sparkly touch that will make your pup feel like a star.
Pro Tip:
Make sure you avoid any small parts that could easily detach and be swallowed. Safety first!
Also, choose lightweight materials so your pup doesn’t feel weighed down while sporting their fashionable accessory. And if you’re worried about durability, a small piece of wire can support the structure—just be cautious with the ends!
Now, you’ve got a fun, personalized accessory for your dog that will definitely draw some attention. You never know; it might just be the first step toward them landing a role in the next Toy Story sequel. Happy crafting!
4. Slinky Dog Paw Covers
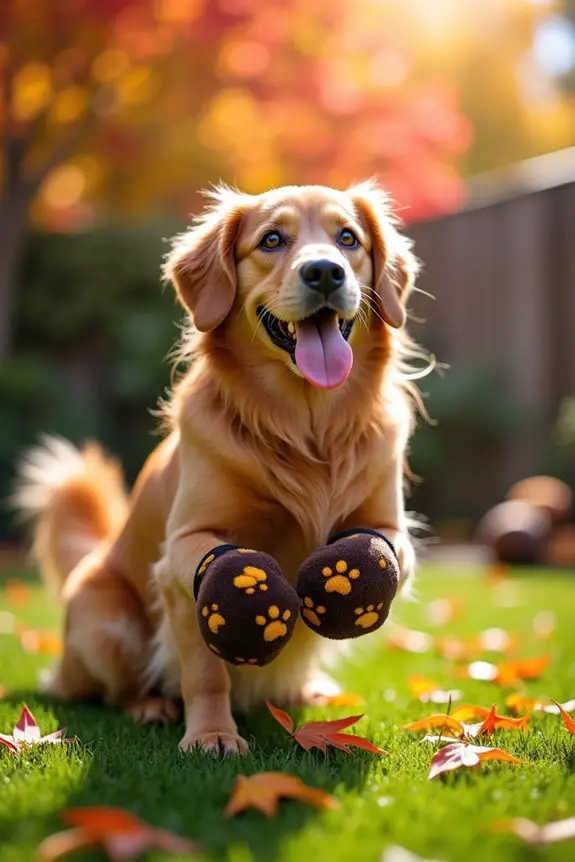
Is your pup ready to take their costume game to the next level? These cozy Slinky Dog Paw Covers aren’t only fun but serve a practical purpose, helping protect your dog’s paws during costume festivities. Plus, making them yourself saves you money while giving your furry friend that extra flair as they bounce around like the adorable character we all know and love. Additionally, luxury dog products can complement your DIY project, ensuring your pup looks even more stylish! To support your dog’s health, consider pairing the costume with premium dog food, which is essential for their overall well-being. Investing in high-end dog supplies can further elevate your pet’s overall look and comfort. Using premium dog food toppers not only enhances their meal but can also entice picky eaters during the season of festivities.
Materials Needed:
- Fleece fabric (in colors: brown, black, and hints of yellow)
- Scissors
- Measuring tape
- Elastic bands or fabric strips
- Sewing machine or needle and thread (or fabric glue for non-sewers)
- Optional: Felt for paw prints and embellishments
Step-by-Step Instructions:
- Measure Your Pup’s Paws: Before you plunge into cutting, measure the length and width of your dog’s paws. This will help guarantee that the covers fit comfortably. Tricky, right? Try getting them to stay still while you do this.
- Cut Out the Fabric: Once you’ve got your measurements, cut four pieces of fleece, about 2-3 inches larger than your dog’s paw on all sides. You’ll need two for each paw—one for the top and one for the bottom. Think of this as your canvas before the masterpiece comes alive.
- Sew the Two Pieces Together: Place the top piece (the one that matches your dog’s color) on the bottom piece (the other contrasting color). If you’re sewing, stitch around the edges, leaving the top open so you can slide it onto your dog’s paw. If you’re using fabric glue, apply it carefully around the edges and let it dry completely.
- Add Elastic: Measure an elastic band or fabric strip around the top edge to keep the cover snugly in place. Sew or glue it on, ensuring it’s tight enough not to slip off, but not so tight that it pinches their delicate fur.
- Embellish (Optional): For a fun twist, use felt to cut out paw prints or other designs and glue or sew them onto the covers. This is where you can show off your creative flair and make your dog stand out in the cutest way possible.
- Try Them On: After everything is dry or sewn, gently slip the covers onto your dog’s paws. It’s essential to supervise them at this point, just to make sure they can walk comfortably and aren’t ready to run off to some racecar adventure.
Optional Add-ons/Variations:
- Funky Colors: Instead of sticking to the classic brown and black, consider using vibrant colors or patterns for a more playful look. Your pup could be the life of the party with bright polka dots or stripes.
- Name Tags: Personalize the paw covers even further by stitching or gluing your dog’s name on the side, making them a true original masterpiece.
Pro Tip:
Keep in mind, if your dog isn’t used to wearing anything on their paws, introduce the covers gradually. Just like we wouldn’t jump into wearing boots for the first time without getting used to them, your four-legged friend needs some adjustment time too. And don’t worry too much about aesthetics; if they look a little wonky, just say it’s “artistic flair.”
Now you’re ready to make these adorable Slinky Dog Paw Covers and let your dog strut their stuff! Who knew costume-making could be this fun?
5. Slinky-Inspired Costume Shoes
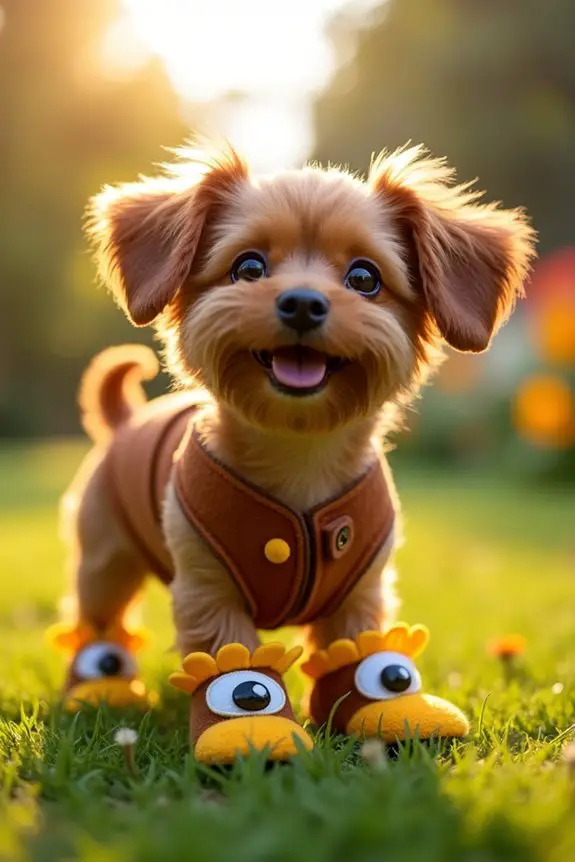
Dressing up your furry friend is one of the many joys of pet ownership, and what better way to embrace the fun than with some DIY Slinky-Inspired Costume Shoes? These whimsical shoes not only add an extra layer of charm to your Slinky Dog costume but also guarantee your pup stays comfortable while looking adorable. Plus, you’ll save money by making them yourself!
Materials Needed:
- Colored felt (brown, black, and hints of yellow)
- Scissors
- Measuring tape
- Adjustable Velcro straps
- Hot glue gun (or fabric glue if you’re feeling fancy)
- Optional: googly eyes or small pom-poms for extra flair
Step-by-Step Instructions:
- Measure Your Pup’s Feet: Just like with the paw covers, you’ll want to start by measuring the length and width of your dog’s feet. Keep it quick—you don’t want them to think it’s playtime and take off.
- Cut Out the Shoe Shapes: Using your measurements, cut out two soles from felt in a shape that covers the bottom of your dog’s paw. Make them slightly larger than the paw to allow for comfort. Next, cut another pair of slightly smaller shapes for the top part of the shoe.
- Attach the Top to the Sole: Use your hot glue gun to attach the top pieces to the soles. Make sure you hold them in place for a few seconds until they bond. If you’re not great at waiting for glue to dry, grab a snack to distract yourself during this time—it can be a tedious moment.
- Add Velcro Straps: Cut two pieces of Velcro and attach one side to the upper part of the shoe and the other side to the inside of the shoe. This will assure a snug fit without being too tight. Think “cozy but secure”—you want your pup to prance around confidently.
- Add Fun Embellishments (Optional): Here comes the fun part! Grab your googly eyes or pom-poms, and glue them onto the shoes to resemble the character’s face or other playful designs. Let your imagination run wild—just keep it dog-friendly, of course.
- Try Them Out: Gently slide the shoes onto your dog’s paws and fasten the Velcro. Do a little dance with them to see how they look! Just remember, be ready to reassure your pet. They might feel a bit weird strutting their stuff at first.
Optional Add-ons/Variations:
- Color Your World: Instead of sticking to classic brown, venture into brighter colors! Think neon pinks or playful patterns—your Slinky Dog could match your mood or be a walking piece of art. After all, dogs have flair too.
- Themed Shoes: If your furry friend has a favorite character or color scheme, make the shoes themed. Maybe they can be a pirate with a skull-and-crossbones or a princess with sparkly glitter. Go wild with it.
Pro Tip:
When making your Slinky-inspired shoes, always double-check that they’re comfortable before letting your pup run amok. A little wiggle test helps spot any potential rubbing before the grand faux pas.
And, if they resist wearing them, try introducing them gradually—start with short time periods and build up, like training for a marathon, but much cuter.
Now, your pup will be the talk of the town, drawing all the “awws” and double-takes with their fabulous DIY Slinky-inspired costume shoes. Happy crafting!
6. Overall Slinky Dog Bodysuit
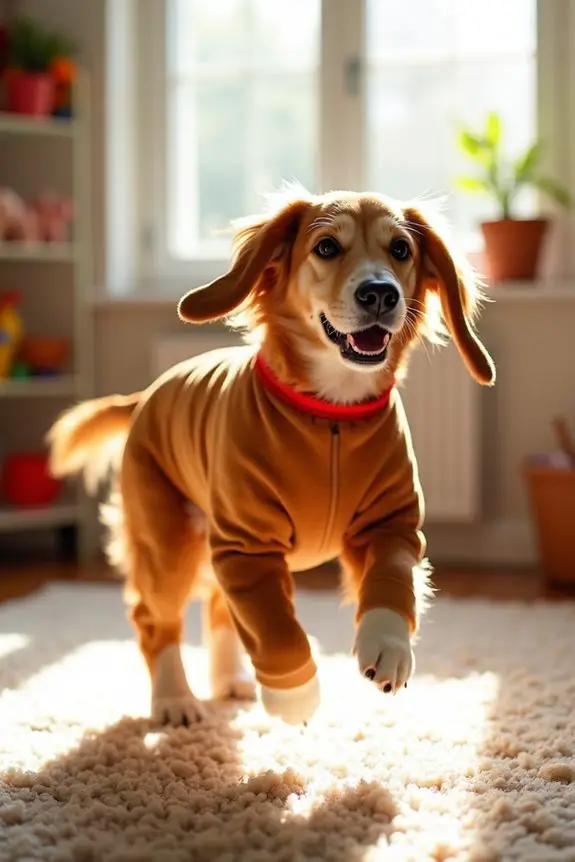
If you want your pooch to embody the cuteness of a Slinky Dog, an overall bodysuit is an absolute must-have for your DIY costume project. Not only does it keep your dog cozy, but it also makes them the star of any party—or at least the center of your living room fun.
Plus, making your own bodysuit saves you money while giving you the chance to create something truly unique.
Materials Needed:
- Soft fleece fabric (brown, black, or any color you prefer)
- Measuring tape
- Sewing machine (or needle and thread for a no-machine option)
- Scissors
- Fabric glue (for non-sewing enthusiasts)
- Velcro strips or buttons for fastenings
- Optional: fabric paint or markers for added designs
Step-by-Step Instructions:
1. Measure Your Dog: Start with your measuring tape and take note of your dog’s chest, neck, and leg measurements. Don’t forget, you’ll want to add a little extra for comfort.
(Trust me, squirmy dogs and tight outfits don’t mix well).
2. Cut the Fabric: Using your measurements, cut out the main body shape. Generally, you want a long oval for the body, and two additional oval shapes for the legs.
Think of it like making a cozy sleeping bag with holes for their legs.
3. Sew or Glue the Bodysuit: If you’re sewing, fold the fabric edges for a neat finish and stitch the main body together, leaving spaces for your dog’s legs.
If you’re using fabric glue, just carefully secure the edges, and again, remember to leave the leg holes free; no dog wants a fashion faux pas.
4. Add Fastenings****: Decide where your bodysuit will open—most owners choose the belly area for easy wear.
Attach your Velcro strips or sew on buttons to secure the bodysuit in place. Make sure it opens easily but stays snug enough during your dog’s adventures.
5. Personalize It: Here’s where the fun really begins! Break out those fabric paints or markers and add some fun designs.
You could give your Slinky Dog a collar, little eyes, or even unique patterns. Channel your inner Picasso (just be careful, dogs can be very judgmental about art).
6. Try It On: Gently slide the bodysuit onto your dog; a little treat doesn’t hurt to encourage good behavior.
Check how it fits while they strut around—adjust as necessary to make sure it’s comfy but not restrictive.
Optional Add-ons/Variations:
- Colorful Patterns: Swap out the fleece for patterned fabric like polka dots or stripes to make your Slinky Dog even more eye-catching.
- Accessorize: Attach a small cape or bowtie for that extra dash of charm. Your dog will be ready for a fashion show.
Pro Tip:
Make sure to pre-wash your fabric to avoid any shrinking mishaps later.
Also, if your pup has a habit of chewing on their outfit, consider using a more durable fabric. A little preparation can go a long way in making certain your DIY project doesn’t become an unintentional chew toy.
Just remember: the goal here is to celebrate your dog’s unique personality while making something special together.
Now, get ready to have a Slinky-tastic time!
7. Slinky Doggy Accessories Set

If you’ve set your heart on creating the ultimate Slinky Dog look for your furry friend, then adding some fabulous accessories is a must! A cute accessory set can elevate your DIY costume, make it stand out during those fall festivities, and even add some comfort for your pup. Plus, who doesn’t love a little canine style? This DIY project isn’t only budget-friendly but also allows you to express your creativity.
Materials Needed:
- Felt sheets (colors like yellow, blue, and pink for great contrast)
- Scissors
- Hot glue gun (careful, it gets hot)
- Googly eyes (small enough for smaller dogs)
- Ribbon or elastic (for things like collars or headbands)
- Craft pom-poms (for extra flair)
- Dog-safe decorations (like fabric flowers or bows)
Step-by-Step Instructions:
- Create a Collar: Start by cutting a strip of felt to create a collar. Make it around 1-2 inches wide and long enough to fit comfortably around your dog’s neck. Fancy dogs require fancy things, right?
- Add Decoration: Use your hot glue gun to attach some fun embellishments. Think pom-poms, googly eyes, or those cute fabric flowers. Just be sure everything is securely glued – dogs have a talent for finding loose pieces and munching on them (not ideal).
- Make a Headband: Use a long strip of felt to create a headband. You can attach additional felt shapes, like floppy ears or a little hat, to take the accessory game up a notch!
- Craft a Wanger Tail: Cut out a long piece of felt to create a tail. Secure one end to your dog’s back using ribbon or elastic. Try to make it so it bounces with their movement – just like a real Slinky Dog! (They may get a kick out of it!)
- Add Final Touches: Don’t forget to personalize! A collar tag (even if it’s just felt) adds a charming touch. And you can use fabric markers to write your dog’s name or draw little bones or paws.
- Try it on and Adjust: Have your dog sport their new digs and check for comfort. This is the part where you channel your inner dog whisperer – dogs can be picky about their accessories, so adjust as needed, and shower them with treats as they model their new look.
Optional Add-ons/Variations:
- Mix and Match Colors: Feel free to swirl and mix fabric colors to create a rainbow of textures and patterns. Why go simple when you can dazzle?
- Seasonal Spin: For Halloween, go with spooky themes; for birthdays, use vibrant colors and fun designs. Why not make it a year-round wardrobe?
Pro Tip: Test all adhesives and decorations for safety before attaching them to any clothing items. A roll of fabric tape can be a life-saver to secure things when you need an extra layer of comfort, just in case your pup is a little too active! It’s all about keeping our furry friends looking good while feeling safe.
Extra Tips & Ideas
While you might think a Slinky Dog costume is all about the basics, there are so many ways to kick it up a notch.
Think about adding LED lights along the edges of your costume—it’ll make you glow like a star in the dark. How about a little rope leash? It can be a fun touch, plus it’ll guarantee everyone knows who you are.
And don’t forget about the eyes—fluffy pom-poms or shiny stickers can bring your Slinky Dog’s face to life. C’mon, it’s all about the details.
You could even use squeaky toys as props to crack a smile from both kids and adults. Just imagine how much fun you’d have shaking things up a bit. Why not?
Frequently Asked Questions
Where Can I Find a Slinky Dog Costume Pattern?
You can find a Slinky Dog costume pattern on craft websites, sewing forums, or DIY blogs. Check platforms like Etsy or Pinterest for creative ideas. Don’t forget to explore YouTube for helpful tutorial videos!
How Do I Attach the Slinky to My Costume?
Picture a magician pulling a rabbit from a hat. To attach the slinky, you’ll clip one end securely to your costume’s back and the other to a waistband or harness for stability and movement.
Can I Use a Wig for the Dog’s Ears?
Yes, you can definitely use a wig for the dog’s ears! Just choose a wig in the appropriate colors, cut it to shape, and attach it securely to your costume for a playful look.
What Materials Are Best for a DIY Slinky Dog Tail?
Have you considered using lightweight materials? For a DIY Slinky Dog tail, you’d want felt or fabric for flexibility, plus some wire for structure. Foam tubes can add volume and keep it playful and bouncy!
How Much Time Does It Take to Make the Costume?
It usually takes about 4 to 6 hours to make the costume, depending on your sewing skills and creativity. Planning, gathering materials, and assembling pieces can affect the overall time needed, too.
Conclusion
So, you’ve got all these fantastic ideas for your DIY Slinky Dog costume, and they’re all about letting your creativity shine. Did you know that 47% of pet owners dress their dogs for Halloween? That’s a lot of furry friends ready for fun! Whether you’re mixing textures or adding LED lights, just remember to have fun and embrace your dog’s unique vibe. Can’t wait to see your creations strut their stuff. Happy crafting, and may your pup be the star of the show!

Hi, I’m Ali Tarek, the founder of Animalsman. I’ve always been passionate about pets, especially dogs and cats, and I created this website to share practical tips, easy recipes, and helpful care advice for fellow pet lovers. My goal is to make pet care simple, enjoyable, and accessible for everyone. When I’m not writing or curating content, you’ll usually find me spending time with my furry friends or learning new ways to keep them happy and healthy.

