Did you know that over 70% of dog owners consider their pets to be part of the family? It’s true. So, doesn’t your furry friend deserve a bed that reflects their importance? Imagine the joy of finding a stylish dog bed pillow that blends comfort and aesthetics, while making your pup feel like royalty. We’ve got ten creative designs to explore, and trust me, once you see them, you’ll want to treat your dog to something special.
Stylish Shapes for Any Room
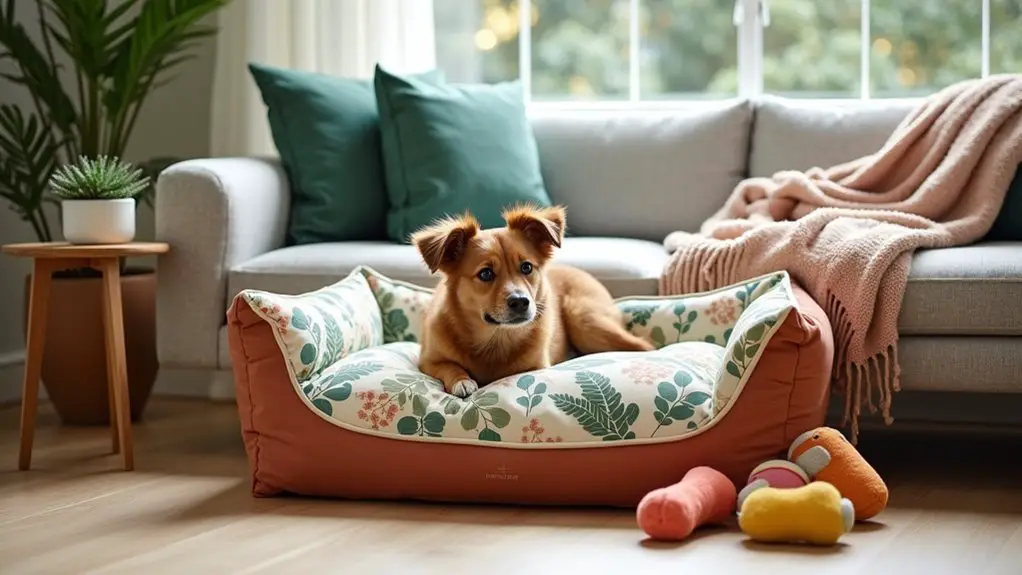
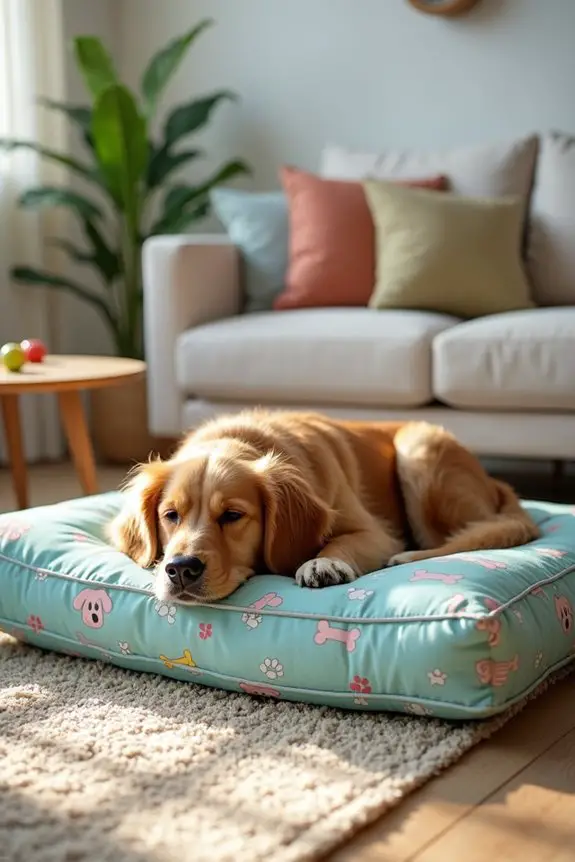
When you think about it, your dog’s bed is more than just a comfy spot; it’s a key piece in your home decor. Choosing stylish shapes for a DIY dog bed pillow can really elevate a room’s vibe.
Instead of a flat rectangle, why not create a cozy donut shape or a plush square? These designs not only look great but also offer snuggling options for your furry friend.
Picture your pup curling up in a chic, round pillow that matches your throw pillows. It’s like their little oasis!
Plus, making one means you can pick colors and fabrics that fit your space perfectly.
Just remember, even if your sewing skills are questionable, your dog won’t care; they’ll love it all the same.
Our Collection
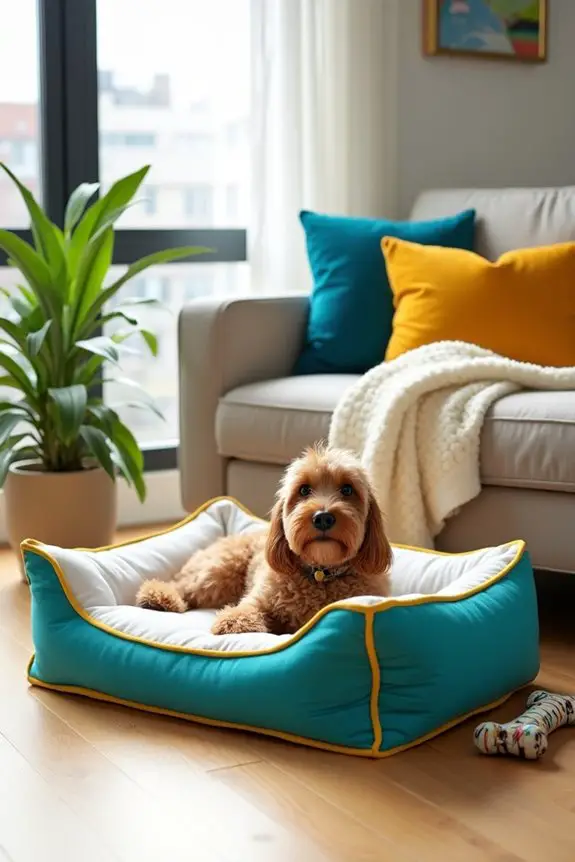
When it comes to comfort for your dog, our collection’s got you covered in style and functionality.
Imagine this: a memory foam luxury pillow that hugs your pup just right, paired with a waterproof cover for those occasional spills—yes, we all know how messy they can be.
Plus, if you care about the planet, we even offer eco-friendly options to make both you and your furry friend feel good.
1. Memory Foam Luxury Pillow
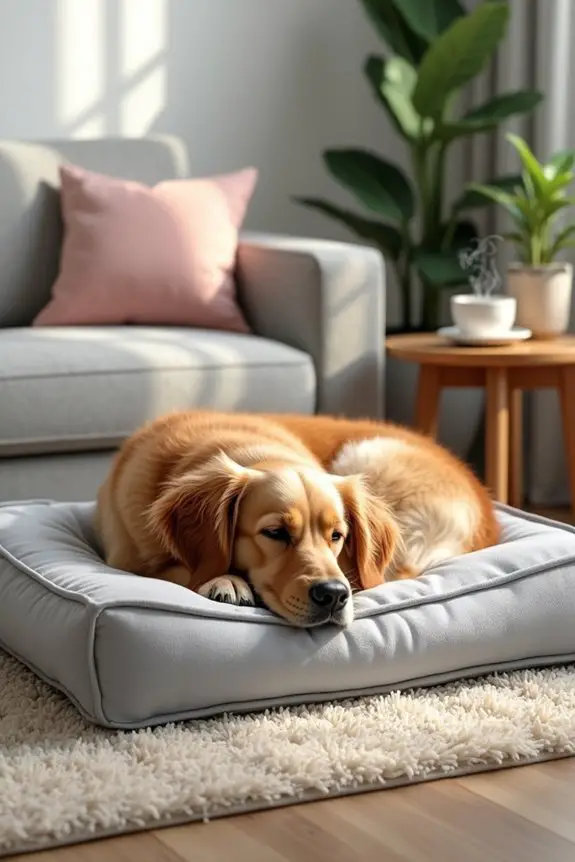
Creating your own memory foam dog bed pillow isn’t just a fun activity, but it’s also a fantastic way to give your furry friend the comfort they deserve while saving a few bucks. Who wouldn’t want a plush, supportive place for their pup to snooze, right? Plus, making it yourself means you can customize it to perfectly fit your decor—and your doggo’s personality. To elevate your canine companion’s experience, consider adding luxury dog costume accessories to their wardrobe for a stylish touch. Let’s get crafting!
Materials Needed:
- 1 large piece of memory foam (you can buy pre-cut foam at craft stores or online)
- A sturdy fabric (like canvas or faux fur) to cover the pillow
- Heavy-duty sewing machine or sewing needle and thread
- Measuring tape
- Scissors
- Straight pins
- Optional: zipper or Velcro strips (for removable cover)
- Optional: stuffing (for extra fluff, if desired)
Step-by-Step Instructions:
1. Measure and Cut the Foam: Start by measuring your pup’s favorite sleeping spot. Typically, a size of 24” x 30” works well for medium-sized dogs.
Cut the memory foam to this size using scissors. Don’t worry if it’s not perfect; your dog won’t mind.
2. Cut Your Fabric: After you have your foam cut, use it as a template. Lay it on your fabric and cut two pieces, allowing an extra inch on each side for seams.
You can use a fun print or a solid color—choose whatever fits your personality or home vibe.
3. Sew the Pieces Together: Place the two fabric pieces right sides together and pin them in place.
Sew around the edges, leaving a small opening (about 8 inches) on one side. This is where you’ll insert the foam later. If you’re feeling fancy, you can sew in a zipper or Velcro here instead.
4. Turn It Inside Out: Carefully pull the fabric through the opening so that the right side is now facing out.
Your pillow cover should be nice and smooth. Take a moment to appreciate your handiwork.
5. Insert the Foam: Grab your memory foam and gently slide it into the fabric cover.
If you want an extra cozy touch, you could add stuffing around the edges for additional support.
6. Close It Up: Once the foam is snug inside, sew the opening closed.
If using a zipper or Velcro, secure that instead. Voilà! You’ve made a luxurious dog bed pillow that’s made just for your furball.
7. Test It Out: Place the pillow in your pup’s favorite spot and watch their reaction.
You might even want to take a seat next to them for a good cuddle. Just don’t blame me if you end up napping too.
Optional Add-ons/Variations:
– Fabric Fun: Consider using minky fabric for a super soft feel or go bold with patterned canvas.
You can even tie-dye the fabric for a colorful touch.
– Cushion Options: If your dog gets chilly, add a layer of fleece around the foam or make a removable, washable cover to keep things fresh and cozy.
Pro Tip:
Ensure that all edges are secured properly, especially if your dog likes to dig or chew.
Paying attention to these details will boost the durability of your pillow, making it last longer and stay comfortable for countless naps.
And trust me, if your dog sleeps soundly, you’ll also sleep better knowing they’re comfy.
2. Waterproof Washable Cover
If you’re tired of constantly replacing your dog’s bedding due to spills, slobber, or the occasional accident, a waterproof washable cover is the perfect DIY project for you. Not only does it protect your furry friend’s bed, but it also makes cleaning a breeze. Additionally, using a waterproof cover can significantly enhance your dog’s comfort while they enjoy their time in an outdoor dog kennel with essential kennel panels. Not to mention, it’s a great opportunity to incorporate luxury dog wedding accessories that can make your pup’s space feel extra special.
Plus, adding a personalized touch to your home decor is always a win, right? Let’s explore this easy and practical venture—your pup will thank you for it (and so will your laundry!).
Materials Needed:
- 2 large pieces of waterproof fabric (like PUL or coated nylon)
- Coordinating fabric for the outer cover (choose something fun or stylish)
- Heavy-duty sewing machine or sewing needle and thread
- Measuring tape
- Scissors
- Straight pins
- Optional: Velcro or snap fasteners (for easy removal)
- Optional: foam insert (to add cushioning)
Step-by-Step Instructions:
- Measure and Cut the Fabric: Start by measuring the dimensions of your dog’s bed. A good standard size is 30” x 36” for medium to large dogs. Cut your waterproof fabric and your outer fabric to these measurements, adding an inch to each side for seams.
- Pin the Fabrics Together: Place the two pieces of fabric right sides together (the shiny side of the waterproof fabric should be on the inside). Pin them down securely to avoid slipping while sewing.
- Sew the Edges: Use your sewing machine to sew around the edges of the fabric, leaving a small gap (about 8 inches) on one side so you can flip it right side out. Consider using double stitching for added durability—dogs can be pretty persistent about finding ways to make a mess.
- Flip It Right Side Out: Carefully pull the cover through the gap so that the outer fabric is facing out. Smooth out the corners and edges to guarantee it looks neat and ready for action.
- Optional Cushioning: If you want to add extra comfort, grab your foam insert and snuggle it inside the newly created pocket before sealing it up.
- Close the Gap: Sew the small gap you left open, or if you’re using Velcro or snaps, apply them here for easy access to the cover.
- Toss It and Test: Put the cover on your dog bed and see how your pup reacts. Bonus points for jumping right in and claiming it as their new throne. And hey, take a moment to admire the stylish new look—it’s like you’ve redecorated your pup’s corner without the fuss.
Optional Add-ons/Variations:
- Fabric Options: Choose vibrant colors or even patterns that match your home decor. A cute floral print or a chic geometric design could personalize the look.
- Reversible Design: For even more fun, consider making your cover reversible by sewing two different fabrics together. It’ll be like getting two covers in one—instant variety!
Pro Tip:
When choosing your waterproof fabric, make sure it’s both breathable and easy to clean. Some fabrics can trap odors or moisture, so always check for machine-washable options—your dog’s bed is about to get a lot more action.
3. Eco-Friendly Materials Option
Are you looking for a way to pamper your pup while being kind to the environment? Crafting an eco-friendly dog bed pillow isn’t only a sustainable option but also a thoughtful way to show your furry friend you care. Washable cover dog beds can also provide cleaner and fresher sleeping spots for your pets.
Imagine creating a cozy haven for your dog using materials that are good for the planet—who wouldn’t want to get involved in that? Plus, you’ll save money by avoiding pricey commercial beds and add a personal touch to your home décor.
Materials Needed:
- Organic cotton or bamboo fabric (consider a fun pattern your dog will love)
- Recycled foam or old blankets for stuffing (because we all have those extras lying around)
- Basic sewing supplies: sewing machine, heavy-duty needle, and thread
- Measuring tape
- Scissors
- Straight pins
- Optional: natural dyes or fabric paints for customization
Step-by-Step Instructions:
- Measure and Cut the Fabric: Decide the size of your dog bed pillow—around 24” x 30” is a comfy choice for most medium-sized dogs. Cut two pieces of your eco-friendly fabric to these dimensions, adding about an inch on each side for seams.
- Pin the Fabric Together: Place the two pieces of fabric with the right sides facing each other. Pin them down like you mean it—no slippage here!
- Sew the Edges: Using a sewing machine or a sturdy needle, stitch around the edges. Leave about an 8-inch gap on one side so you can flip it inside out later. Keep it about a quarter-inch from the edge to guarantee durability.
- Flip It Right Side Out: Pull the pillowcase through the opening, revealing the beautiful fabric. Get those corners nice and crisp—you want it to look good, even if it will be snuggled on by a slobbery pup.
- Fill the Pillow: Stuff your recycled foam or old blankets into the pillowcase until it feels plush and cozy. If you’re using small pieces, make sure not to pull it too tight; a little squishiness goes a long way in comfort.
- Close the Gap: Sew up the opening you used to flip the pillow right side out. You can also add some Velcro to make it easy to clean.
- Test Drive: Finally, present the pillow to your dog. Will they leap on it immediately? Will they circle around like they’re surveying their territory first? Either way, snapping a picture is a must.
Optional Add-ons/Variations:
- Fabric Fun: Use natural dyes or fabric paints to personalize your dog bed pillow even more. Maybe a paw print or their name could add a whimsical touch.
- Reinforcement: If your dog loves to dig into their bed, consider adding an extra layer of fabric on the bottom for durability.
Pro Tip:
When using recycled materials, give old blankets a good wash before stuffing. Not only does this remove pesky odors, but it guarantees your dog’s sleeping area stays fresh and clean.
Also, keep an eye on seams during washing; gentle cycles help keep your hard work intact longer. Your eco-friendly project will be friendly to the planet and your pup both!
4. Orthopedic Support for Dogs
Are you tired of watching your furry friend flop down on the floor instead of their old, lumpy bed? If your pup needs a little extra support, this DIY orthopedic dog bed pillow project is just what you require. Not only is it an economical way to provide comfort for your dog, but it’s a great opportunity to customize their sleeping space.
Plus, who doesn’t love a cozy pillow that also adds a dash of style to their home?
Materials Needed:
- High-density memory foam or orthopedic foam (make sure it’s suitable for pets)
- Durable upholstery fabric (think dog prints or your favorite color)
- Heavy-duty sewing needle and thread
- Measuring tape
- Scissors
- Straight pins
- Optional: old blankets or pillows (for additional stuffing)
Step-by-Step Instructions:
1. Measure and Cut the Foam****: Start by measuring a piece of memory foam to the size you want. For medium dogs, something around 24” x 30” should suffice. Use a sharp knife or electric knife (lots of foam options out there) to cut it cleanly and evenly.
2. Create a Pillowcase****: Cut two equal rectangles of your upholstery fabric, making them slightly larger than the foam (add about an inch to each side for seams). Pin them together, right sides facing, guaranteeing everything is lined up nicely.
Remember, this helps keep the foam cozy and protected.
3. Sew the Edges: Using a sewing machine or needle, stitch around the edges, leaving a space of about 8 inches on one side for turning. Use a solid stitch to make sure nothing gives way to the pup’s enthusiasm.
Make sure to reinforce the corners — they tend to take a bit of a beating.
4. Flip It Right Side Out: Carefully pull the fabric through the opening. Now is the time to straighten any bulky corners so your pillow looks as sharp as it can.
Trust me, your dog will appreciate it.
5. Insert the Foam: Slide your memory foam inside the pillowcase. If you’ve got any old blankets or pillows lying around that you want to use for extra cushioning, feel free to add them for a super plush effect.
6. Close It Up: Sew the opening closed. If you’re feeling fancy, you can use Velcro or a zipper for easy washing later.
A spotlessly clean pillow is a happy pillow…and a happy dog.
7. Let Your Pup Try It Out****: Give your pooch their new orthopedic pillow and watch the joy on their face as they sink into the comfort.
Bonus points if they do that cute circling thing before lying down. Snap a photo; this moment is picture-perfect!
Optional Add-ons/Variations:
- Custom Patterns: Choose fun or whimsical dog-themed fabric to make the pillow pop. You could also use leftover fabric scraps to create a patchwork look if you’re feeling adventurous.
- Personal Embroidery: Consider adding your dog’s name or a cute little saying on the edge of the pillow for that personal touch.
Pro Tip:
Always wash your fabric before sewing to prevent any shrinkage later. Nobody likes a suddenly tight pillowcase!
And you can save on costs by checking for foam scraps at local upholstery shops — you might find what you need at a bargain.
With this simple DIY project, you’ll help your pup feel supported and, perhaps, look a little stylish too. Happy crafting!
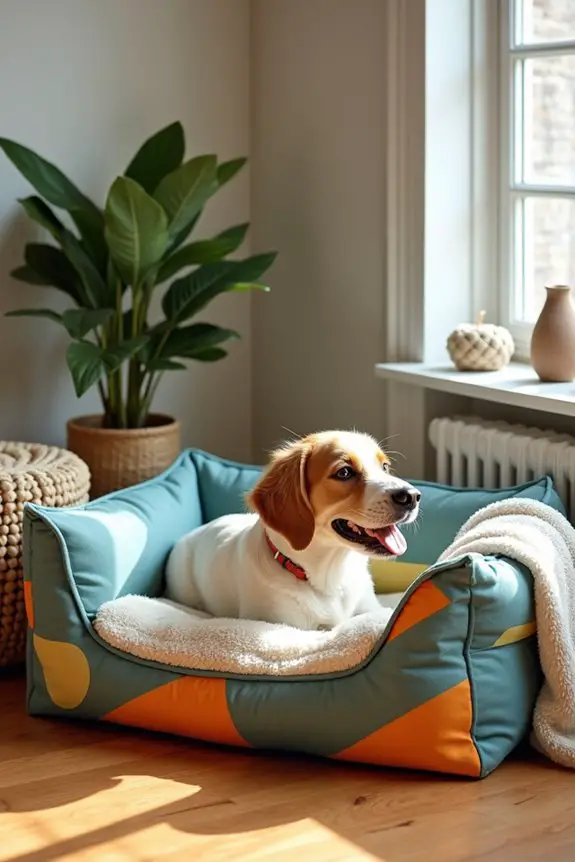
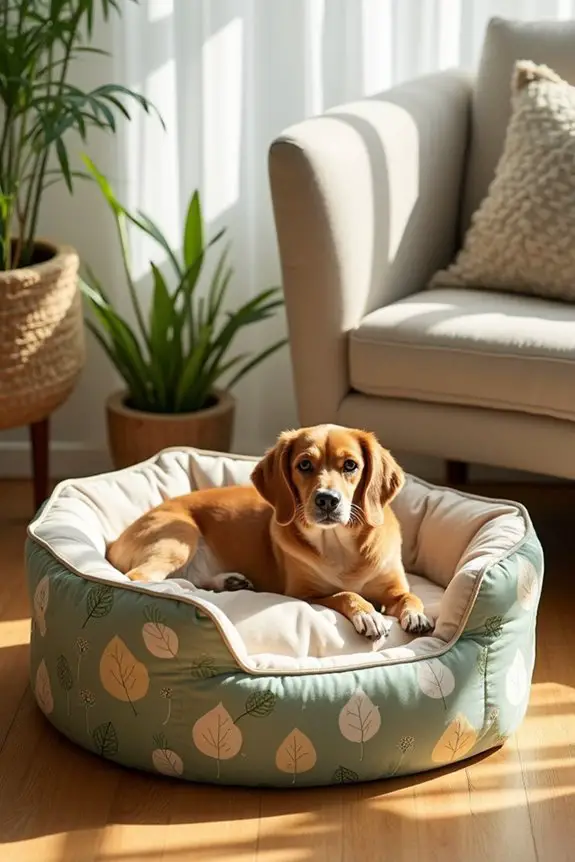
5. Breathable Mesh Design
Looking to give your furry friend the ultimate comfort while keeping their bed stylish? This DIY breathable mesh dog bed project is perfect for you. Not only does it improve your dog’s comfort with its ventilation, but it also adds a modern touch to your home decor. Who would’ve thought a dog bed could look so chic, right?
Plus, you’ll save some money by creating it yourself. Let’s get started on making a bed fit for your regal pup. Additionally, you might want to consider using quality dog kennel building materials that ensure durability if you plan to incorporate the bed into a kennel setup.
Materials Needed:
- Breathable mesh fabric (enough to cover your desired bed size)
- Cotton fabric (for extra padding and coziness)
- Heavy-duty sewing needle and thread
- Measuring tape
- Scissors
- Straight pins
- Sew-in Velcro or zipper (for easy removal and cleaning)
- Optional: extra cushioning material like foam or old pillows
Step-by-Step Instructions:
- Measure Your Bed Dimensions: First, decide the size of the dog bed you want. A simple rectangle of about 30” x 36” is great for medium dogs. Measure and mark your fabric.
- Cut Your Fabric: Cut two pieces from the breathable mesh and two from the cotton fabric, making sure that each piece is larger than your measurements by about an inch on all sides for seams.
- Pin the Layers Together: Stack the mesh on top of the cotton layers, right sides facing in. Pin them together firmly, so they don’t shift while you sew.
- Sew Around the Edges: Using a sewing machine or sturdy needle, sew around the edges of the pinned layers, leaving an opening (about 10 inches) on one side so you can turn it inside out.
- Turn It Inside Out: Carefully pull the fabric through the opening so that the right sides are facing out. Give the corners a gentle poke to make them sharp and crisp—your pup expects a comfy corner, after all.
- Add Extra Padding: Slide in your extra cushioning material through the opening. A cozy layer of foam or those old pillows you’ve been holding on to can make a significant difference in comfort.
- Close It Up: Seal the opening with either a sturdy stitch or by applying sew-in Velcro or a zipper. This makes it simple to wash the fabric when playtime (or mealtime) gets a bit messy.
- Present the New Bed: Set the new breathable mesh dog bed down, give Fido the cue to hop on, and watch that tail wag.
Optional Add-ons/Variations:
- Mix and Match Fabrics: Feel free to play around with different mesh colors or patterns to suit your home’s decor or your dog’s personality. Maybe a funky purple with polka dots for a little pizzazz.
- Personalized Touch: Add your pup’s name to the cotton fabric with fabric paint or an iron-on patch. It’ll be a customized masterpiece!
Pro Tip:
Always pre-wash the fabrics before using them. This not only softens them up but also guarantees that any residual chemicals are washed out for your pup’s safety. Plus, it gives you a little cushion in case the fabric decides to shrink a bit when it’s first washed.
Creating a cozy bed for your dog doesn’t have to be intimidating. With a little effort, you can provide your pet with a comfy resting spot that you also feel good about. It’s a win-win, really.
Now, go release your inner DIY guru!
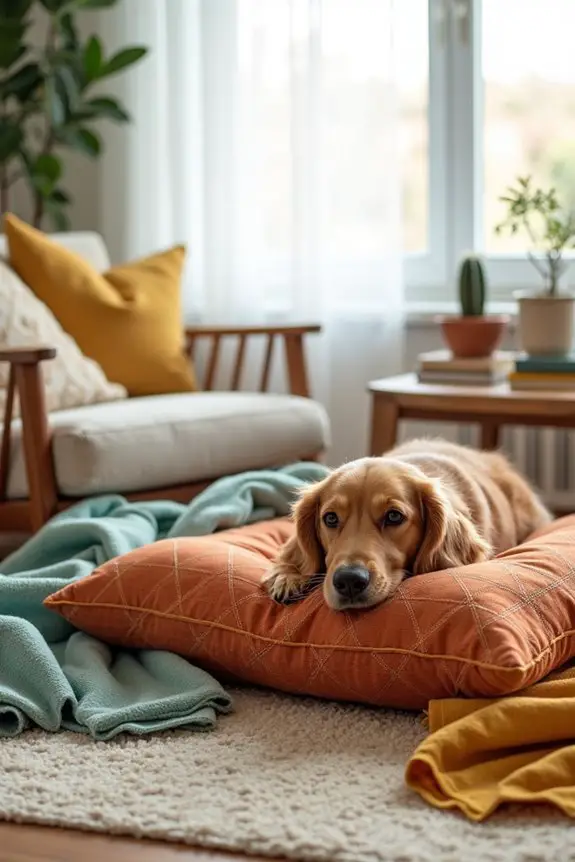
6. Customizable Color Choices
Have you ever thought about how a simple color change could turn your dog’s bed from dull to dazzling? Choosing the right colors for your DIY dog bed not only enhances your home décor but also reflects your dog’s personality—it’s like creating a unique piece of art right at home!
Let’s explore how to bring a splash of style to your furry friend’s comfort zone.
Materials Needed:
- Variety of breathable mesh fabrics in different colors and patterns
- Matching cotton fabric for added comfort
- Heavy-duty sewing needle and thread (in matching color)
- Measuring tape
- Scissors
- Straight pins
- Sew-in Velcro or zipper
- Optional: Extra cushioning material like foam or old pillows
Step-by-Step Instructions:
- Choose Your Color Palette: First, decide on a color scheme that resonates with your home décor. Do you want your dog’s bed to stand out or blend in? Maybe a fun, vibrant pattern or a calm neutral?
- Measure and Cut: Measure the size of the bed you want (a cozy rectangle of 30” x 36” works for medium pups). Cut two pieces from each fabric: the breathable mesh and cotton, leaving an extra inch for seams.
- Pin Your Fabrics: Stack the mesh on top of the cotton, right sides facing each other. Pin the layers securely to keep them from shifting while you sew. Think of it like giving your fabrics a snug hug.
- Sew the Edges: With a sewing machine or by hand, sew along the edges of your pinned layers, ensuring to leave a 10-inch opening on one side. This is super important—it’s your ticket to turning the bed inside out later.
- Turn and Poke: Carefully pull the fabric through that opening so the right sides are showing. Use a pencil or your finger to push the corners gently, making sure they look nice and sharp—like those perfect angles you see in furniture stores.
- Stuff It Up: Time to make it comfy! Insert your extra padding through the opening; consider using foam or some of those old pillows you can’t part with. It’s like giving your pup a little slice of heaven for their naps.
- Seal It Up: Close the opening either with a sturdy stitch or by attaching Velcro or a zipper. This way, you can easily remove and wash it when those muddy paw prints show up.
Optional Add-ons/Variations:
- Unique Patterns: Why not mix and match fabrics? Use a vibrant mesh with a coordinating cotton to set off a playful vibe. Dogs love excitement too, don’t they?
- Personal Touches: Add your pup’s name in the fabric or even create a little tag with their favorite quote. Just because they can’t read it doesn’t mean they won’t appreciate it in their own way.
Pro Tip:
Make sure to pre-wash your fabrics before you start. This step not only helps with potential shrinkage but also removes any chemicals that might be on the fabric from production—which is always a good call for our little fur buddies. A clean start is a happy start, right?
Now get ready to elevate your dog’s cozy corner with a splash of color that reflects their personality—and yours. Happy crafting!
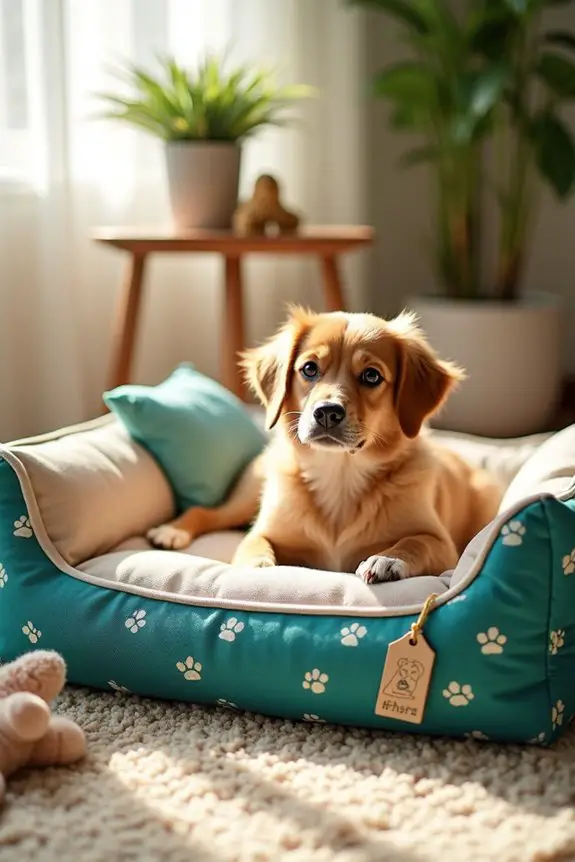
7. Pet-Safe Non-Toxic Fabrics
If you’ve ever pondered how to make your dog’s bed not just comfortable, but also safe to snuggle in, this DIY project is for you! Crafting a dog bed with pet-safe, non-toxic fabrics not only cuts costs but also guarantees your furry friend’s health—because who really wants to worry about harmful chemicals when your pup is blissfully dreaming? Let’s get started on making a cozy, stylish bed that you can feel great about!
Materials Needed:
- Organic, non-toxic fabric (cotton or linen preferred)
- Water-resistant backing fabric (for those nighttime accidents)
- Heavy-duty sewing needle and thread (cotton or polyester)
- Measuring tape
- Scissors
- Straight pins
- Sew-in Velcro or zipper
- Optional: Soft, eco-friendly filling (like pet-safe foam)
Step-by-Step Instructions:
- Pick Your Fabric: Start by selecting your fabric from our collection of pet-safe options. Look for bright patterns or soothing colors that would mesh well with your living space. Feel free to let loose your inner interior designer!
- Measure and Cut: Measure a rectangle about 30” x 36” for the bed, or modify as needed for your pup’s size. Cut two pieces of the non-toxic fabric, adding an extra inch for seams—don’t skip this part, or you might get some unexpected surprises later.
- Layer Your Fabrics: Lay both fabric pieces on top of each other with the right sides facing in. Pin the edges together like you’re tucking them in for a nap. It’s all about giving your creations that sweet little snug hug.
- Sew Away: Time to sew. Start stitching along the edges, leaving a 10-inch opening on one side for turning it inside out. Focus on keeping a straight line, and don’t worry if it’s not perfect; that’s called “character.”
- Turn It Inside Out: You did it! Now carefully flip the bed right side out through that opening. Use something like a chopstick to poke out the corners precisely—like a little crafting magic trick.
- Fill It Up: Give your pup the fluffy dreams they deserve by stuffing in the eco-friendly filling. Think of it as a cozy cloud made just for them. Make sure it’s evenly distributed so they’ll have all the support they need.
- Finish It Up: Seal the opening with Velcro or a zipper—or you can hand stitch it closed if you’re feeling crafty (and patient). You’ll now have a beautiful bed that you can wash when covered in fur or if a little accident happens.
Optional Add-ons/Variations:
– Mix Patterns: For a bold take, combine different non-toxic fabrics—like a colorful patterned top with a simple, solid backing. It’s all about flair; who says dogs can’t have style?
Pro Tip:
Always pre-wash your fabrics before sewing. This not only helps to remove any newfound nasty chemical residue but also allows the fabric to shrink, creating a sturdy and comfy finish after you’ve sewn your masterpiece. Who knew safety could be so stylish?
Extra Tips & Ideas
While you might think a dog bed is just a comfy spot for your pup to snooze, sprucing it up can be a fun project that shows off your personality and creativity.
How about adding a pop of color with some fabric paint? You could let your kiddos—and your pup—get their paws dirty.
Or, try mixing textures by layering a soft fleece blanket with a sleek, quilted cover for that boutique feel.
And don’t forget about the power of accessories; a cute, matching bandana can totally tie the whole vibe together.
Remember, your pup won’t care if it’s Pinterest-perfect, but you’ll definitely smile every time you walk by their stylish little spot.
Plus, it keeps you entertained—even if it’s just for a few minutes!
Frequently Asked Questions
How Do I Choose the Right Size Dog Bed Pillow?
To choose the right size dog bed pillow, measure your dog’s length and width while they lie down. Add a few inches for comfort, ensuring they’ll have enough space to stretch and relax.
Are There Hypoallergenic Materials Available for Dog Bed Pillows?
Yes, there are hypoallergenic materials available for dog bed pillows, like memory foam and organic cotton. These options reduce allergens and create a safe, comfortable space for your furry friend without compromising on style.
Can Dog Bed Pillows Be Machine Washed?
Yes, most dog bed pillows can be machine washed. Just check the care label to confirm it’s safe. You’ll want to use a gentle cycle and mild detergent for ideal cleanliness and longevity.
What Is the Best Filling for Comfort and Support?
Imagine a gentle cloud cradling you. For ultimate comfort and support, opt for memory foam or polyester fiberfill. These materials conform to your dog’s body, providing a cozy haven they’ll love to snuggle into.
How Do I Prevent My Dog From Chewing the Pillow?
To prevent your dog from chewing the pillow, provide plenty of toys and distractions. Use bitter-tasting sprays on the pillow and supervise your dog to reinforce good behavior and discourage chewing. Consistency is key!
Conclusion
Choosing the perfect dog bed pillow can feel like a treasure hunt, but when you find that cozy spot for your pup, it’s like winning the jackpot. Whether it’s a plush donut or a sleek design, imagine your furry friend drifting off to dreamland in style. You get to mix and match colors and fabrics, too. So, why wait? Immerse yourself in this comfy world and let your dog experience pure bliss—because a happy pup means a happy home.

