Your golden retriever just got off the couch — and left behind a damp, fur-covered cushion that no throw blanket can fix.
You know that feeling. You spent a whole weekend making your living room look straight out of Pinterest, and somehow your dog claimed the best seat in the house. Again.
I went through this same thing with my cousin’s lab mix last summer. We tried three different store beds and he destroyed every single one. Too small, too flat, too gone.
Here’s the thing — most store-bought beds for big dogs are either ugly or they fall apart fast. Neither works for someone who actually cares how their home looks.
That’s exactly why these diy dog beds for large dogs are worth your weekend. They’re built to hold a big dog AND actually look good doing it.
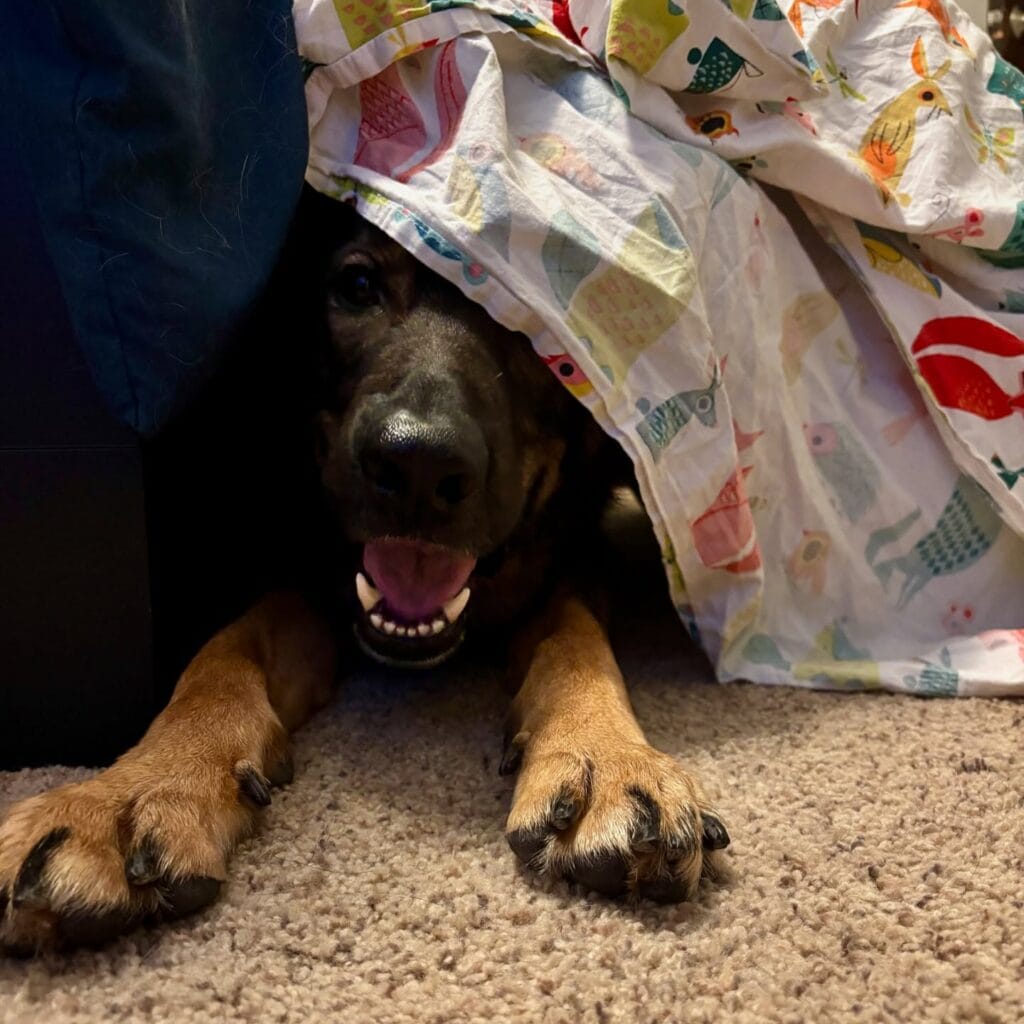
#1: The “Steal My Spot” Ortho Mattress Bed for Large Dogs
You know that moment when your golden has somehow claimed the entire couch, and you’re the one sitting on the floor? Yeah. Been there.
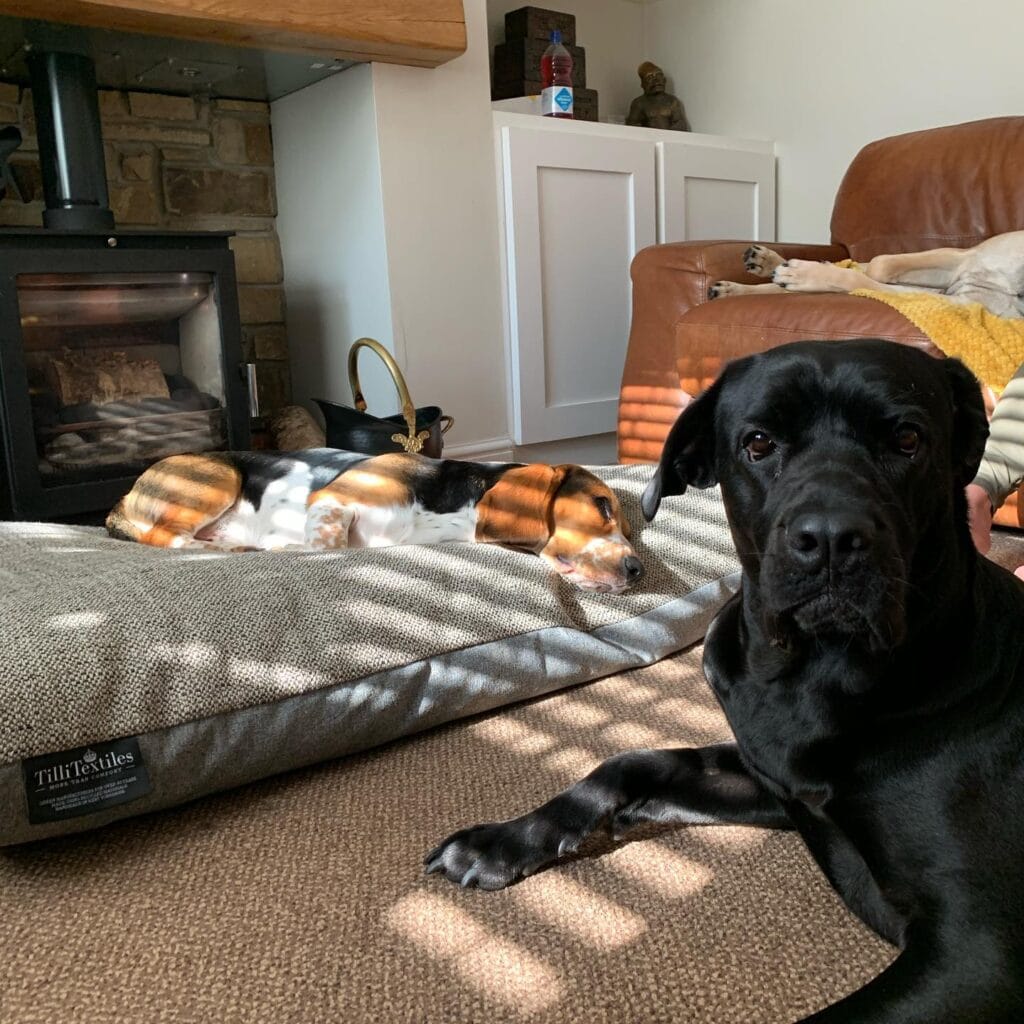
My cousin has a Cane Corso — that big beautiful black dog in the photo — and her smaller beagle always beat him to the good spot. So she built him his own oversized mattress bed and honestly? It shut down the whole couch war.
Materials & Tools:
– 2 yards of heavy-duty herringbone upholstery fabric (gray tweed works great)
– High-density memory foam, cut to 36″ x 48″
– Faux leather trim fabric for the border piping
– Heavy-duty thread + sewing machine
– Fabric scissors + measuring tape
Instructions
Cut your foam first. Wrap it with a thin batting layer — this adds softness so your dog actually uses it instead of your sofa. Sew your tweed cover with a 2-inch faux leather border, leaving one end open. Stuff the foam in, then hand-stitch the opening closed using a ladder stitch. Pull it tight so no sagging happens at the edges.
The faux leather piping acts as a bumper — it holds the mattress shape after heavy use and keeps large breeds from pushing the filling around.
Toss a washable cover over it when guests come. You’ll thank yourself.
Prep Time: 20 min | Active Project Time: 2 hours | Difficulty: Intermediate
📸 Photo credit: Instagram @canecorsoqueenuk
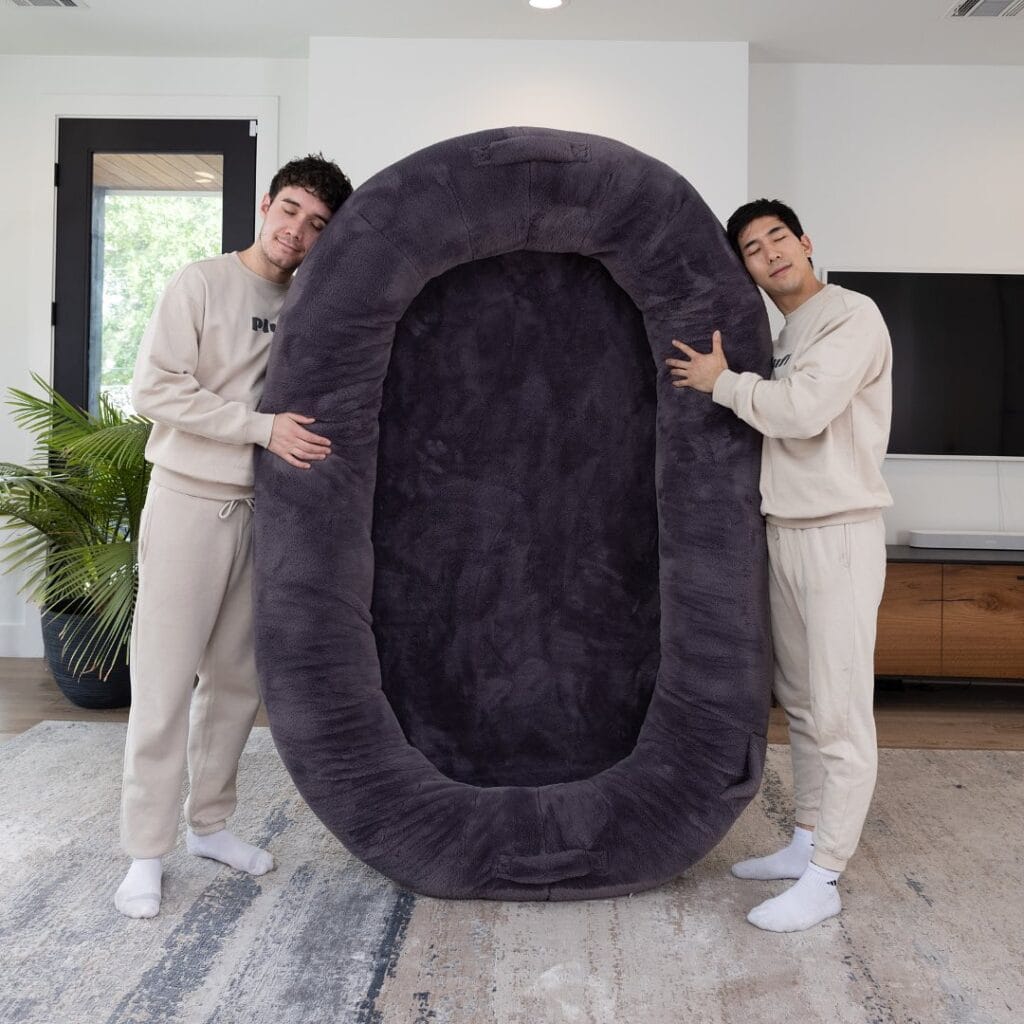
#2: The Giant Oval Dog Bed (The “My Dog Thinks He’s a Person” Build)
You know that moment when your golden flops onto your couch, takes up the whole cushion, and just… stares at you? Yeah. She’s not moving.
This DIY is basically a human-sized dog bed — an oversized oval bolster design in dark charcoal faux fur fabric, with a raised ring perimeter and a flat center sleeping basin.
Materials & Tools:
– 3-4 yards of charcoal minky or faux fur fabric
– High-loft foam (ring-shaped, roughly 48″ x 32″)
– Dense foam pad for the center base
– Heavy-duty sewing machine + upholstery thread
– Fabric scissors, pins, zipper (24″)
Instructions
Cut two oval shapes for the center. Sew the foam ring casing separately, stuff it firm — this bolster supports your dog’s neck and spine, meaning deeper sleep and less restless shifting. Attach the center pad, zip it closed.
The faux fur surface traps warmth without overheating, so your dog stays cozy without panting through the night.
And honestly? Sew a hidden zipper so the cover comes off for washing. Golden retriever hair finds everything.
Prep Time: 30 min | Active Project Time: 3–4 hrs | Difficulty Level: Intermediate
📸 Photo credit: Instagram @weareplufl
#3: The “Puppy Pile” Donut Bed — One Bed, Whole Litter Energy
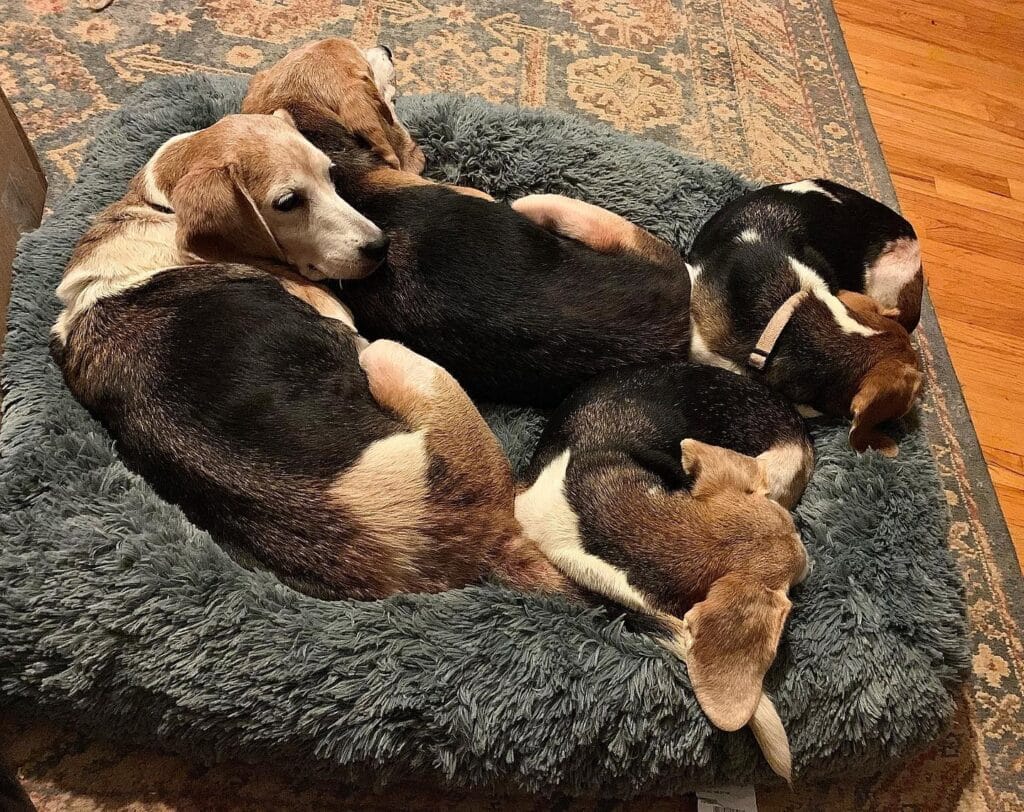
You know that moment when your golden flops onto their bed and somehow takes up three times more space than makes sense? Now picture five beagles doing that. Together. On one bed.
This is the round donut-style dog bed — and it’s made for exactly that chaos.
Materials & Tools:
– 1.5 yards of gray faux shag fabric
– Poly-fill stuffing (approx. 3 lbs)
– Non-slip fabric for the bottom base
– Sewing machine + thread
– Scissors, pins, measuring tape
Instructions
Cut two 24-inch circles from your shag fabric. Cut one matching circle from non-slip fabric. Sew the non-slip base to the bottom shag circle first — this keeps the bed from sliding on hardwood floors, which your dog will actually use.
Sew the top circle to the base, leaving a 6-inch gap. Stuff generously until the walls hold their raised shape. That raised bolster edge? It supports their neck and spine, so restless dogs settle faster and sleep longer.
Hand-stitch the gap closed.
The shag texture traps warmth without overheating — perfect for a dog pile situation.
Wash on cold, air dry to keep the fluff intact.
Prep Time: 20 min | Active Project Time: 1.5 hours | Difficulty: Beginner-Intermediate
📸 Photo credit: Instagram @livingwaterscove
#4: The “Two Pugs, One Bed” Bolster Dog Bed (And Yes, They’ll Still Fight Over It)
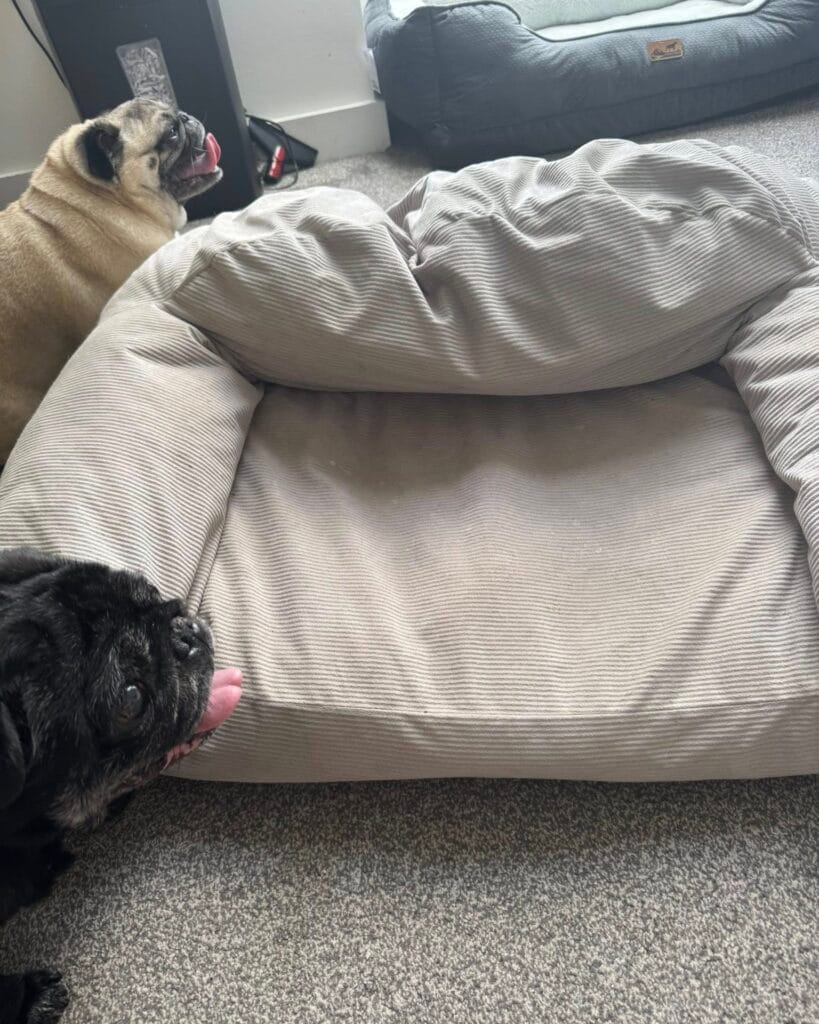
You know that moment when your dog just stares at their bed like it personally offended them? My cousin’s two pugs do this exact thing — one fawn, one black — standing on opposite sides of a bolster bed, tongues out, full drama mode.
Prep Time: 20 min | Active Project Time: 2 hours | Difficulty: Beginner
Materials & Tools:
– 1.5 yards of striped ticking fabric (cream/grey)
– High-density foam insert, 24″ x 36″
– Bolster tube foam, 48″ long
– Fabric scissors, sewing machine, zipper (22″ nylon)
### Instructions
Cut your ticking fabric into one 24″x36″ base panel and two 12″x48″ bolster strips. Fold each bolster strip around the tube foam, stitch the long edge shut — the firm bolster gives your dog’s neck real support, which means deeper sleep and less restless nights for you too.
Sew three bolster sides onto the base, attach the zipper on the fourth side. Stuff your foam insert, zip it closed.
Washing the cover monthly keeps it fresh without replacing the whole bed.
📸 Photo credit: Instagram @michaelinlpool
#5: The “Donut Tower” Multi-Bed Setup — Three Fluffy Beds, One Happy Pack
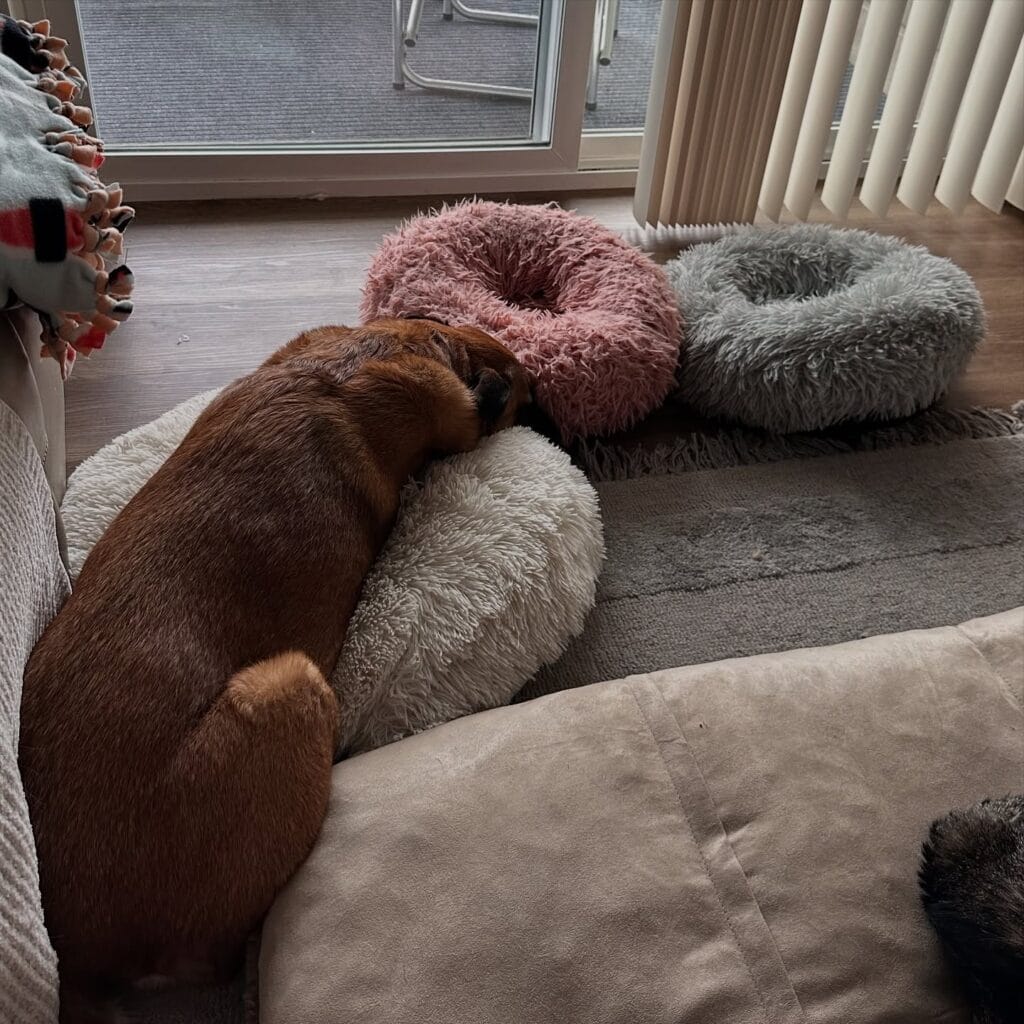
Your golden probably has a “spot.” You know the one — right in the middle of the floor where everyone trips over her.
This setup in the photo is genius for multi-pet homes. Three stacked donut-style beds in blush pink, grey, and cream/white, arranged in a cluster on a grey washable rug next to a large dog mat. Each dog gets their own nest.
Materials & Tools:
– 3 round donut bolster beds (sizes: 23″, 27″, 30″ diameter)
– Faux shag fabric in blush, grey, cream (2 yards each)
– Polyfill stuffing (one 5 lb bag per bed)
– Basic sewing machine + thread
Instructions
Cut two identical circles per bed. Sew the outer ring into a tube, stuff generously with polyfill — the raised bolster edge supports your dog’s neck and joints, so she sleeps deeper and wakes calmer. Stitch closed.
Cluster the beds by size. Larger bed nearest the sofa.
Wash the faux shag cover on cold, gentle cycle monthly. This keeps skin irritation down — moisture trapped in dense fabric can sometimes trigger yeast infection in dogs.
Prep Time: 20 min | Active Project Time: 2.5 hrs | Difficulty: Moderate
📸 Photo credit: Instagram @tailsofthepawpack
#6: Wine Barrel Pet Beds (The Most Pinterest-Worthy Dog Bed You’ll Ever Build)
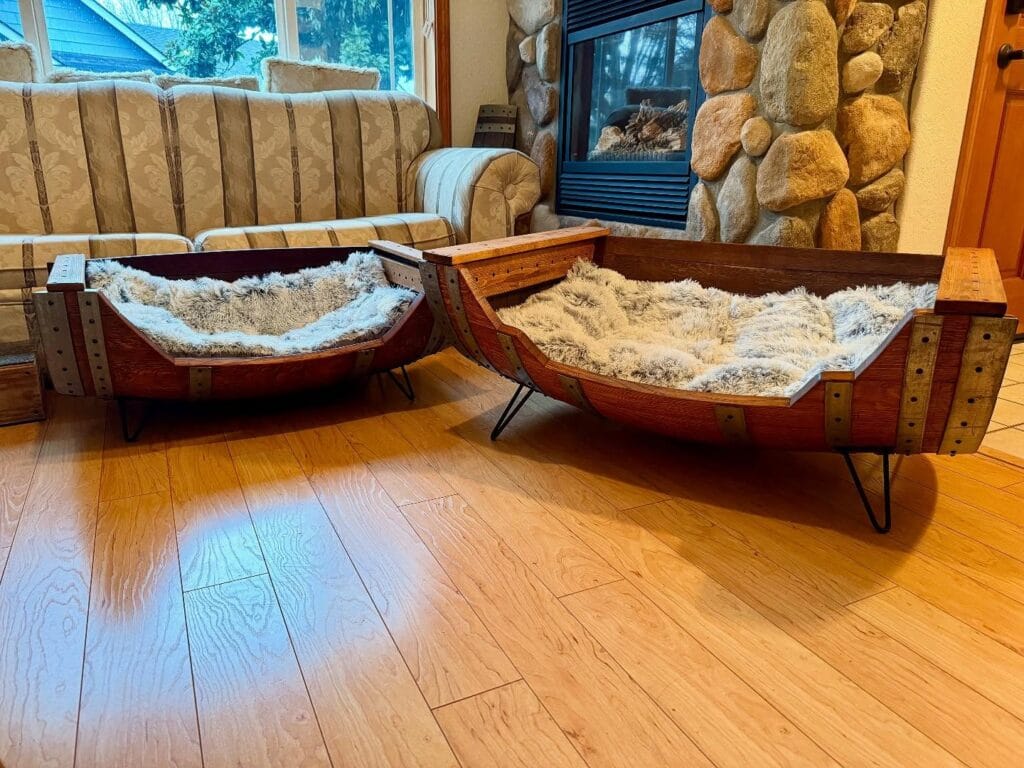
Your golden flops down right in the middle of the living room — again — and you’re stepping over her every five minutes. She deserves better than a sad foam mat on the floor.
These wine barrel stave beds with black hairpin legs and faux sheepskin cushions are exactly what she needs.
Materials & Tools:
– Half wine barrel or individual oak staves
– Brass metal barrel bands
– 3-inch black hairpin legs (set of 4)
– Faux sheepskin cushion (sized to fit)
– Wood stain (deep mahogany)
– Drill + wood screws
– Sandpaper (120-grit)
Instructions
Sand every stave until smooth. Arrange staves into an elongated cradle shape — wider at center, tapered at ends. This curved shape cradles your dog’s body, reducing joint pressure. Attach barrel bands around the frame using screws. Bolt hairpin legs underneath at both ends. Drop in the sheepskin cushion.
The curved oak frame supports your dog’s weight evenly, which means less stiffness after long naps.
I built a smaller version for my cousin’s lab — she texted me three photos within an hour.
Prep Time: 30 min | Active Project Time: 3–4 hours | Difficulty: Intermediate
Stain the wood before assembly — getting into tight corners after is a nightmare.
📸 Photo credit: Instagram @woodshop_customs
#7: The “Cottage Garden” Donut Bed — A Rustic DIY That Looks Straight Off Pinterest
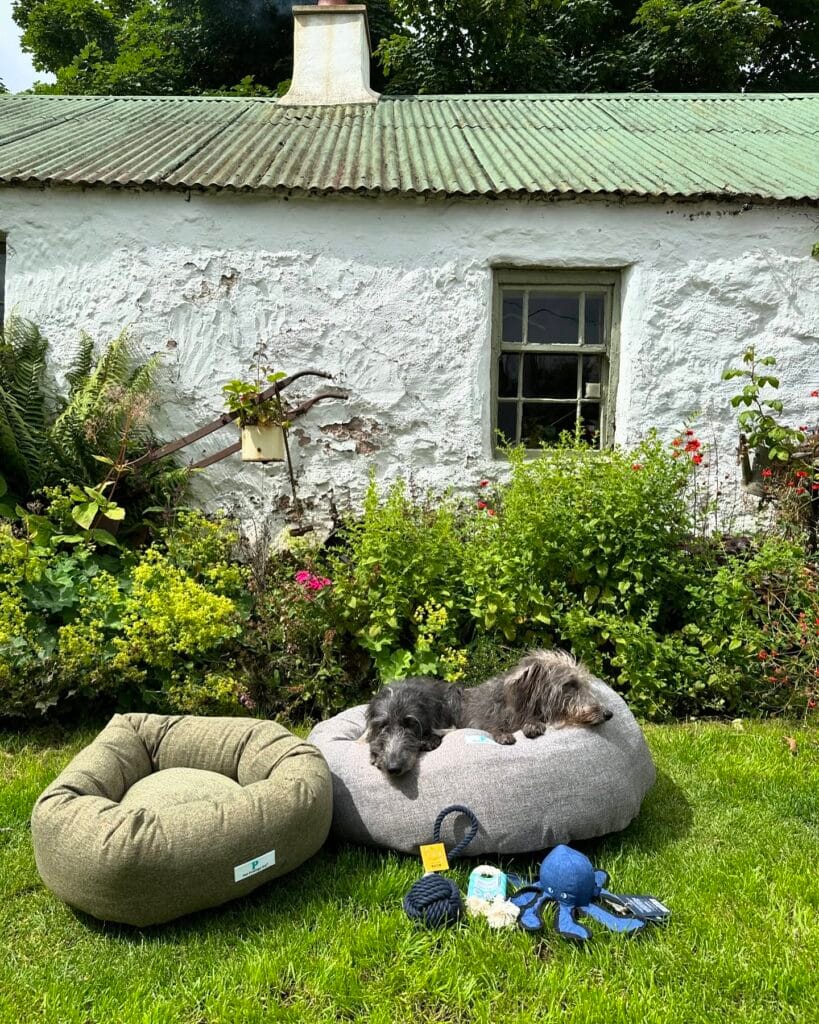
Your golden leaves a body-shaped dent in the couch every single day. You’ve tried blankets. You’ve tried corners. She just migrates back to your linen sofa.
This one’s different.
Materials & Tools:
– 1.5 yards of chunky grey or olive tweed/linen-blend fabric
– High-density foam cut into a 24-inch donut ring
– Polyester fiberfill stuffing
– Heavy-duty thread + upholstery needle
– Fabric scissors + sewing pins
Instructions
Cut your fabric into two matching donut shapes. Sew them together, leaving a 6-inch gap. Flip inside out — the texture stays rich and soft against your dog’s coat. Stuff the ring firm enough to hold its shape but plush enough to cradle. Hand-stitch the gap closed with a ladder stitch.
The tweed fabric resists snags, stays clean between washes, and actually looks good in your living room — meaning less hiding the dog bed before guests arrive.
Make two in different colorways. Olive and grey sit together beautifully, like these do outside this whitewashed cottage.
If you love projects like this, 13 Genius DIY Dog Stuff Every Pet Parent Needs to Try Today! has more ideas worth bookmarking.
Wash the cover monthly. The fiberfill compresses over time — just restuff through a small hidden seam.
Prep Time: 20 min | Active Project Time: 2.5 hrs | Difficulty Level: Intermediate
📸 Photo credit: Instagram @petprestigeuk
The Fill Secret That Separates a Great DIY Dog Bed From a Flat, Sad Pancake
Okay, real talk — most DIY dog bed tutorials completely skip over the fill situation, and that’s where people lose.
For large dogs, you need at least 4-6 inches of compressed fill after your golden flops down. Not before. After. Because materials compress way more than you’d expect under 70+ pounds of happy, sprawling dog.
My cousin made the cutest bed for her Lab last winter — gorgeous fabric, perfect stitching. Within two weeks? Total pancake. Her dog was basically sleeping on the floor with a fabric wrapper.
The move is to layer your fill: memory foam scraps on the bottom for joint support, then shredded foam on top for that sink-in comfort. Old couch cushions from Facebook Marketplace work perfectly for this.
Common mistake: buying batting as your primary fill. It’s too light for big dogs — save it for decorative throw pillows.
And honestly, if you want even more inspo before you start cutting fabric, these 12 heartfelt DIY dog accessory designs might spark some ideas worth stealing.
Your Dog-Proof Home Is One Step Away
Pick one room. Start there. You don’t need to redo everything at once — just grab the messiest spot in your house (you know which one it is) and make one swap this week.
Honestly, once you feel the difference of a space that actually works with your golden instead of against him, you’ll want to keep going.
And hey — if you’re also dealing with muddy paws and a flea situation, these flea remedies for dogs are worth a look too.
So tell me — which room in your house needs the most help right now? 🐾

Amr Mohsen is a software engineer who traded his keyboard for a leash — at least on weekends. His love for dogs inspired him to share what he learns as a dog owner and enthusiast, bringing a detail-oriented, research-driven perspective to every article he writes. If it’s about dogs, he’s probably already looked it up twice.

