Did you know that a well-designed dog house can actually improve your pup’s mood and health? It’s true. A cozy, personalized space can keep them comfortable and happy, especially when the weather turns. But with so many options, where do you start? Don’t worry, I’ve got some charming DIY designs that’ll inspire you to create the perfect outdoor retreat for your furry friend. Trust me, your pup will thank you.
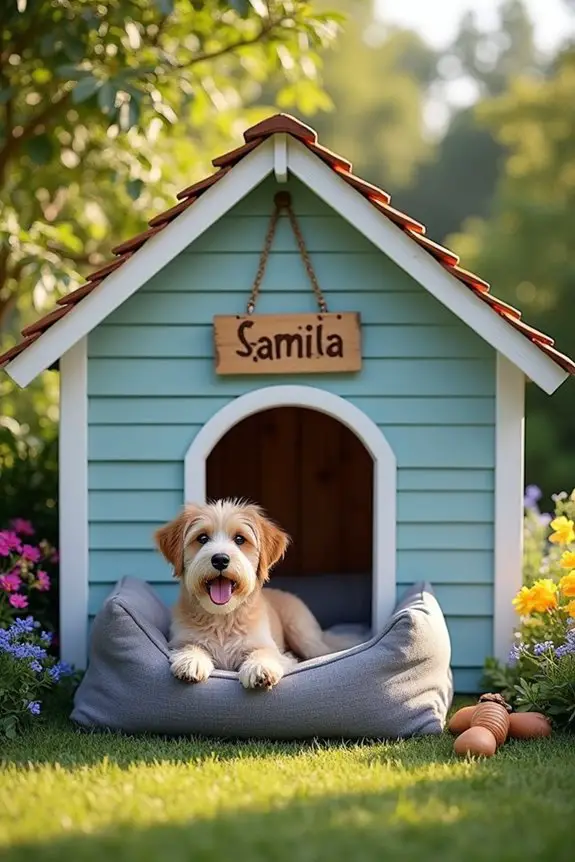
Cozy Canine Retreats
When you think about building a cozy canine retreat for your furry friend, you might wonder where to start. First, pick a spot in your yard that’s shaded and protected from wind. Trust me, your pup will appreciate it.
Next, gather materials for your DIY dog house outdoor project. You’ll need wood, nails, and some insulation—because who wants a shivering dog?
Consider adding a comfy bed inside, maybe even some old blankets. You know, the ones you promised to throw out but just can’t.
Don’t forget ventilation; a stuffy dog house isn’t cozy at all. As you work, imagine your pup’s happy tail wagging. It’ll be worth it when you see them snuggling in their new retreat, right?
Our Collection
Let’s take a peek at our collection of dog houses, where you’ll find designs that fit every pup’s personality.
From the charming wooden A-frame to the customizable modular house, there’s something for every dog lover.
And if you’re feeling eco-conscious, check out the dog house made from recycled materials—it’s a win-win for you and your furry friend.
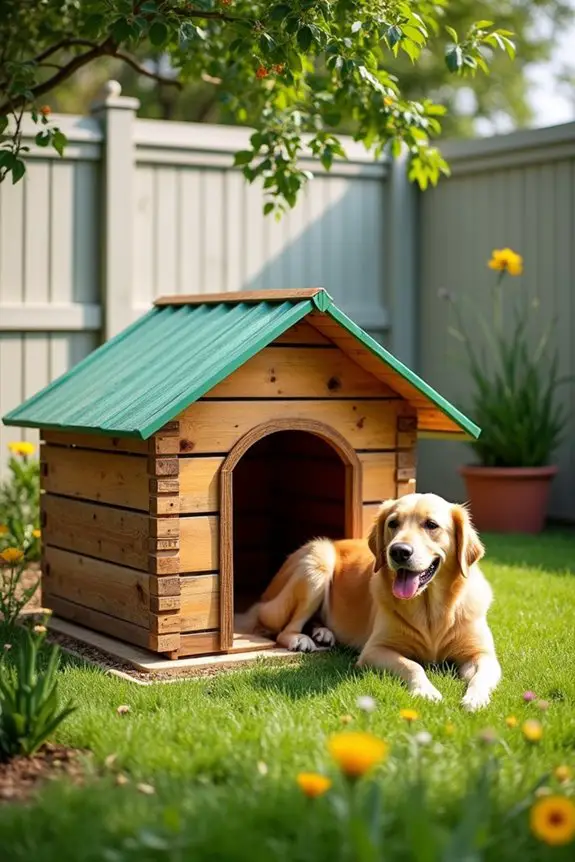
1. Wooden A-frame Design
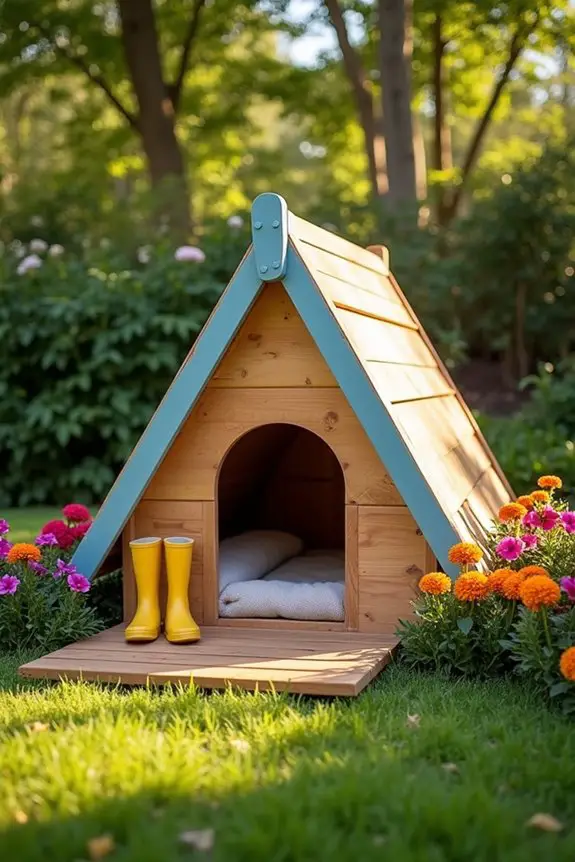
If you’re a dog owner looking to give your furry friend a cozy retreat, a DIY wooden A-frame dog house is a fantastic project to tackle. Not only does it provide a comfortable shelter for your pup, but it’s also a cost-effective way to create something unique for your yard. Plus, let’s be honest—nothing beats the satisfaction of building something with your own hands, right? Your dog will love it, and your wallet will thank you! Additionally, consider enhancing your pup’s diet with a premium dog food subscription to ensure they stay healthy and happy.
Materials Needed:
- 2 sheets of plywood (3/4 inch thick for the base and walls)
- 1 sheet of plywood (1/2 inch thick for the roof)
- 2×4 wood boards (for framing)
- Wood screws (1-1/4 inch)
- Wood glue
- Sandpaper (medium and fine grit)
- Outdoor paint or wood sealer (to protect from the elements)
- Tape measure
- Saw (circular or hand saw)
- Drill
- Paintbrush (if painting)
- Safety goggles
- Work gloves
Step-by-Step Instructions:
1. Measure and Cut the Base: Start by measuring out a rectangular base for your dog house. A good size for medium dogs is about 36 inches by 24 inches. Cut the plywood accordingly with your saw.
2. Create the Walls: Cut four pieces of plywood for the walls. The two side walls should be 36 inches tall, and the front and back walls should be 24 inches tall, tapering to a point at the top for that iconic A-frame look.
3. Construct the Frame: Using your 2×4 boards, create a sturdy frame for the base. Attach the wall pieces to the frame using wood screws and wood glue for extra support.
Make sure everything is square—nobody wants a wonky dog house.
4. Add the Roof: Cut your 1/2-inch plywood into two triangular pieces to serve as the roof. Attach these to the top of the walls, guaranteeing they fit snugly together at the peak. Secure them with screws.
5. Finishing Touches on the Walls: Sand down all rough edges to make it safe for your dog. Nobody wants splinters in their paws.
6. Paint or Seal: Now for the fun part—adding color! Paint the dog house with outdoor paint or apply a wood sealer. This not only makes it look great but also protects it from rain and sun.
Choose a color that matches your home or yard for a cohesive look.
7. Let it Dry: Before letting your pup venture in, give the paint or sealer plenty of time to dry. This could take a few hours or even a day, depending on the product.
Patience is key here.
Optional Add-ons/Variations:
- Personalize it: How about adding your dog’s name on the front? You can stencil it with paint or even use vinyl letters for a clean look.
- Comfort Variations: Consider adding a small porch or a removable roof for easy cleaning. You could also line the inside with soft bedding or a blanket to guarantee it’s extra cozy for your dog.
Pro Tip:
Always remember to check your dog’s size before building. You want to verify they’ve enough room to stand up, turn around, and lie down comfortably.
And if you’re feeling extra generous, consider adding a small raised area inside to keep them off the floor. Comfort is key, after all.
Building a dog house isn’t just a fun project; it’s a way to create a special space for your beloved pet.
2. Insulated Dog House Design
If you’re looking for a way to keep your furry friend cozy and warm during those chilly nights, building an insulated dog house is a fantastic DIY project. Not only does it protect your pup from the elements, but it also saves money on commercial dog houses that can cost a fortune.
Plus, you can customize it to fit your home and your dog’s personality. Your dog deserves the best, and this project is a great way to show them you care. Additionally, consider enhancing your dog’s recovery experience with dog recovery crate accessories that can aid in their comfort and well-being.
Materials Needed:
- 2 sheets of plywood (3/4 inch thick for the base and walls)
- 1 sheet of rigid foam insulation (1 inch thick)
- 2×4 wood boards (for framing)
- Wood screws (1-1/4 inch)
- Wood glue
- Sandpaper (medium and fine grit)
- Outdoor paint or wood sealer
- Tape measure
- Saw (circular or hand saw)
- Drill
- Paintbrush (if painting)
- Safety goggles
- Work gloves
Step-by-Step Instructions:
- Measure and Cut the Base: Start with a solid rectangular base. For medium dogs, a size of about 36 inches by 24 inches works well. Cut the plywood to size using your saw.
- Create the Walls: Cut four pieces of plywood for the walls. The two side walls should be 36 inches tall, while the front and back walls should be 24 inches tall, tapering at the top for that charming A-frame look.
- Add Insulation: Before assembling, cut the rigid foam insulation to fit between the wall pieces. This will help keep your dog warm.
- Construct the Frame: Using your 2×4 boards, create a sturdy frame for the base. Attach the wall pieces to the frame using wood screws, securing the insulation in place with wood glue for extra comfort.
- Add the Roof: Cut a piece of plywood for the roof. If you want to insulate the roof as well, consider adding another layer of foam insulation before attaching the plywood. Secure everything with screws.
- Finishing Touches: Sand down any rough edges to guarantee your dog won’t get any splinters. Safety first, right?
- Paint or Seal: Now for the fun part—give your dog house a splash of color or a protective wood sealer. This not only looks great but also guards against the weather. Choose a fun color that reflects your dog’s personality or matches your home.
- Let it Dry: Before your pup can explore their new home, allow the paint or sealer to dry fully. This could take several hours, so maybe grab a coffee and relax for a bit.
Optional Add-ons/Variations:
- Personalize It: You could paint your dog’s name on the front or even add a cute little decorative sign. If you’re feeling crafty, consider adding a small window with a mesh screen for ventilation.
- Choose Different Materials: Instead of plywood, consider using reclaimed wood for a rustic look. Or add a soft mat inside for extra comfort.
Pro Tip:
When using insulation, make sure it’s covered to prevent your dog from chewing on it. It’s a good idea to line the inside with plywood or another durable material.
Also, elevate the dog house off the ground slightly to prevent moisture from seeping in—no one likes a soggy dog house.
Building an insulated dog house not only provides a warm haven for your pup but also gives you the satisfaction of creating something special just for them.
Plus, you’ll have plenty of stories to tell about your DIY adventures. Happy building!
3. Elevated Platform Dog House
If you want to give your furry friend a cozy spot that also keeps them off the ground, an elevated platform dog house is a perfect DIY project. Not only does it help protect your pup from dampness and cold, but it also adds a charming touch to your backyard or patio. Additionally, investing in a premium outdoor dog kennel can further enhance your dog’s outdoor experience.
Plus, it’s a budget-friendly way to create a comfortable haven for your dog while showcasing your handy skills. Your pup will feel like royalty, and you’ll love the way it looks too.
Materials Needed:
- 3 sheets of plywood (1/2 inch thick for the base and walls)
- 4 wooden posts (4×4 inches, cut to your desired height)
- Wood screws (2 inches)
- Wood glue
- Sandpaper (medium and fine grit)
- Outdoor paint or wood sealer
- Tape measure
- Saw (circular or hand saw)
- Drill
- Paintbrush (if painting)
- Safety goggles
- Work gloves
Step-by-Step Instructions:
- Measure and Cut the Base: Start by cutting a piece of plywood for the base. A good size for medium dogs is around 36 inches by 24 inches. This is where your pup will be lounging, so make sure it’s sturdy.
- Prepare the Walls: Cut four pieces of plywood for the walls. Each wall should be about 24 inches tall. You can choose to make a front wall with a door opening for easy access, or leave it solid for extra protection.
- Attach the Wooden Posts: Measure and cut your wooden posts to the height you want your house elevated. A height of about 12-18 inches works well to keep your dog off the ground. Secure the posts to each corner of the base with wood screws. This will create a solid support for the dog house.
- Construct the Walls: Attach the wall pieces to the base using wood screws. Make sure everything is aligned and secure. If you have a front wall with a door, remember to leave an opening for your pup to enter and exit comfortably.
- Add a Roof: Cut a piece of plywood for the roof. You can make it flat or pitched, depending on your aesthetic preference. Secure it with screws, ensuring it fits snugly over the walls.
- Sanding and Finishing Touches: Sand down any rough edges to prevent splinters. Safety first, right? This is especially important if your dog is an enthusiastic scratcher.
- Paint or Seal: Finally, give your dog house a splash of color or coat it with a protective sealant. This not only looks great but also protects the wood from the elements. Pick a color that matches your garden or one that your dog would love—after all, they’re the one living in it.
Optional Add-ons/Variations:
- Add a Roof Overhang: For extra protection against rain, consider extending the roof a bit. This creates a cozy porch area where your pup can lounge in the shade.
- Personalized Décor: Get creative and paint your dog’s name on the side or add fun designs. You could even use different fabrics or patterns for the interior bedding to match your style.
Pro Tip:
To guarantee your elevated platform dog house stands the test of time, treat the wood with a weather-resistant sealant. This little trick will help protect it from rain and rot, saving you from future repairs.
Plus, your dog will thank you for keeping their home cozy and dry.
Building an elevated platform dog house isn’t just a way to save money; it’s an opportunity to create a special space for your furry friend. Enjoy the process, and don’t forget to take a break and let your dog supervise—you know, just in case they need to approve the design.
4. Customizable Modular Dog House
If you’re all about creating the perfect space for your pup that can evolve over time, a customizable modular dog house is just the ticket. This DIY project not only caters to your dog’s changing needs but also allows you to flex your creative muscles. Imagine having a cozy haven that you can tweak, expand, and personalize to suit your furry friend’s whims and your outdoor decor. It’s a win-win that saves you money and keeps your dog happy. Plus, you can ensure your dog enjoys ultimate comfort with luxury dog beds large to complement their new space.
Materials Needed:
- 4 sheets of plywood (1/2 inch thick)
- 2 wooden beams (2×4 inches, for framing)
- Wood screws (2 inches)
- Hinges (if adding a door)
- Sandpaper (medium and fine grit)
- Outdoor paint or wood sealer
- Tape measure
- Saw (circular or hand saw)
- Drill
- Paintbrush (if painting)
- Safety goggles
- Work gloves
Step-by-Step Instructions:
- Plan Your Design: Before diving into the cutting, sketch out a simple design. Think about how many sections you want and whether you want a roof or just an open-top design for a summer retreat.
- Cut the Base and Walls: Cut the plywood into your desired shapes for the base and walls. A good starting point for a medium dog is a base of 36 inches by 24 inches and walls 24 inches high. Remember, you can add more sections later!
- Assemble the Frame: Use the wooden beams to create a frame for your base. This will give your dog house extra support and durability. Attach the beams with wood screws, ensuring everything is square.
- Attach the Walls: Secure the wall pieces to the base using wood screws. If you’re going for a modular design, consider leaving some walls removable for easy access or expansion.
- Add a Roof: Cut a piece of plywood for the roof, and secure it on top with screws. You can create a flat roof for easy access or a pitched one for a classic look. Don’t forget to add hinges if you want a roof that opens for easy cleaning.
- Sand and Paint: Smooth out any rough edges with sandpaper to keep your pup safe from splinters. Once that’s done, give your creation a nice coat of outdoor paint or wood sealer to protect it from the elements.
- Personalize It: Add your dog’s name, some cute decals, or even a little decorative trim to make it truly yours. If you’re feeling fancy, you can even add a small porch area for extra flair.
Optional Add-ons/Variations:
- Different Materials: Consider using colorful outdoor fabric to create a soft cushion inside, or even use reclaimed wood for a rustic look.
- Expandable Sections: Design your dog house with removable walls, so you can easily add or take away space as your dog grows or your needs change.
Pro Tip:
When painting or sealing your dog house, opt for non-toxic and pet-safe products. Keeping your pup healthy while they lounge in style is the ultimate goal. Plus, don’t forget to let everything dry completely before letting your dog explore their new space. Trust me, you don’t want a paint-covered pup running around your house.
5. Eco-friendly Recycled Materials House
If you’re looking for a fun and sustainable way to give your dog a cozy space to call home, this eco-friendly recycled materials dog house is just the project for you. Not only will you be helping the environment, but you’ll also save money and create a stylish shelter that complements your backyard. Plus, your pup will love having their own special spot! For a truly elevated experience, consider investing in a luxury outdoor dog house that can provide extra comfort and style for your furry friend.
Materials Needed:
- Old wooden pallets or scrap wood
- Recycled plastic sheeting (like old tarps)
- Wood screws (2 inches)
- Hinges (optional for a door)
- Sandpaper (medium and fine grit)
- Non-toxic outdoor paint (optional)
- Tape measure
- Saw (hand saw or circular saw)
- Drill
- Paintbrush (if painting)
- Safety goggles
- Work gloves
Step-by-Step Instructions:
- Gather Your Materials: Start by collecting old wooden pallets, scrap wood, or any other sturdy materials you have lying around. Check with neighbors or local businesses—they might be happy to give away items they no longer need.
- Design Your House: Sketch out a simple design based on the materials you have. Consider the size of your dog and how much space they’ll need. A basic box shape works well and is easy to build.
- Cut and Prepare Your Wood: If using pallets, take them apart carefully and cut them to the desired lengths. You want to create a base, four walls, and a roof. Sand down any rough edges to keep your pup safe from splinters.
- Build the Base: Use your strongest pieces to create a solid foundation. Attach the wood together with screws, ensuring everything is stable. This is where your dog will feel safe and secure, so make it sturdy.
- Attach the Walls: Once your base is ready, secure the walls to the base using screws. If you want a door, leave one wall partially open or make a flap that swings down. Remember, your dog needs to get in and out easily.
- Add the Roof: Cut a piece of wood for the roof and attach it securely. You can create a sloped roof to help rain run off, or a flat roof if you prefer. If you want an extra layer of protection from the elements, cover the roof with recycled plastic sheeting.
- Finishing Touches: Give your dog house a good sand to smooth everything out. If you want to add a splash of color, now’s the time to paint it with non-toxic outdoor paint. Personalize it with your dog’s name or a fun design, and your pup’s new home is ready.
Optional Add-ons/Variations:
- Insulation: If you live in a colder climate, line the inside with old blankets or towels for extra warmth.
- Decorative Roof: Use colorful fabric or even an old shower curtain to cover the roof for a fun and quirky look.
Pro Tip:
Always check for nails or sharp edges in your recycled materials before assembling. A little precaution goes a long way in ensuring your dog’s safety and comfort. Plus, if you’re using pallets, look for ones marked “HT” (heat-treated) to avoid any chemicals.
6. Luxury Dog House With Porch
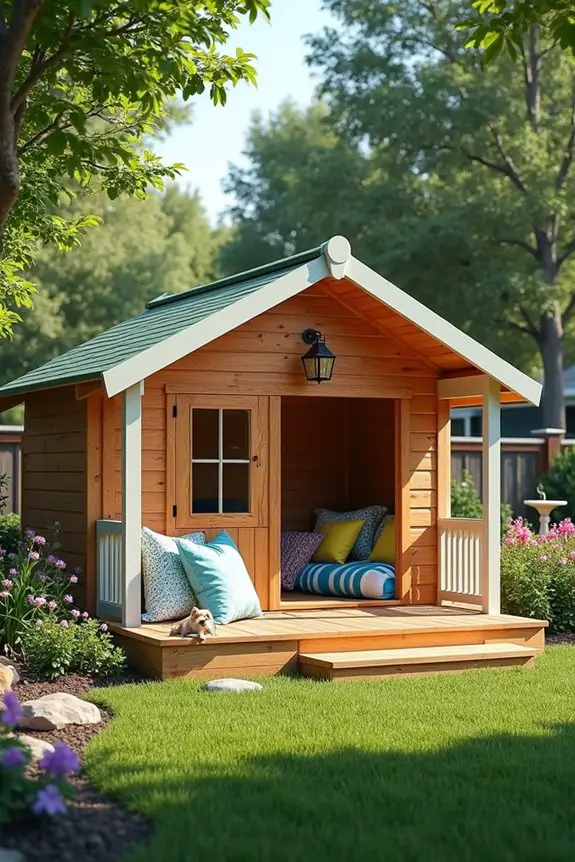
If your pup deserves a little more luxury in their life (and let’s be honest, don’t they all?), then building a luxury dog house with a porch is the perfect DIY project for you. Not only does this stylish abode provide a comfortable space for your furry friend, but it also adds a touch of elegance to your backyard.
Plus, it’s a fun way to show off your crafting skills while saving money compared to store-bought options. So, grab your tools, and let’s get started!
Materials Needed:
- Plywood sheets (for walls, roof, and porch)
- 2×4 lumber (for the frame)
- Wooden deck boards (for porch flooring)
- Wood screws (2.5 inches)
- Hinges (for the door)
- Sandpaper (medium and fine grit)
- Non-toxic outdoor paint or wood stain (optional)
- Tape measure
- Saw (hand saw or circular saw)
- Drill
- Paintbrush (if painting)
- Safety goggles
- Work gloves
Step-by-Step Instructions:
- Gather Your Materials: Start by collecting all your materials. You can find plywood and lumber at your local hardware store. If you’re feeling thrifty, check out local building supply stores for reclaimed wood.
- Design Your Luxury House: Sketch out a design that includes a main house and a porch. Consider the size of your dog and the space you have available in your yard. A good rule of thumb is to make the house at least 25% larger than your pup when they’re lying down.
- Cut and Prepare Your Wood: Using your saw, cut the plywood and lumber according to your design. You’ll need pieces for the base, walls, roof, and porch. Sand down any rough edges to make it safe and comfy for your dog.
- Build the Frame: Start with the base by assembling the 2×4 lumber into a sturdy rectangle. This will support the house and keep it off the ground. Secure the corners with screws for extra stability.
- Attach the Walls and Roof: Once the frame is done, attach the plywood walls to the frame using screws. Create a roof that either slopes for rain runoff or is flat, depending on your aesthetic preference. Secure everything tightly; you want this house to last through all seasons.
- Construct the Porch: For the porch, cut a piece of plywood or use wooden deck boards to create a small platform in front of the house. Attach it securely to the frame with screws. You might want to add a railing for that extra “luxury” feel—after all, your dog should feel like royalty.
- Finishing Touches: Sand the entire structure smooth. If you want to add some flair, now is the time to paint or stain the wood with non-toxic outdoor finishes. Personalize it with your dog’s name or a fun design, and voilà, you have a luxurious dog house that’s ready for its first resident.
Optional Add-ons/Variations:
- Consider adding a small awning over the porch for some shade. You can use fabric or even more plywood to create a cozy spot for your dog to chill.
- Use colorful outdoor cushions or pillows on the porch for added comfort and style. Just make sure they’re washable for easy cleaning.
Pro Tip:
When building your dog house, think about ventilation—especially if you live in a warmer climate. A few strategically placed vents or windows can help keep your pup cool in the summer.
And don’t forget to add a cozy bed inside, because a little luxury goes a long way in making your dog feel at home.
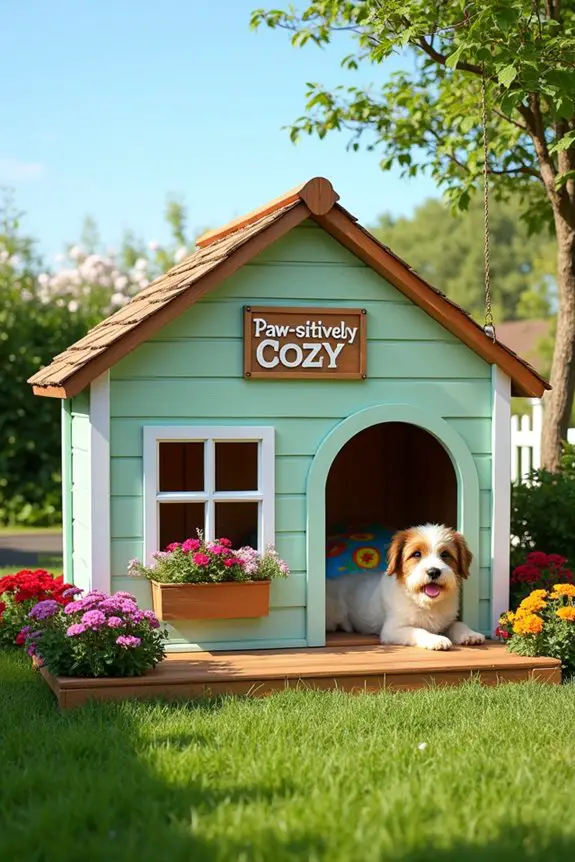
7. Stylish Cottage-Style Dog House
If you’re on a mission to give your furry friend a cozy spot that looks as charming as it’s functional, a cottage-style dog house is the perfect DIY project. Not only does it provide a comfortable retreat for your pup, but it also enhances your backyard aesthetics.
Plus, you’ll save money while crafting a piece that reflects your style and your dog’s personality. Let’s plunge into this fun and rewarding project!
Materials Needed:
- Plywood sheets (for walls and roof)
- 2×4 lumber (for the frame)
- Wood screws (2.5 inches)
- Wooden shingles or clapboard siding (for a cottage look)
- Sandpaper (medium and fine grit)
- Non-toxic outdoor paint or wood stain (optional)
- Tape measure
- Saw (hand saw or circular saw)
- Drill
- Paintbrush (for painting, if desired)
- Safety goggles
- Work gloves
Step-by-Step Instructions:
1. Gather Your Materials: Start by collecting all the materials listed above. You can find plywood and lumber at your local hardware store.
If you’re feeling adventurous, check out reclaimed wood options for a unique touch.
2. Design Your Cottage: Sketch out your design. Aim for a cozy cottage look with a sloped roof and a front door.
Make sure to take into account your dog’s size; they should be able to stand up and turn around comfortably.
3. Cut the Wood: Using your saw, carefully cut the plywood sheets and lumber according to your design.
For a true cottage feel, you might want to create a peaked roof. Sand any rough edges to keep your pup safe and comfy.
4. Build the Frame: Construct a sturdy base using the 2×4 lumber. This rectangle will support the entire structure.
Secure the corners with screws to guarantee it’s stable—your dog deserves a solid foundation.
5. Attach the Walls and Roof: Once the base is ready, attach the plywood walls.
Then, add the roof pieces. A sloped roof is great for rain runoff, while a flat roof might allow for some extra lounging space on top. Just make sure everything is secured tightly.
6. Add the Cottage Touches: Time to make it look like a cottage! Use wooden shingles or clapboard siding to give your dog house that charming design.
You can also think about adding a small window or flower boxes—because who doesn’t love flowers?
7. Finishing Touches: Sand down any rough spots. If you want to add color, now’s the time to paint or stain your dog house.
Make it bright and cheerful or keep it natural; it’s totally up to you.
Optional Add-ons/Variations:
– Personalized Name Plaque: Create a cute name plaque for your dog’s house. Use wood letters or paint their name right on the front.
It adds a personal touch that makes it feel even more special.
– Decorative Accessories: Think about adding a small awning over the door or some colorful cushions inside for extra comfort.
You could even hang a little dog-friendly sign that says “Paw-sitively Cozy” or something equally punny.
Pro Tip:
When building your dog house, make sure to elevate it slightly off the ground.
This helps prevent moisture from seeping in and keeps your dog warm and dry. Plus, a little ventilation goes a long way in keeping the inside comfy during hot summer days.
Your pup will thank you for it, and you’ll feel like the best dog parent ever.
Extra Tips & Ideas
While building a cozy dog house might feel like a monumental task, adding those extra touches can turn a basic shelter into a pup paradise. Ever thought about painting it a fun color? Bright hues can really brighten their space.
You could even add a little nameplate—personalized for your furry friend. How about a comfy bed inside? A soft blanket can make it feel like home.
Don’t forget ventilation; your pup needs fresh air, too. A small window or two will do the trick.
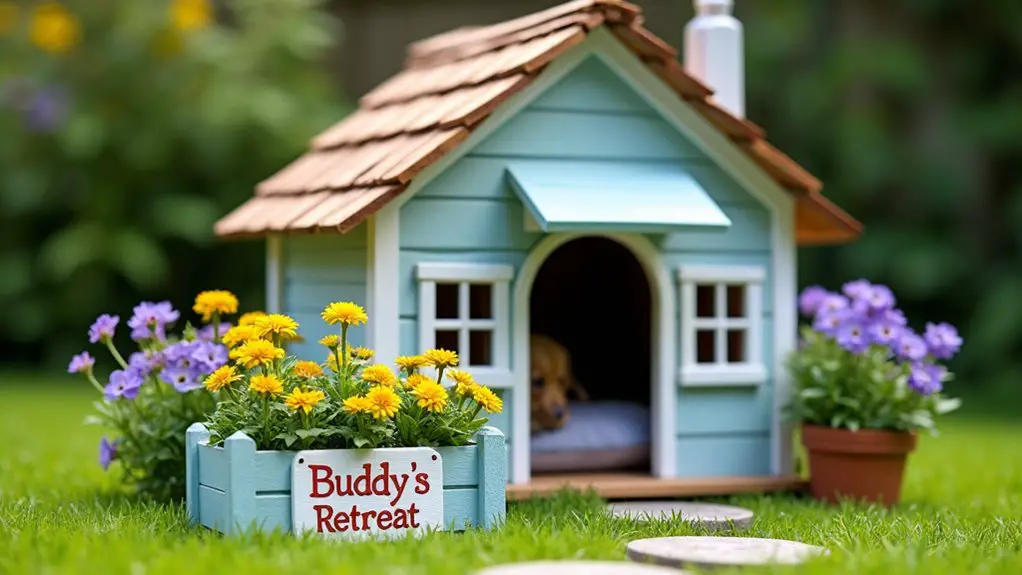
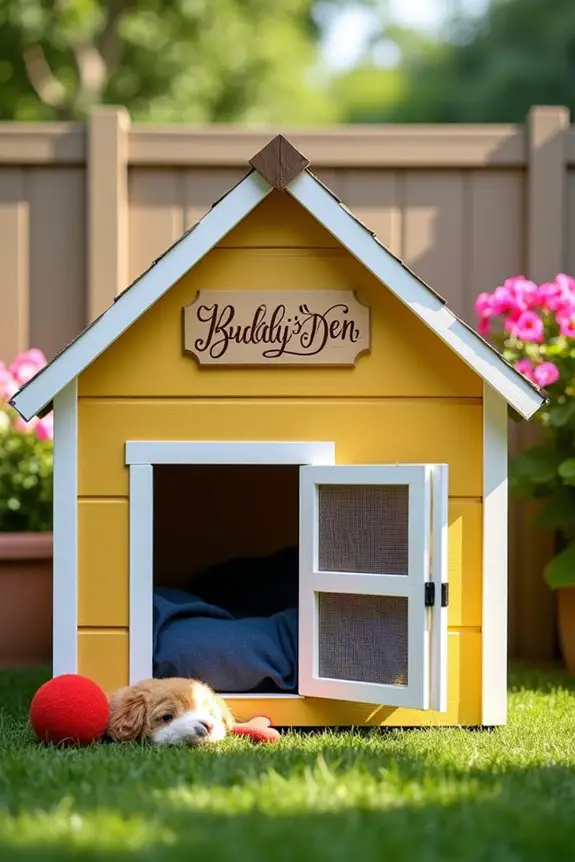
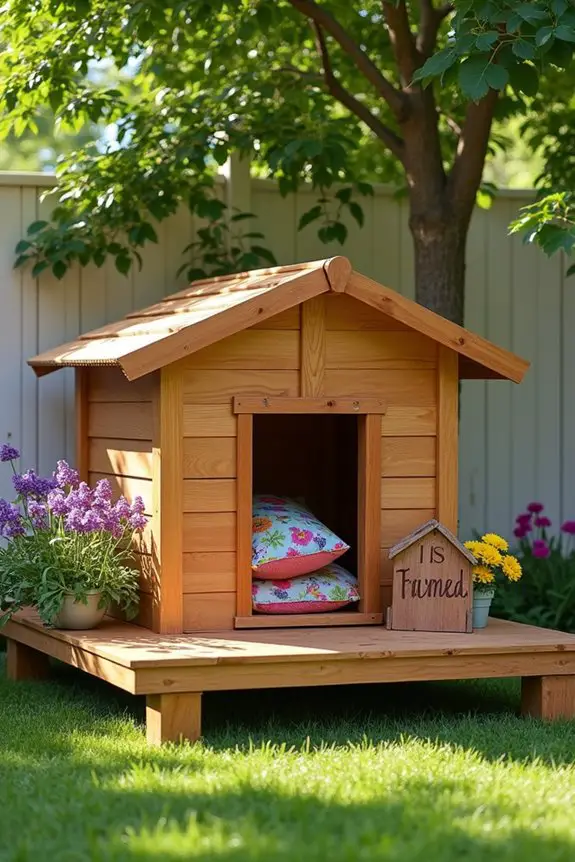
If you’re feeling crafty, try creating a mini porch with a few potted plants. Just remember—your dog doesn’t need a five-star hotel, but these little details can make their house feel truly special.
Frequently Asked Questions
What Materials Are Best for Building a Dog House?
For building a dog house, you’ll want to use weather-resistant wood like cedar or plywood, insulation for temperature control, and a sturdy roof. Don’t forget non-toxic paints or finishes to keep your pup safe!
How Can I Insulate a Dog House for Winter?
To insulate a dog house for winter, you can use foam boards, reflective insulation, or straw bales. Seal any gaps with weatherstripping, and guarantee your pup’s entrance is shielded from harsh winds for added warmth.
What Size Should a Dog House Be for My Pet?
Your dog’s house should be a palace! Ideally, it should be about 2-3 inches taller than your pup’s head and long enough for them to stretch out comfortably. Measure them, then build their dream retreat!
Are There Any Specific Design Styles Recommended for Dog Houses?
Yes, consider designs like A-frame, cottage, or modern styles. Each offers unique aesthetics and functionality. Choose one that matches your home’s look while ensuring it’s comfortable and safe for your dog’s needs.
How Can I Decorate My Dog House for a Charming Look?
You can decorate your dog house by adding vibrant paint, whimsical signs, and cozy bedding. Consider incorporating plants or outdoor lights for charm, and personalize it with your pup’s name for that special touch.
Conclusion
So, whether you’re channeling your inner carpenter or just looking to impress your pup, these DIY dog house designs can turn your backyard into a tail-wagging paradise. You might even find yourself getting a little too creative—who knew a dog house could rival your own? Just remember, your furry friend deserves a cozy nook that reflects their personality, and hey, a little flower box never hurt anyone. Happy building, and don’t forget to take breaks for belly rubs!

Hi, I’m Ali Tarek, the founder of Animalsman. I’ve always been passionate about pets, especially dogs and cats, and I created this website to share practical tips, easy recipes, and helpful care advice for fellow pet lovers. My goal is to make pet care simple, enjoyable, and accessible for everyone. When I’m not writing or curating content, you’ll usually find me spending time with my furry friends or learning new ways to keep them happy and healthy.

