
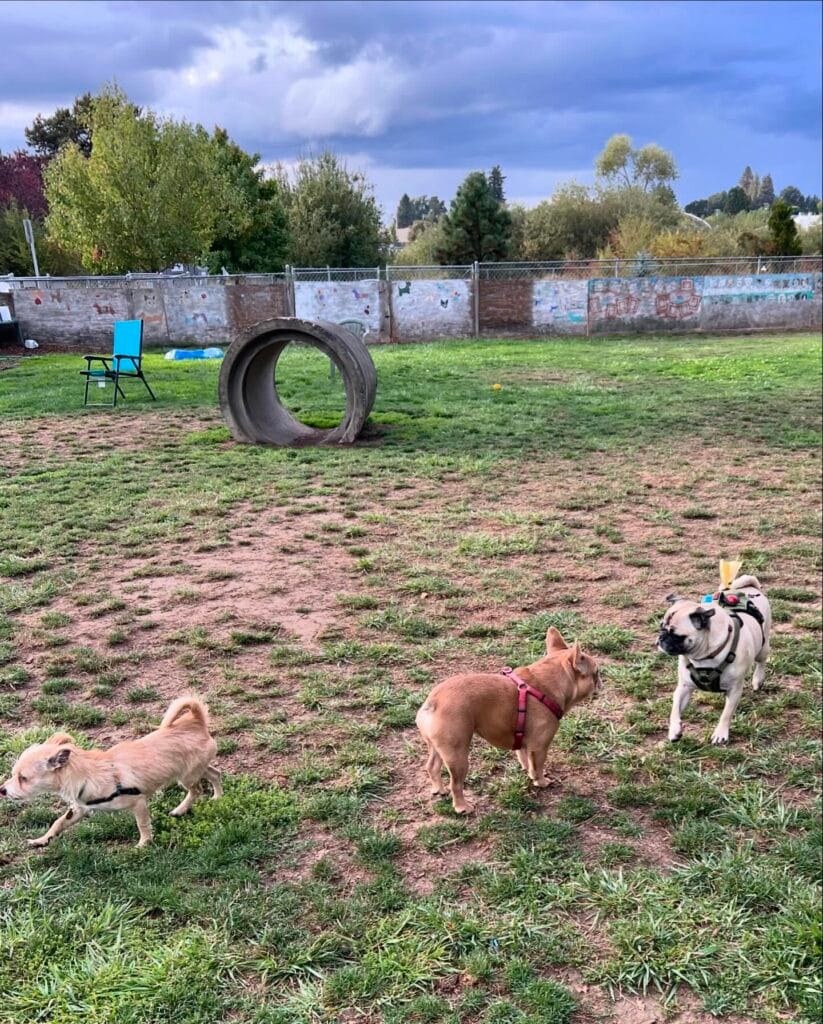
Your backyard looks like a war zone and I can feel your pain!
Mud tracks on the patio. Chewed up plants in the flower beds. The dog running around like he’s training for something. Last summer my cousin’s dog destroyed her whole garden in one afternoon and she just stood there in disbelief holding her iced coffee.
In case you’re wondering, an outdoor space can be Pinterest-worthy (and dog-friendly) at the same time.
Real talk: most people think that an outdoor dog area has to be ugly and expensive. It doesn’t.
These 7 ideas will help give your dog his own zone, so he stops treating your carefully decorated patio as his own personal playground. From shaded spots to designated dig areas and simple setups that look good.
Your backyard (and your sanity) deserve this.
#1: How to Build a Fenced Artificial Turf Dog Run Against Your House
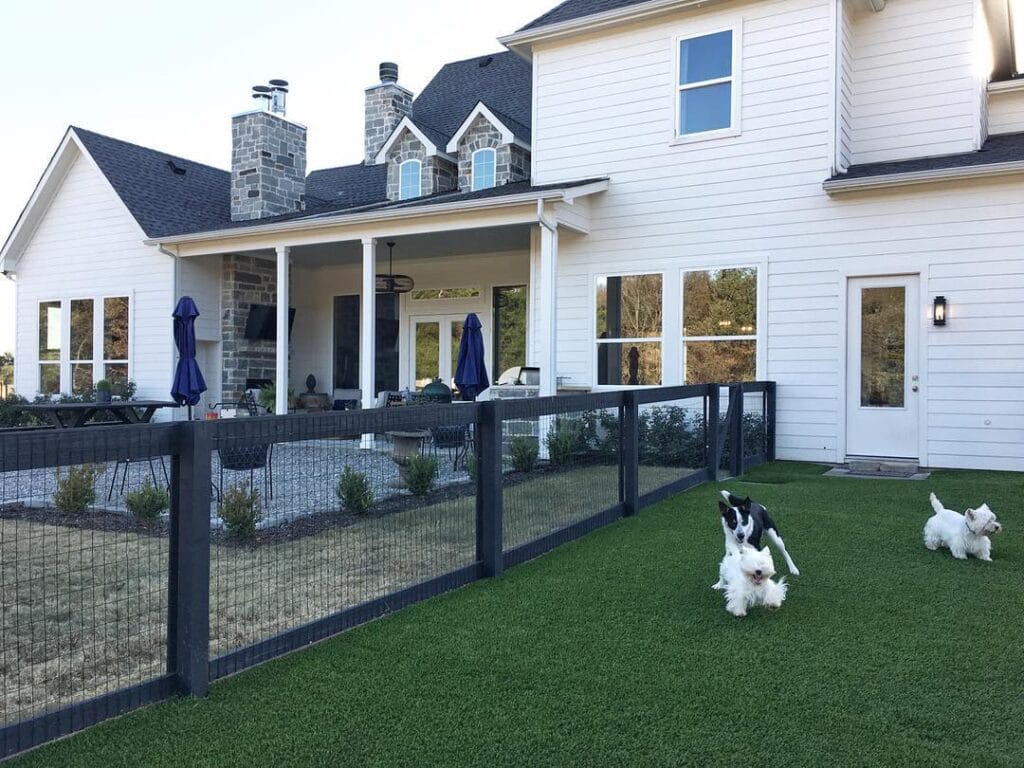
Your golden retriever just decided to run out the back door and straight into a mud pit. Again. Now there’s paw prints all over your freshly mopped floor and your Pinterest mood board is mocking you.
Check out this set-up from @thornbridgehillestate . It’s exactly what you need. http://bit.ly/2t5d3Fu
2. Materials & Tools: 4×4 inch dark charcoal steel fence posts Galvanized wire mesh panel (welded, 2×4 inch grid) Artificial turf rolls (pet-grade, 1.5 inch pile height) Crushed gravel base material Concrete mix (post anchoring) Post hole digger, drill, zip ties, turf staples
Instructions
dig post hole at 24 inches in depth all along house about 8 feet apart pour concrete let it set up for 48 hours before attaching anything
Once the posts are set I attach the wire mesh panels with heavy duty zip ties at every 6 inches. This keeps even the most determined diggers in. I lay down 3 inches of crushed gravel under that and roll out the pet grade turf on top. The gravel drains the urine quickly so that the turf stays dry and my dog doesn’t walk on a muddy carpet.
Leaving a gap of at least 6 inches between the grass edge and your house siding will prevent moisture from building up against your house.
📸 Photo credit: Instagram @thornbridgehillestate
#2: Giant Cable Spool Climbing Platform for Dogs
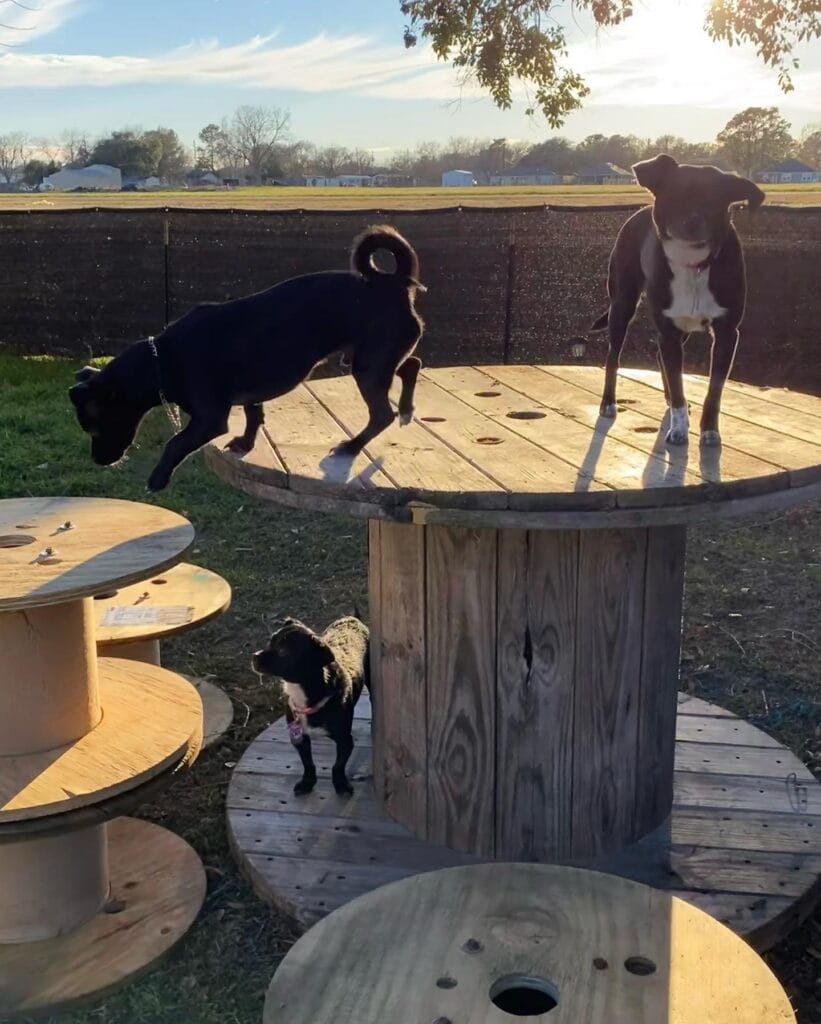
Also, my goldie doesn’t have anywhere to go when he hits the yard. He just circles and zoomies and looks at me like, “mom I’m bored.”
This cable spool setup? It fixes that instantly.
Material: • 1 large wooden cable spool (36″–48″ diameter top)• Sandpaper (120-grit, then 220-grit)• Exterior wood sealant (clear or natural color)• optional: smaller spools to use for stepping stones (w/ holes drilled)• Drill & screws to screw spools into ground
Instructions
Sand the whole spool starting with 120-grit sandpaper to knock down splinters, then use 220-grit for a smooth, paw safe top. Apply two coats of exterior sealant to make the wood last longer and keep the spool paw friendly after a rainstorm.
The other dogs have little to do with the trampoline other than to sit or lie on the other small spools that are arranged around the large one in a graduated height sequence. They sometimes will jump between the spools, just for fun, and you will not believe the energy that they burn in those few minutes. Even the little dogs can use the flat top of the trampoline which sits at about 18″-24″ high.
Anchor the base spool with ground screws so it won’t tip mid-leap.
Rotate the spools’ positions once in a while to keep your dog engaged with his space.
Prep Time: 20 min | Active Project Time: 1.5 hrs | Difficulty Level: Easy
📸 Photo credit: Instagram @bodescaandmizzle
#3: DIY Picnic Table Perch for Your Dog (Yes, Really)
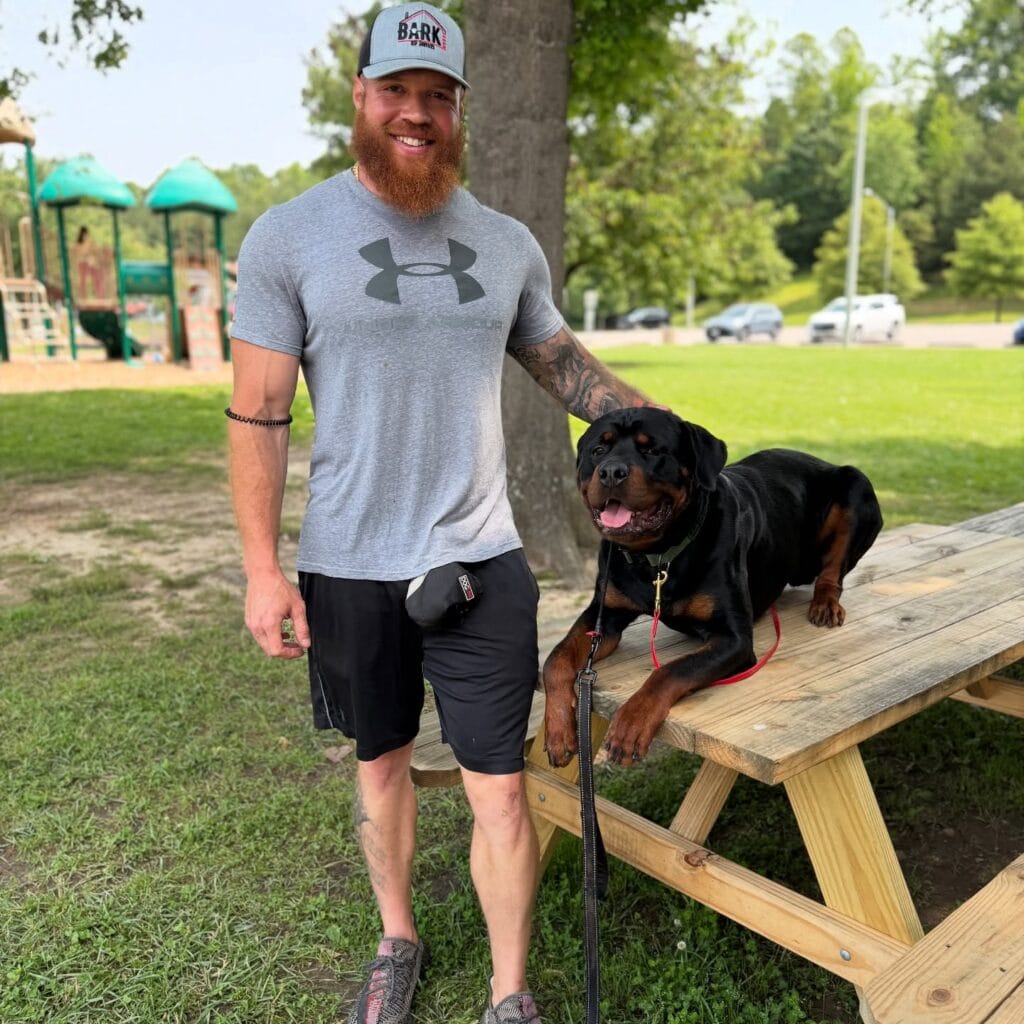
Have you ever seen your golden plop herself down on your patio furniture and just own it? Yeah, like excuse me that’s my chair. This one is for her.
Prep Time: 30 min | Active Project Time: 3–4 hours | Difficulty Level: Beginner-Friendly
I used: 2×6 pressure-treated pine boards (natural wood tone) 3-inch exterior wood screws Red nylon leash anchor hook (for safety) Sandpaper (120-grit) Drill + measuring tape
### Instructions
Cut your boards to a standard 6-foot picnic table length. Sand every edge so there aren’t splinters as paw pads and nails are not friends.
Make the table top first then attach the legs at a 45 degree angle. Now your dog can jump up all he wants but will not move the table.
Screw a leash anchor hook under the edge of the table top. This keeps her secure while she lounges like the queen she is. And your hands are free! Finally.
Seal the wood with an exterior waterproof stain in a natural cedar finish to protect the wood from rain and muddy paws.
Place it near a shaded tree so that the wood can be in the shade. Make your dog comfortable too. On hot days it’ll be a breeze for him to lie down on his bed, because the wood would have been in shade.
If your golden retriever likes to be up high and watch the yard, check out the 12 Best Dog Play Areas for Your Furry Friend.
📸 Photo credit: Instagram @barkhousek9_zach
#4: DIY Grass Patch Lounge Spot for Your Golden
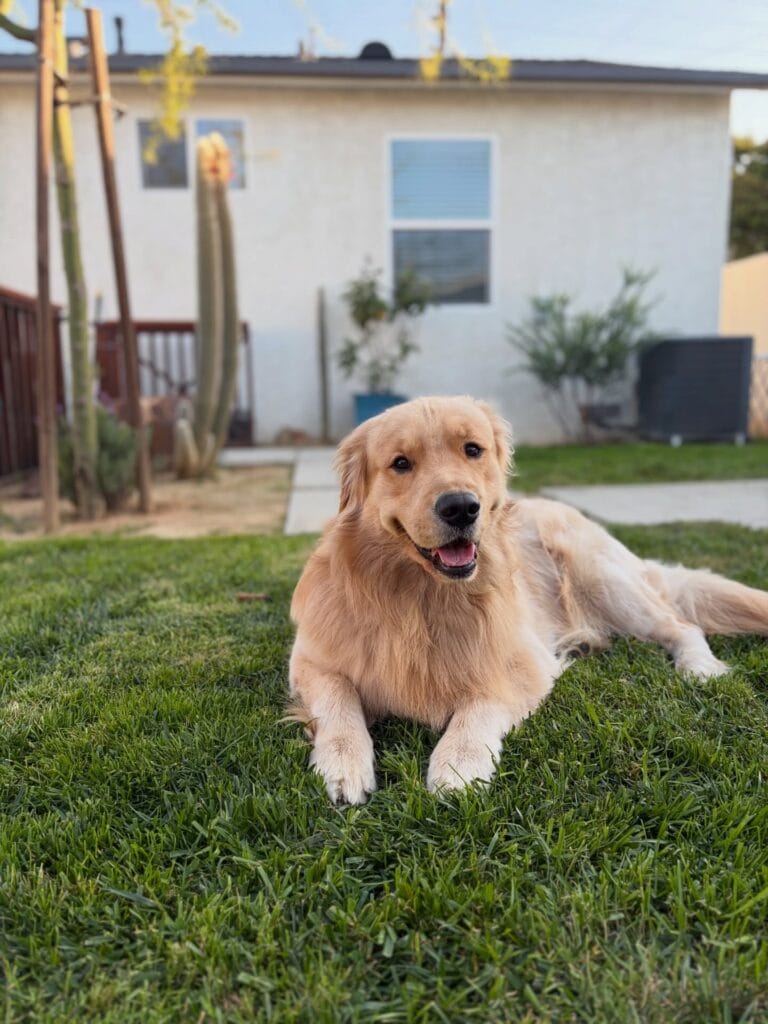
Your puppy flops down on the grass, tongue out, completely happy and that is the way we need to bring to you for this look but Pinterest worthy.
My dog did the same thing last summer, so I knew I had to build him a new grass lounge corner of his very own.
* Sod or artificial turf (4×6 ft recommended), * Pressure-treated wood border boards (2×4 inch), * Landscape fabric, * Exterior wood screws, * Drill, * Measuring tape, * Garden staples.
Instructions
I chose a sunny, flat area of my backyard. I framed my 2×4 boards into a rectangle and screwed the corners tight. I laid the landscape fabric down inside the frame which blocks weeds but still allows drainage so we don’t get muddy paw prints tracking into my house.
Don’t cut the sod any more than is necessary to make it fit snugly inside. Press the sod firmly in place.
And that is it. real grass means she will have a nice cool surface to lie down on hot days and rest her paws. She’ll gravitate to lie down on it every time.
Trim the edges of this at least once a week to keep it looking exactly like in the photo.
Prep Time: 20 min | Active Project Time: 1.5 hrs | Difficulty Level: Beginner
From a small dog pen, to more luxurious digs, check out 16 creative outdoor dog pen ideas for your furry friend for your pooch.
📸 Photo credit: Instagram @cerbie_thegolden
#5: Build a Shaded Elevated Dog Cot Station for Hot Days
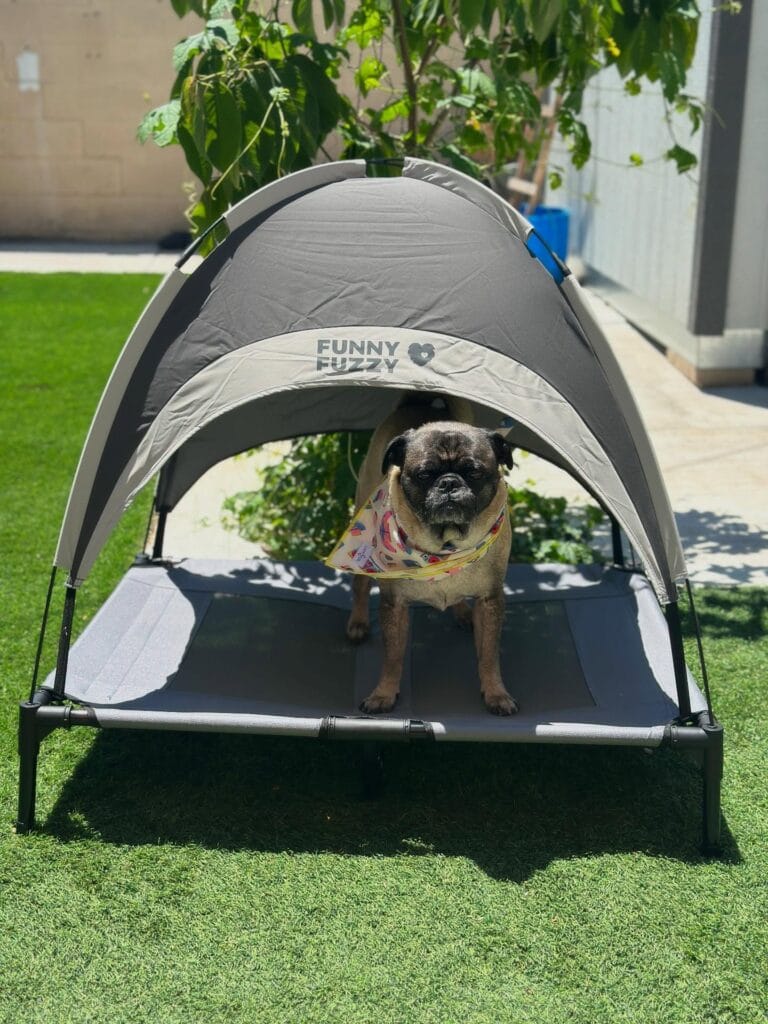
Your dog is panting in the yard and there’s nowhere cool for her to go. No shade. No spot to call her own.
This setup fixes that.
-Materials & Tools: – Elevated dog cot (FunnyFuzzy brand or similar mesh cot) – Dome canopy attachment (gray UV-resistant polyester) – Black powder-coated steel frame poles – Artificial turf patch underneath – Colorful dog bandana
Instructions
Place the cots flat and snap the four corner legs into the bottom mesh. The legs will click once when locked. Insert the two arched canopy poles through the fabric sleeve on top of the cots, crossing them at the center cap. Push the ends of the poles into the corner grommets until the dome is taut.
Put it on the artificial turf so the legs will be level and your dog’s paws won’t get too hot.
Tie her bandana on before you introduce her (this will help her claim the space faster).
The mesh base allows airflow underneath, keeping her body temperature down on 90+ days, so she actually likes it outside with you.
Prep Time: 5 min | Active Project Time: 10 min | Difficulty Level: Easy
These are the kinds of builds that would go perfectly with 13 Genius DIY Dog Stuff Every Pet Parent Needs to Try Today!
📸 Photo credit: Instagram @haroldpug_life
#6: Build a DIY Dog Agility Ramp for Your Backyard
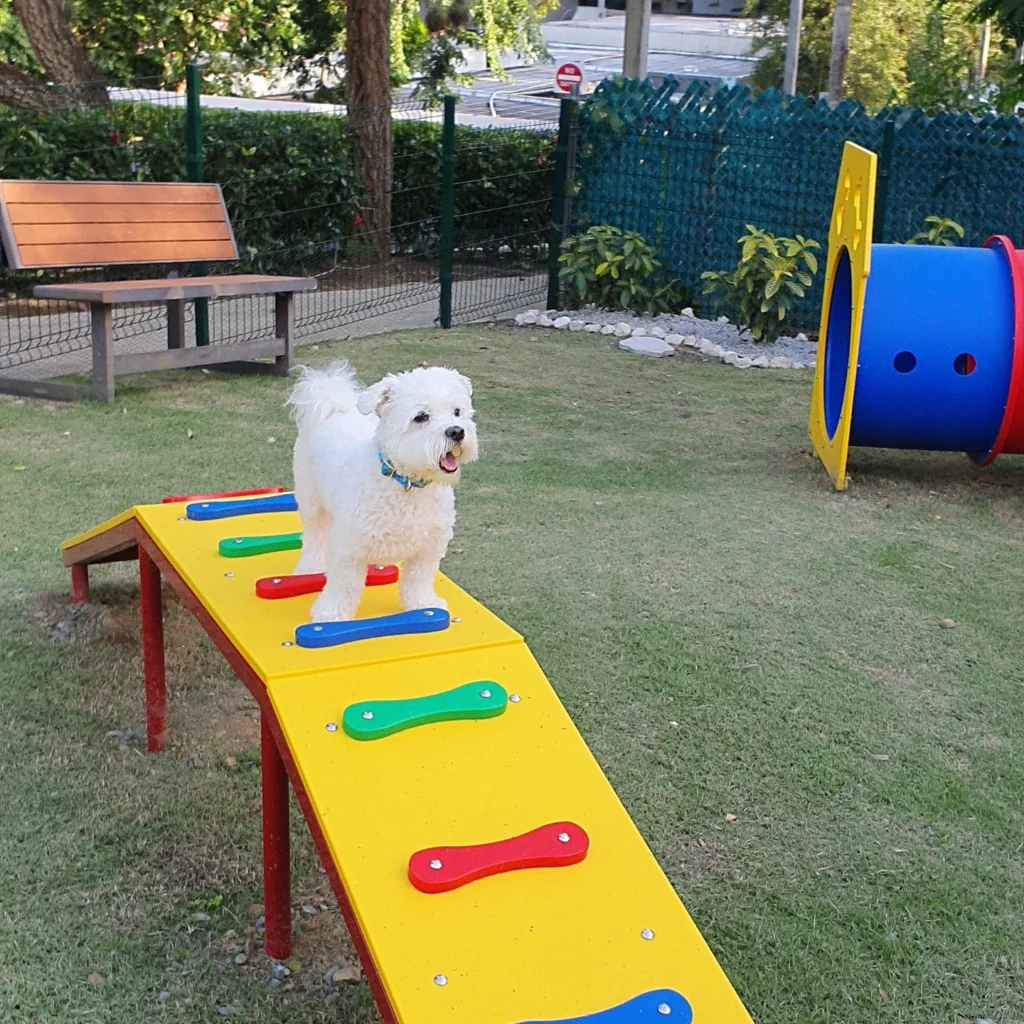
So you’ve just gotten in the zone, and your golden is bouncing off the walls. You’re standing there thinking to yourself, “I don’t know what to do with all this energy.”
Girl, this ramp is your answer.
3/4-inch plywood sheet (cut to 8 ft x 12 inches) Red spray paint Yellow exterior paint Red, green, and blue grip handles (foam or rubber, 4 inches) Metal screws Drill Two 2×4 wooden legs for center support
Instructions
Cut and paint your plywood yellow. Allow it to fully dry. Attach the 2×4 legs in the center to add more stability to your ramp. Drill your colorful grip handles across the surface in alternating colors to give your dog some traction and build their confidence walking up.
The benefit here is that my dog grips the handles and doesn’t slide around so she can run without fear and I can stop holding my breath every time she charges up.
Space handles 10 inches apart so bigger dogs like goldens can find a natural stride rhythm.
Start out low. Let her walk the ramp on leash first, then take her off.
Pair this with a tunnel (hello, that blue barrel situation in the photo!) and you’ve got yourself a backyard agility set-up! Check out these 11 Creative Dog Areas to Create in Your Home Spaces.
⏱ Prep Time: 30 min | Active Project Time: 2 hours | Difficulty: Beginner
📸 Photo credit: Instagram @van.damme_maltesepuppy
#7: DIY Stuffed Animal Toy Station for Your Backyard Dog
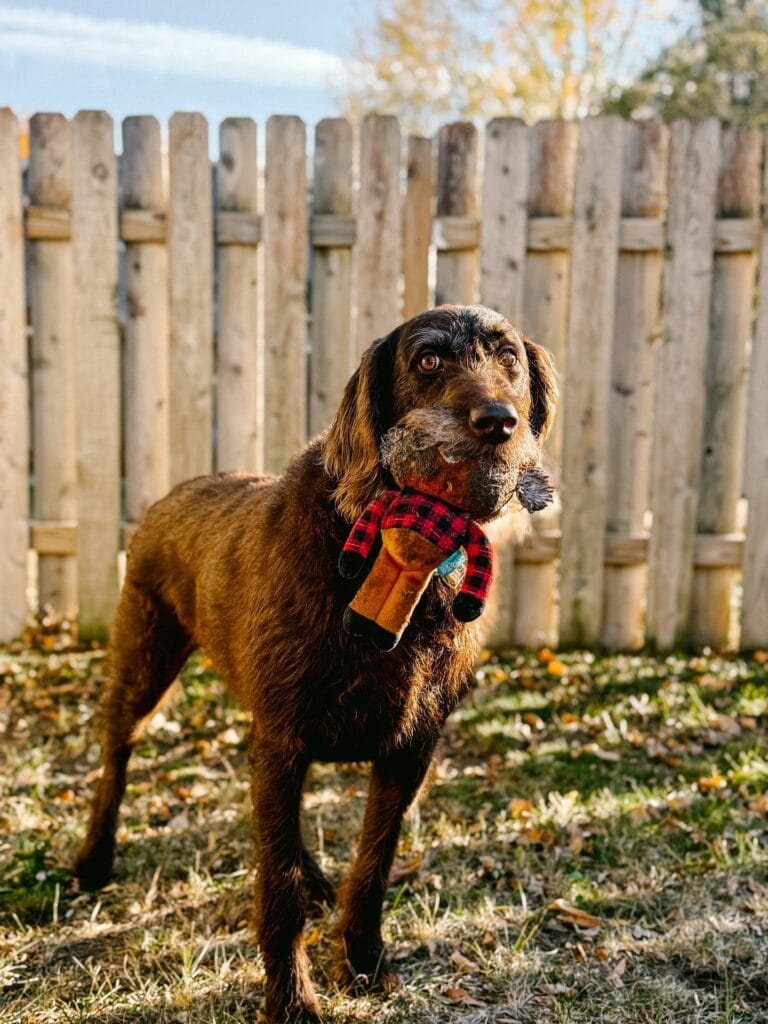
Your dog just trotted in from the backyard, soaking wet, dragging her favorite stuffed toy across your clean floors. Again.
i have no idea what is on the couch, but the toys get organized and out of the way on the porch.
– Weatherproof wicker basket (natural or dark brown) – Red buffalo plaid fabric (½ yard) – Stuffed animal dog toys (lumberjack-style like shown) – Outdoor-safe hot glue gun – Fabric scissors
Instructions
Cut your buffalo plaid fabric into a 12×12-inch liner for the interior of the basket. Hot glue it along the inside edges to keep the toys from getting wet.
2. Place the basket at the base of your fence post (in the spot where your dog usually drops her toys after playing).
Rotate toys every week to keep interest up. Store backup toys in a sealed plastic bin near where it is used to keep them dry between uses.
I like the weatherproof fabric lining as it helps protect the toys from morning dew, no soggy stuffed animals getting brought into the house. And no wet mystery spots on the carpet.
I keep an extra identical basket in the mudroom, so she always has a “drop zone” basket.
Prep Time: 5 min | Active Project Time: 15 min | Difficulty Level: Beginner
📸 Photo credit: Instagram @animal_wised
The Drainage Secret That’ll Save Your Outdoor Dog Area (Most People Skip This)
Another thing nobody tells you when building your own outdoor dog area is how to handle drainage.
Everyone is focusing on the cute stuff. The aesthetic fence panels, the Instagram-worthy water station, the perfectly laid turf. But then the first rainstorm hits, and you’re left with a swampy mud pit your golden is excited about and you are not.
I know this first hand after leaving my dog Maple outside for two days of rain. Her entire outdoor space was a mud wrestling arena. It looked more like a crime scene on my cream colored rug inside.
Another strategy that I’ve been impressed with is to slope the base layer away from the house by a 2% grade. The 2% sounds tiny but it makes a huge difference. A layer of crushed gravel should be laid underneath the fancy surface you choose (rubber mulch, artificial turf, or even pavers).
The gravel layer does all of the work. Instead of the water pooling on the soil the water runs down the gravel layer.
This is a great tip if you want to easily keep your dog’s paws clean and free of mud and dirt each time they come in. Just add a mudroom-style paw washing station right when they come in!
Your Golden Deserves a Spot That Looks as Good as It Feels
Pick one idea from this list and just start. You don’t have to do a whole weekend project – just switching out one worn blanket for a fresh, washable, Pinterest-worthy cover will make a huge difference.
Your home can be beautiful and dog-friendly. Those two things don’t have to fight against each other anymore.
If you want to go bigger, try these cozy DIY indoor dog kennel ideas or DIY dog beds built for large dogs. None require the help of a contractor.
Which space in your home does your golden own right now? 😉

Amr Mohsen is a software engineer who traded his keyboard for a leash — at least on weekends. His love for dogs inspired him to share what he learns as a dog owner and enthusiast, bringing a detail-oriented, research-driven perspective to every article he writes. If it’s about dogs, he’s probably already looked it up twice.



