Did you know that a whopping 70% of dog owners say their pups prefer playing with homemade toys over store-bought ones? It’s true. You might wonder why that is—it could just be the love and effort you put into creating something special. So, let’s explore 10 awesome dog toy designs that not only keep your furry friend entertained but might even boost your DIY skills. Trust me, your pooch will thank you for this.
Unique Shapes for Engagement
When you think about dog toys, you might picture the standard ball or a basic squeaky toy—but what if I told you that unique shapes can really rev up your pup’s playtime?
Picture a dog toy DIY project where you create something like a giant carrot or a funky octopus. Not only will your dog go nuts trying to figure these toys out, but they’ll also engage their minds and bodies.
Why not grab some fabric scraps and stuffing, or even an old T-shirt? Cut, roll, and tie it into exciting shapes that keep your furry friend guessing.
Trust me, your dog will thank you with boundless energy and maybe even a silly dance when they see their new favorite toys.
Our Collection
Let’s check out our collection of creative dog toys that’ll keep your furry friend entertained for hours.
You’ll find everything from eco-friendly fetch balls to interactive puzzle toys that challenge their minds.
Trust me, once you see how much fun they have, you might find yourself a little jealous.
1. Eco-friendly Fetch Balls
Are you tired of spending money on flimsy fetch balls that your pup destroys in minutes? Say goodbye to those pricey toys, and hello to your own eco-friendly fetch balls made from upcycled materials. These handmade toys can rival the quality of luxury dog accessories while being gentle on your budget and the environment.
Not only is this DIY project a fun way to keep your dog entertained, but it also helps reduce waste and saves you some cash. Plus, they’re soft enough for your furry friend to catch without damaging those precious teeth.
Materials Needed:
- Old t-shirts or towels (the softer, the better!)
- Scissors
- A ruler (optional)
- Fabric glue (optional for added durability)
- A sewing needle and thread (if you want to stitch)
- A small handful of stuffing (like cotton or old fabric scraps)
Step-by-Step Instructions:
- Choose Your Material: Pick an old t-shirt or towel. Fun colors or patterns make it extra special—maybe your pup will fetch it with a bit more flair.
- Cut into Strips: Take your scissors and cut the t-shirt into long strips, about 2 inches wide. No need for precision here—rough edges can add character. Don’t be like me and try to cut a perfect circle; stick with strips.
- Tie a Knot: Take a handful of your strips and tie a knot at one end. This will form the center of your fetch ball. Make sure it’s nice and tight, or you’ll be cleaning up fabric confetti later.
- Wrap and Layer: Start wrapping the strips around the knot, layering them as you go. Keep it snug but not so tight that it couldn’t fit in a dog’s mouth. Think of it as creating a cozy little bundle for your pup.
- Secure the Layers: Once you have achieved the desired size (think about the size of a tennis ball), take another strip and tie it around the entire ball. You can even add some fabric glue to seal the deal if you’d like.
- Shape It Up: If you’re feeling crafty, you can stitch the layers together for extra durability. Just a few stitches should do the trick—no one’s judging your sewing skills. This could double as your sewing practice for a future quilting project you swear you’ll start someday.
- Test Run: Give your pup the fetch ball and watch that tail wag. Don’t be surprised if they just stare at you in confusion for a moment; for dogs, new toys are often subject to a sniff-approval process.
Optional Add-ons/Variations:
- Color Coordination: Why not use multiple t-shirts in complementary colors? Mix and match for a vibrant fetch ball that can bring extra joy to your walks.
- Squeaker Surprise: If your dog loves squeaky toys, you can insert a small squeaker toy into the center of your ball before wrapping it. It’ll add an element of surprise and keep them engaged.
Pro Tip:
If you’re worried about durability, consider using an old yoga mat or thick fabric for extra toughness. It may take a bit more effort to cut, but it’ll hold up much better against the enthusiasm of your spirited pup.
2. Interactive Tug-of-War Toys
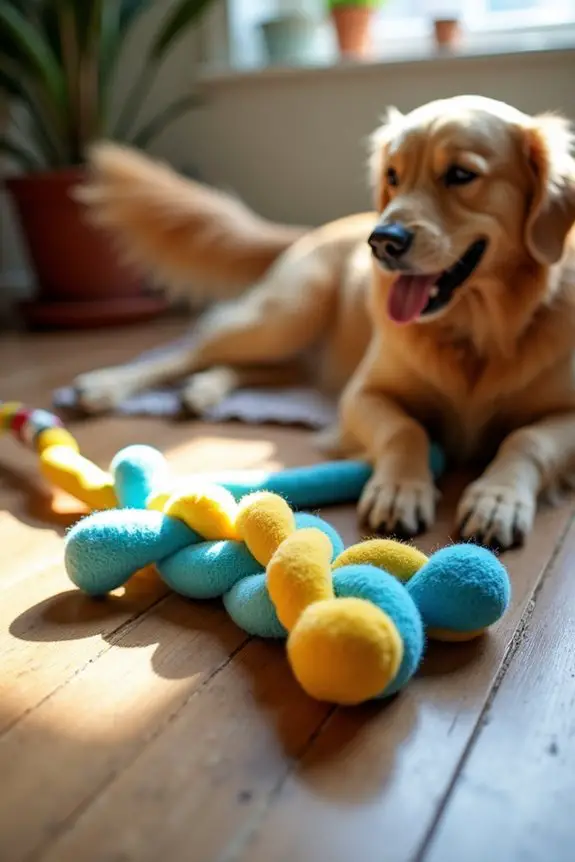
Want to turn playtime into an epic showdown? Seek no further than this DIY Interactive Tug-of-War Toy project! Not only is it a fantastic way to engage your dog physically and mentally, but it’s also super affordable.
Plus, making your own toys means they’re personalized just for your pooch, giving them that extra bit of comfort and joy during play. So, grab some supplies, and let’s get tugging!
Additionally, many dog owners have found that indestructible chew toys are a great complement to interactive playtime.
Materials Needed:
- Old cotton or fleece fabric (any old blankets or clothing work wonders!)
- Scissors
- A ruler (optional, if you want to measure with precision)
- A sturdy knot (the ultimate secret ingredient)
- A dog or two ready for some tugging fun
Step-by-Step Instructions:
1. Gather Your Materials: Collect those old cotton or fleece fabrics. Not only are they soft on your dog’s teeth, but they’re also durable. Think of this as a closet clean-out with a purpose.
2. Cut the Fabric: Slice your fabric into long strips, about 1-2 inches wide and ideally 24-36 inches long. No need to be too precise—just get those strips going. I might’ve ended up with some rogue fringe pieces, but hey, character, right?
3. Bunch and Tie: Grab three strips and tie a knot at one end, leaving enough fabric on the other side for the play area.
Secure it tightly; we don’t want your dog pulling the knot apart and having a fabric explosion. I may or may not have been cleaning up scraps for days after my first attempt.
4. Braid It: Divide the fabric into three sections (the strips you tied earlier count as one of them), and start braiding them together tightly.
This part is kind of like getting back to basics—just like you may have done with friendship bracelets as a kid.
5. Knot the End: Once you’ve braided for about 18-24 inches (or longer if you want a more substantial tug), tie a knot at the end to secure everything together.
If it’s looking a bit wobbly, give it a good few more knots. The firmer, the better, especially when your dog is on the pulling end.
6. Give It a Go: Now, present your creation to your doggo. I could say they’ll remember this moment for the rest of their lives, but let’s be honest, they’ll just be thrilled to tug like there’s no tomorrow.
Optional Add-ons/Variations:
– Mix and Match Fabrics: Use different colors or patterns of fabric to make your toy visually appealing. Maybe that old superhero blanket can become a tug-of-war champion.
Or create a themed version based on your favorite sports team. Your dog mightn’t care, but you’ll sure love the vibes it brings to your living room.
– Double the Fun: If you have multiple dogs or friends with dogs, make two or three of these tug toys and have a full-on tugging contest in the yard. Just be prepared for the chaos.
Pro Tip:
When choosing fabric, avoid items that have embellishments like buttons or zippers. Safety first!
And for a little extra durability, consider using thicker fleece or double-layering your strips. Trust me, your dogs will try to tug their way to the moon.
3. Squeaky Plush Animal Toys
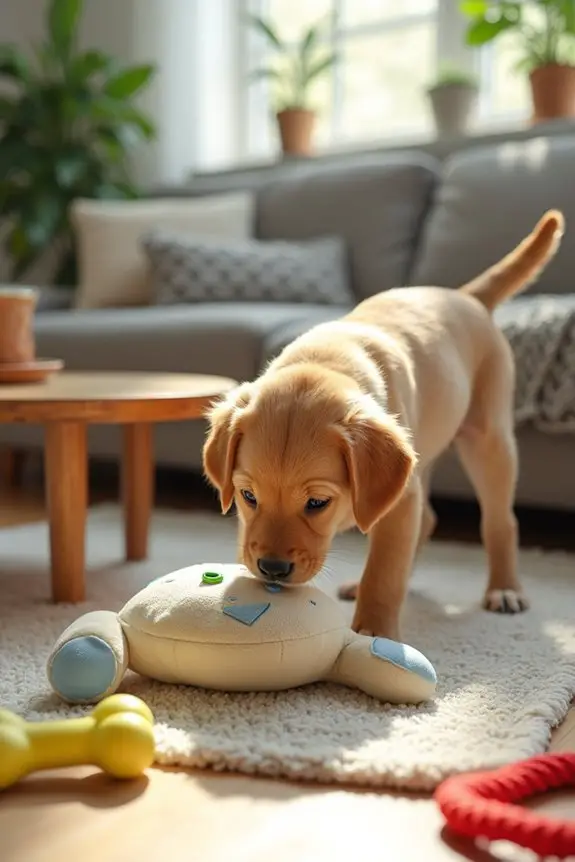
Want to give your pup a new friend to cuddle up with? This DIY project for Squeaky Plush Animal Toys is perfect for dog owners looking to save a little money while crafting something special for their furry pals. Not only can you customize the toys to match your dog’s personality, but there’s also nothing quite like watching your pet’s eyes light up as they discover their new squeaky treasure. Plus, your dog will adore their cuddly new companion, much like they would with a Plush fox toy. Let’s jump in!
Materials Needed:
- Soft fabric (fleece, cotton, or any old stuffed animals)
- A squeaker (you can find these at pet stores or online)
- Scissors
- Needle and thread (or a sewing machine if you want to speed things up)
- Stuffing (like polyfill, or even old socks for a budget-friendly option)
- A dog who’s ready for a new toy!
Step-by-Step Instructions:
- Choose Your Fabric: Decide on the soft fabric you want to use. If you’re using an old stuffed animal, give it a good wash to freshen it up. Your dog will appreciate the extra fluffiness!
- Cut Out the Shapes: Using the fabric, cut out two identical animal shapes. Think about a design your dog will love—maybe a bear, a bunny, or a quirky monster. No need for fancy patterns; just a basic outline will do.
- Squeaker Placement: Before you sew, place the squeaker between the two fabric pieces, positioning it right in the middle. That way, it’ll be snug and safe for those enthusiastic bites!
- Sew the Edges: Start sewing the edges together, leaving a small opening (a couple of inches) for stuffing. Don’t worry about being super neat; pets generally don’t critique our sewing skills.
- Stuff It Up: Turn the toy inside out through the opening you left, and stuff it with filling until it’s nice and plump. If you’re feeling adventurous, gently toss in a pair of old socks—just be sure they’re clean. Your pup will love the extra surprise.
- Seal the Deal: Once it’s stuffed to perfection, sew up that opening securely so no stuffing—or squeaky surprises—makes a getaway. You want this toy to last through countless snuggles and squeaks.
- Time for Play: Now, present your adorable creation to your dog. Get ready for some tail-wagging excitement. The squeaky sound will surely send them running and bouncing around the room.
Optional Add-ons/Variations:
- Custom Designs: Use fabric markers to add personality to your plush toy. Give it eyes, a nose, and whatever other features you think will get your dog’s tail wagging. A superhero theme? The sky’s the limit.
- Mix Textures: Incorporate different materials like denim or a soft sweater for added interest. It’ll make for some delightful textures that dogs love to explore.
Pro Tip:
If you want to extend the life of your toy, consider double-stitching the seams. Trust me, after watching my dog go to town on his creations, it’s a smart move. Plus, it keeps that squeaker safe, leading to more playtime and less clean-up!
4. Memory Foam Chew Toys
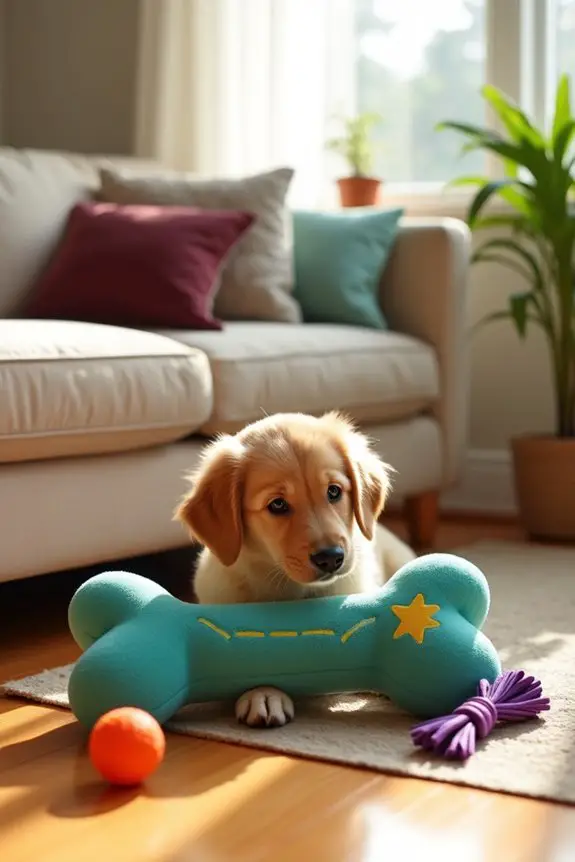
Looking for a way to spoil your furry friend? Making Memory Foam Chew Toys is an ideal project for dog owners who want something soft, snuggly, and durable for their pet to enjoy. Not only will you save money by crafting your own toys, but you’ll also create something uniquely comfortable and tailored to your dog’s chewing habits.
Get ready to release your creativity while guaranteeing your pup has a great time!
Materials Needed:
- Memory foam (can be from an old pillow or mattress topper)
- Soft fabric (like fleece or cotton)
- Scissors
- Needle and thread (or a sewing machine for a quicker finish)
- Hot glue gun (optional for extra security)
- Dog-approved stuffing (optional for added softness)
Step-by-Step Instructions:
- Gather Your Foam: Start by cutting your memory foam into fun shapes—think bone, paw, or even a silly fish. Just remember, nothing too small that it could become a choking hazard!
- Cut the Fabric: Using your soft fabric, cut out two identical shapes that will cover the memory foam. Make sure the pieces are a bit larger than the foam cutout; you want some extra fabric to tuck and sew.
- Wrap It Up: Place the memory foam in between the two fabric pieces. Fold the edges of the fabric over the foam so that everything is neatly tucked inside. Hold it securely as you prepare to sew.
- Sew It Together: Start sewing along the edges of your fabric, making sure to leave just a small opening. This allows for stuffing if you decide to add some extra fluffiness.
- Stuff if You Like: If you want to add a bit of extra comfort, stuff the toy lightly — but remember, memory foam is already pretty soft and snuggly on its own!
- Finish the Toy: Once it’s stuffed to your liking, carefully sew up that opening, making sure everything is well-secured. Nobody wants the stuffing escaping mid-playtime.
- Introduce It to Your Pup: Present your new plush creation to your dog. Get ready for them to nuzzle, chew, and frolic with their soft, cozy new chew toy. Just wait for that tail-wagging moment—pure joy!
Optional Add-ons/Variations:
- Unique Designs: Use colorful fabric to create personalized themes or your dog’s initial. Want a superhero-themed toy? Go for it. The sky’s the limit when it comes to designing your cute creations!
- Safety First: Guarantee that all seams are tight and secure, without any loose threads, as dogs can be quite the chewers. You don’t want to find that irresistible stuffing scattered everywhere.
Pro Tip:
For added durability, consider using a hot glue gun along the seams before sewing. This extra layer can help prevent the fabric from fraying and will keep your toy together through hours of enthusiastic chewing. Plus, it gives you a little safety net while you’re stitching those seams!
Embarking on this Memory Foam Chew Toy project not only furthers your bond with your furry pal but also showcases your creativity. Happy crafting!
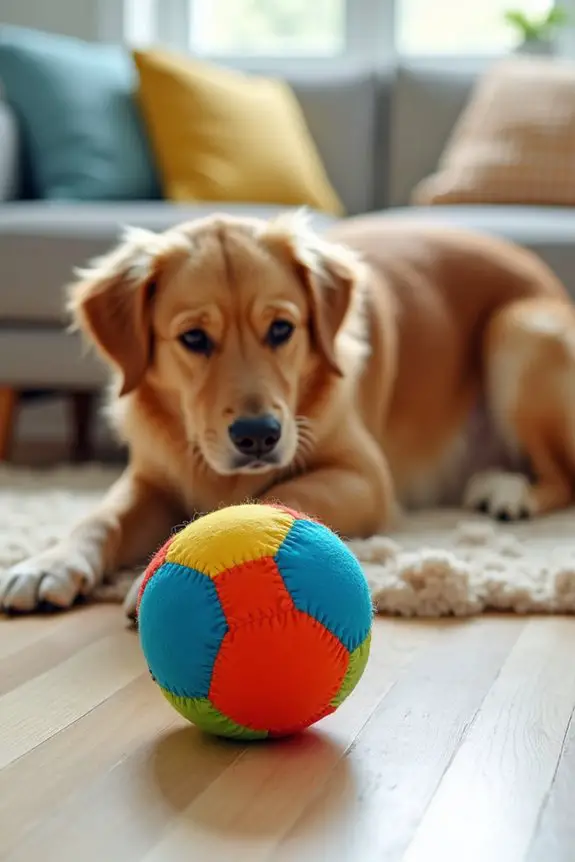
5. Treat Dispensing Puzzle Toys
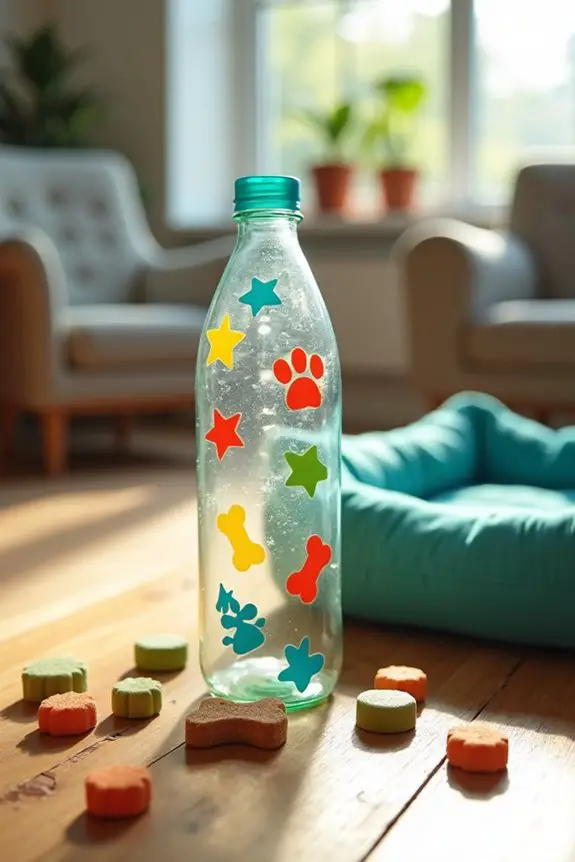
Looking to challenge your furry friend while keeping them entertained? Crafting Treat Dispensing Puzzle Toys is a fun and engaging DIY project. Not only do these toys stimulate your dog’s mind, but they also keep them busy while savoring their favorite snacks. Plus, they’re a budget-friendly way to offer your pup something new and exciting, without breaking the bank or cluttering your living room with store-bought toys. Additionally, these toys serve as interactive puzzle toys that promote mental engagement and physical activity. Using puzzle toys can significantly improve your dog’s overall behavior and mood.
Materials Needed:
- Empty plastic bottle (like a water or soda bottle)
- Scissors
- Dog treats (soft ones work best)
- Small drill or sharp object for making holes (careful with this part!)
- Optional: colorful fabric or stickers to decorate
Step-by-Step Instructions:
- Prepare the Bottle: Start by rinsing out the plastic bottle thoroughly. Make sure it’s dry and free of any labels or stickers. Your dog doesn’t want to snack on remnants of labels, right?
- Create Holes: Using your scissors or a small drill, poke a few holes in the bottle. Make them just big enough for the treats to squeeze out when your pup rolls it around, but not so big that the treats spill out too easily. You know your dog best—think about their size when determining the holes.
- Fill It Up: Once your holes are made, it’s time to load it up with tasty treats. Soft treats work great because they squeeze through the holes and don’t get stuck. If your dog loves crunchy bits, you might need to massage the bottle a little for them to come out.
- Seal it Up: If you’re using a bottle with a cap, verify it’s secured. If your bottle is cap-less, you’re golden! Just check that the holes are positioned so the treats won’t fall out when the bottle is upright.
- Introduce the Puzzle: Hand it over to your dog and watch those wheels turn in their furry little head as they figure out how to get those treats. It’s adorable. You might’ve to offer a few encouraging words like, “You got this!” You’ll be amazed at how quickly they catch on.
- Observe and Adjust: Keep a close eye on how your pup interacts with the toy. If they’re figuring it out too quickly, they might need a little challenge. You could place fewer treats inside or make the holes smaller. If it seems too tricky, unwittingly release a few treats to provide a confidence boost.
Optional Add-ons/Variations:
- Decoration Fun: Personalize your puzzle by decorating the bottle with colorful fabric or stickers. Maybe add their name or some flashy designs to show off their new toy to the world. Not only is this a great aesthetic touch, but it could also give your pup some added excitement!
- Difficulty Level: Consider using a larger bottle or multiple bottles all connected together to ramp up the challenge. More bottles mean more rolling, more shaking, and certainly more fun!
Pro Tip:
Always supervise your dog while they’re playing with their new treat-dispensing puzzle. You want them to enjoy the fun, but safety first—if they start chewing too hard, it’s time to retire the bottle and try again with another DIY challenge. Happy crafting, and may your pup enjoy endless hours of treat-filled fun!
6. Durable Rope Fetch Toys
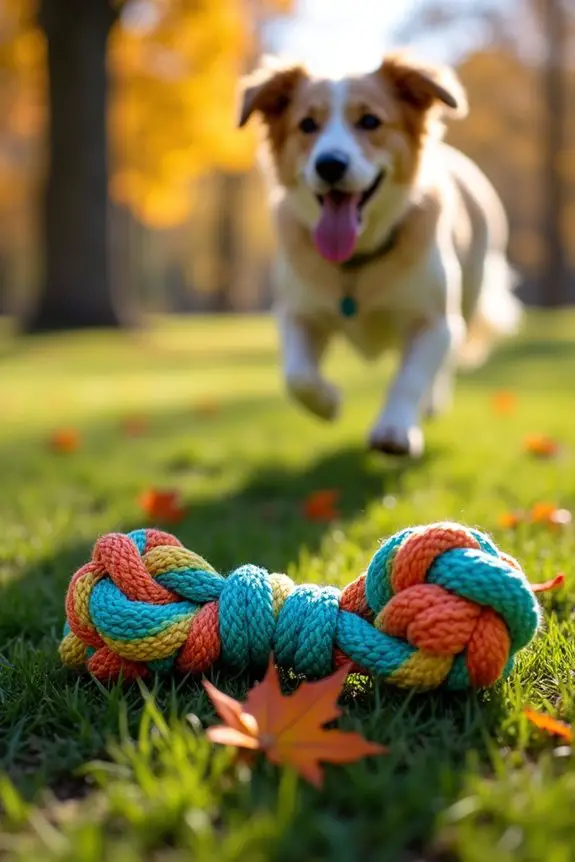
Looking for a fun and interactive way to get your dog moving? Crafting Durable Rope Fetch Toys might be just what you need. Not only are these toys a fantastic way to entertain your pup and enhance their playtime, but they’re also super easy to make. Whipping them up at home can save you some cash, keep your pup happily active, and let’s be honest, there’s something uniquely satisfying about creating toys with your own hands.
Materials Needed:
- Three lengths of durable rope (cotton or nylon work great)
- Scissors
- Lighter (optional, for sealing ends)
- Optional: Dog-safe dye (if you want to add a pop of color)
Step-by-Step Instructions:
- Cut Your Ropes: Start by cutting three equal lengths of rope. Aim for about three to four feet each. Don’t worry if they aren’t all perfectly even; dogs aren’t really inspectors of fine craftsmanship.
- Secure the Ends: To prevent fraying, you can carefully use a lighter to seal the ends of the ropes. Just wave the flame close enough to melt the fibers, but not so close that you’re setting them ablaze. Safety first, right?
- Braid It Together: Now, take the three rope pieces and line them up next to each other. Start braiding them together tightly. I know, it sounds like a girl scout’s camp project, but trust me, it’s essential for durability. You’re not making a fashion statement here; you’re making a fetch toy.
- Tie a Knot: Once you’ve braided for about two feet, take the ends and tie a big, sturdy knot to keep everything in place. Make sure you pull it tight – we want this baby to withstand some serious tug-of-war sessions. You might wonder if your knot-tying skills will hold up, but think of it as a challenge.
- Finalize It: Once your knot is secure, check for any stray fibers and nip those with your scissors. You want a clean look and fewer opportunities for your dog to get caught on anything.
- Let the Games Begin: Toss the toy to your pup and watch as they bound after it. It’s adorable to see how they flip between fetch mode and tug mode. You might need to tell them “Come back!” or “Not for chewing!” if they decide it’s a chew toy instead – but isn’t that part of the fun?
Optional Add-ons/Variations:
- Get Creative with Color: If you’re feeling adventurous, you can dye the rope before you braid it. Just make sure the dye is dog-safe. Imagine a tie-dyed fetch toy—your pup will be the trendiest pooch at the park.
- Add a Squeaker: For an extra layer of excitement, add a squeaker toy into the knot. It’ll keep your dog intrigued and on their toes as they play.
Pro Tip:
If you’re worried about how adventurous your pup can get when it comes to chewing, consider using a super heavy-duty rope. Look for materials labeled as “chew proof.” Your vet will appreciate that you’re looking out for your pup’s oral health.
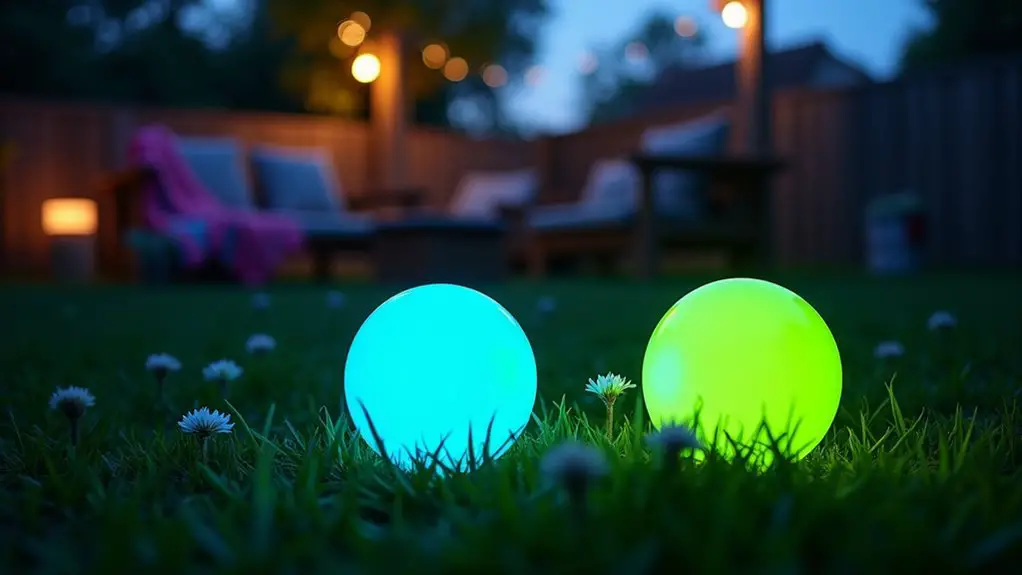
7. Glow-in-the-dark Dog Balls
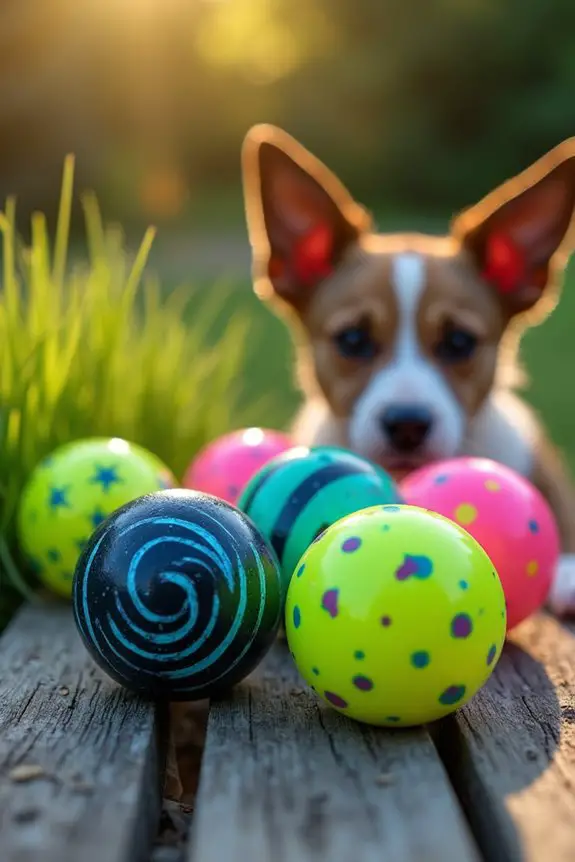
Are you tired of losing your dog’s favorite toys in the dark? Say goodbye to those nighttime frenzies of hunting for that tennis ball under the porch or in the bushes. With this fun project, you can create glow-in-the-dark dog balls that shine even when the sun goes down.
Not only does this save you the hassle of searching in the dark, but it also gives your pup more playtime opportunities after dusk. Plus, making your own means extra savings for splurging on that fancy dog treat. Let’s light up your pup’s night!
Materials Needed:
- Plain rubber or tennis balls (make sure they’re dog-safe)
- Non-toxic glow-in-the-dark paint (water-based is best)
- Paintbrush or sponge
- Paper towel or newspaper (to protect surfaces)
- Optional: Clear sealant spray (for added durability)
Step-by-Step Instructions:
- Prep Your Workspace: Lay down some paper towels or newspaper where you’ll be painting the balls. Trust me, no one wants glow-in-the-dark paint splatters on the kitchen table.
- Choose Your Paint: Grab your non-toxic glow-in-the-dark paint. It’s important that it’s safe for pets, so double-check the label. If you’ve got a color preference, most brands come in a variety.
- Apply the First Coat: Use your paintbrush or sponge to apply an even coat of paint to the ball. Make sure you cover all the surfaces so it glows evenly. If you accidentally paint your fingers in the process, don’t worry; it’ll wash off later.
- Let It Dry: Allow the first coat to fully dry according to the paint instructions. This usually takes about 1-2 hours, so it’s a great time to scroll through some dog memes or maybe take your pup for a walk.
- Apply a Second Coat: For an even brighter glow, add a second coat of paint. Same as before, just make sure to cover the entire surface. Then, let it dry completely again.
- Seal It Up (Optional): If you want added durability for outdoor fun, spray a clear sealant over the paint once it’s dry. This step helps protect it from wear and tear, especially for tough chewers.
- Playtime!: Once everything is dry (give it a day if you’re using sealant), head outside or inside to play! Your furry friend will love fetching their new glowing toy, and you’ll love not playing the “find the ball” game in the dark.
Optional Add-ons/Variations:
- Mix and Match Colors: Try using different shades of glow-in-the-dark paint for a rainbow effect. Your dog can have a whole arsenal of funky or fancy balls.
- Personalize It: Add your pup’s name or a fun design with a permanent marker or additional paint once the base layer is dry. Just make sure the markers are also non-toxic!
Pro Tip:
If you’re looking to save some cash, check out local dollar stores for rubber balls. They often have them in bulk at a fraction of the cost.
Plus, with the glow-in-the-dark paint, your cheap finds will look like a million bucks (or at least a bit more than their original price). Just remember, the better the paint jobs, the more shine—so don’t skimp on those coats!
Extra Tips & Ideas
When you think of extra tips for creative dog toy designs, plenty of ideas might pop into your head. Ever considered using old tee shirts for tug toys? Just cut them into strips, braid them, and voila! You’ve got an entertaining chew toy.
If you have an empty plastic bottle, toss it in a sock, tie it up, and you’ve got crinkly fun. Plus, adding peanut butter inside a tennis ball offers your pup an irresistible treat.
Remember to personalize your designs based on your dog’s preferences. Think about what makes them wag their tail.
And let’s be real, you might create a masterpiece—or a complete disaster. Either way, your pup will love it, and that’s all that counts, right?
Frequently Asked Questions
What Materials Are Used in These Creative Dog Toys?
You’ll find creative dog toys made from durable rubber, soft plush fabrics, recycled materials, and non-toxic plastics. These materials guarantee safety, longevity, and engage your dog’s instincts while providing endless fun and entertainment.
Are the Toys Safe for All Dog Sizes?
These toys are designed for all sizes, from tiny pups to gigantic furry friends. They’ve got safety in mind, ensuring every wagging tail can enjoy them without a worry. Your dog’s happiness matters most!
How Should I Clean These Dog Toys?
You should clean dog toys regularly by rinsing them in warm, soapy water. For rubber toys, consider running them through the dishwasher. Always check for wear and tear, replacing any damaged toys to guarantee your dog’s safety.
Do These Toys Promote Interactive Play With My Dog?
These toys spark your dog’s curiosity, encouraging lively games of fetch and tug. Imagine the joy on their face as you both engage in playful adventures, strengthening your bond while keeping them active and entertained.
Can I Customize the Toys for My Dog?
Yes, you can customize the toys for your dog. Many brands offer options to personalize colors, sizes, or even add your pup’s name. This way, you create a unique toy that suits your dog perfectly.
Conclusion
So, there you have it—ten creative dog toy designs that are sure to keep your furry buddy entertained and engaged. Did you know that dogs with interactive toys are 33% less likely to develop behavioral issues? Pretty wild, right? Imagine how much fun you’ll have watching your pup figure out those treat-dispensing toys. Plus, you’re bonding over playtime while showing off your crafty side. So grab those materials, and let the toy-making adventure begin—your dog will thank you!

Hi, I’m Ali Tarek, the founder of Animalsman. I’ve always been passionate about pets, especially dogs and cats, and I created this website to share practical tips, easy recipes, and helpful care advice for fellow pet lovers. My goal is to make pet care simple, enjoyable, and accessible for everyone. When I’m not writing or curating content, you’ll usually find me spending time with my furry friends or learning new ways to keep them happy and healthy.