This post contains affiliate links. If you purchase through these links, I may earn a small commission at no extra cost to you.
Your dog may give you those puppy eyes when you walk past his bowl and look at his treats. But when you pick up one of the store bought treats and start to read the ingredients you cant even pronounce. Not only are the soft treats a small fortune and only last a week.
Rewarding your dog without breaking the bank or putting their health at risk. Who has the time to become a dog treat expert when you are also trying to keep the fur off your cream-colored sofa?
Homemade dog treats take less time than it does to run to the coffee shop in the morning! You will know exactly what is going into your dog’s body. No mystery meat or artificial colors in her meals that clash with your aesthetic sensibilities.
These 10 irresistible homemade soft dog treats use simple ingredients such as pumpkin, peanut butter and sweet potato. You wont have a disaster zone in your kitchen, they can also be stored in those pretty glass jars you may have on your kitchen counter. And the best part, they are softer than any of the treats you can buy at the pet store, great for training or older dogs with sensitive teeth.
Not Feeling the DIY Vibe?
If you’re short on time, sometimes it’s easier to skip the mixing bowls altogether. Or if you prefer store-bought treats, Just Food for Dogs makes great fresh, whole ingredient treats that would be comparable to making your own (currently 50% off for your first order).
For those days when your training pouch is empty and you need treats NOW, grab a variety pack of soft training treats to test what motivates your dog most while you prep your homemade batches.
Otherwise? Let’s bake.
#1: Sweet Potato Training Bites
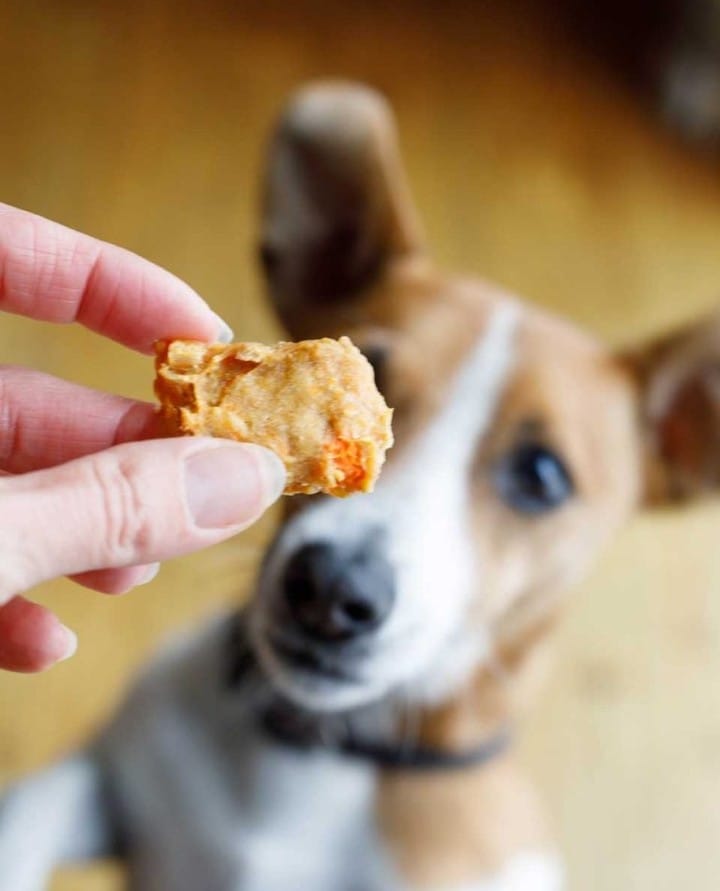
Why they work: The dog tears into the piece and eats it in two seconds flat, then he looks at me, sits, and waits for the next command. I like treats that the dog can swallow very quickly.
My 12-year old lab, with 3 missing molars, inhaled 15 of these in a row without once stopping to chew one.
What you need:
- 1 cup mashed sweet potato
- 1/2 cup oat flour
- 2 tablespoons coconut oil
How to make them:
Mix until you get a thick Play-Doh like paste, form into half inch logs and slice into pea-sized pieces. Place on a baking sheet and bake at 250 degrees F for 35 minutes. They will feel slightly sticky when you touch them- the moisture keeps them chewy for up to 14 days if refrigerated.
Yield: 200 treats
The texture secret:
I’m not the biggest fan of these, they’re a bit more firm than store bought, but softer than wet food. You can cut them into rice-grain sizes for small mouths for 400 micro-rewards per batch.
My little terrier did 50 perfect recalls in 20 minutes. She would swallow the reward instead of chewing her hard biscuits for 30 seconds.
Pro tip: Half of the batch I freeze. They thaw very quickly, and don’t get freezer burn.
📸 Photo credit: Instagram @thisdogslifesite
#2: Chocolate-Dusted Sweet Potato Bites
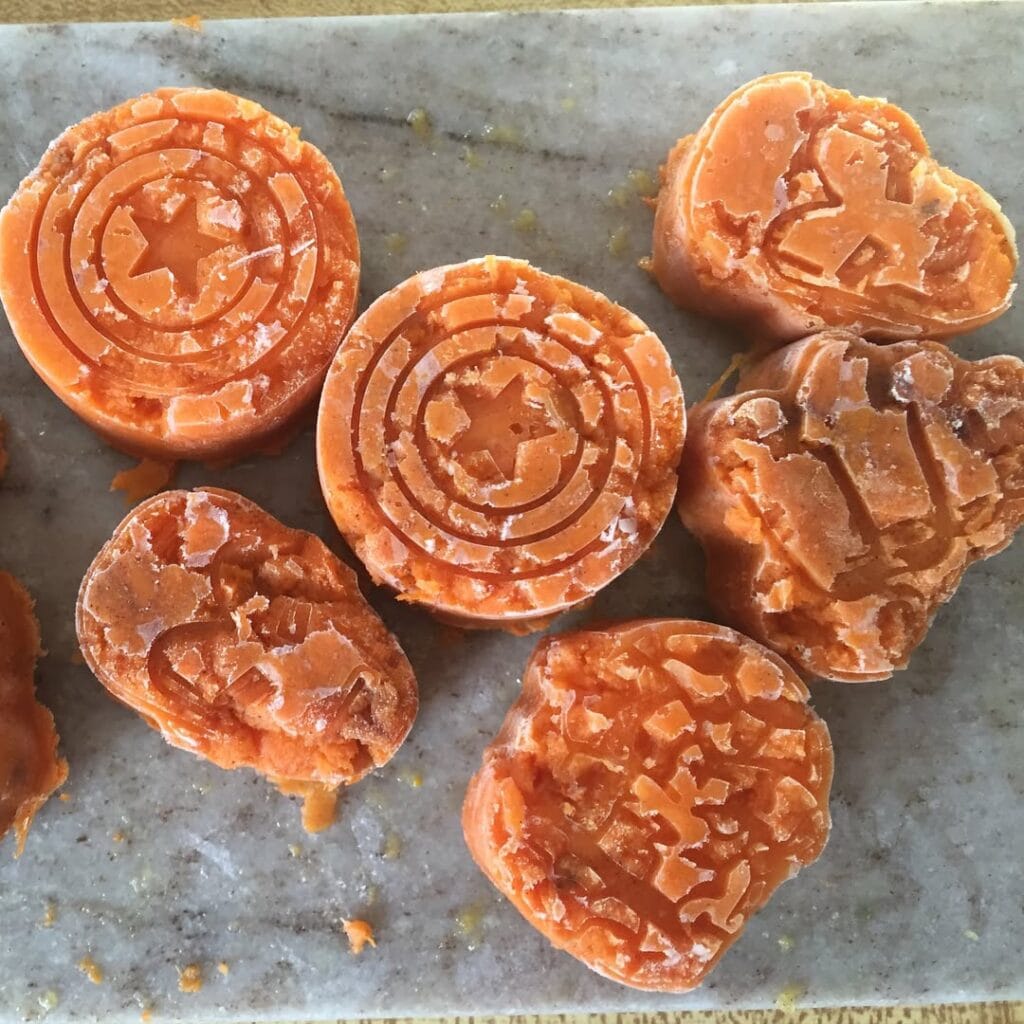
Why they work: My border collie needs 50 rewards per training session. The crunchy biscuits killed the momentum so I used these ones. They dissolve in 2 seconds so it’s easy to rapid fire treats.
What you need:
- 2 cups mashed sweet potato
- 1/2 cup carob powder (NOT chocolate—it’s toxic to dogs)
- 1/4 cup coconut oil
- 3 tablespoons tapioca starch
How to make them:
Mix well, until thick Play-Doh consistency. Roll into logs, slice into dime-sized pieces. Bake at 250 degrees for 45 minutes.
Yield: 120 treats
Why carob matters:
And it gives you that “dusty” coating you see in the photo so that the dogs are really drawn to the smell and can smell the treats from 10 feet away. They remain pliable like fruit leather and are not hard like a dehydrated treat.
Our oldest Aussie, with 3 missing teeth, ate 15 in about 20 minutes without struggling to chew them. The coconut oil keeps them moist, and not as hard as the shell that ruins most homemade treats.
Storage: Refrigerate, covered, for up to 2 weeks or freeze for up to 4 months.
Pro tip: Freeze in silicone ice cube trays. This is a great option for those who want to take one cube out a day for a portion controlled session but do not want to defrost the entire batch.
📸 Photo credit: Instagram @therawsomeeffect
#3: Sweet Potato Training Coins
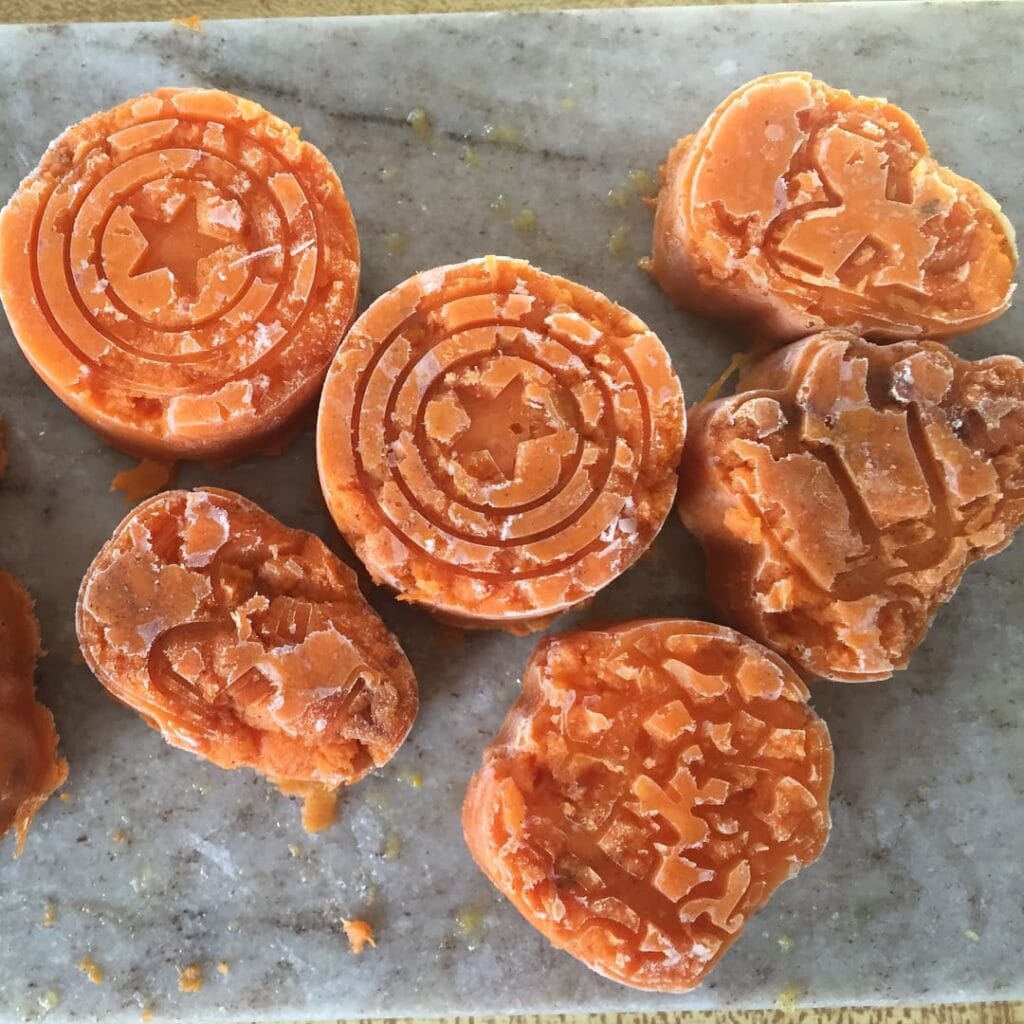
Why they work: My border collie completely ignored me until I cut them into dime sized pieces. He did 47 perfect watch me commands in 15 minutes because he could swallow one piece in 2 seconds and refocus on me instantly.
What you need:
- 2 cups mashed sweet potato
- 1/4 cup coconut oil
- 1/2 cup tapioca starch
- 2 tablespoons beef broth powder
How to make them:
Mix into thick dough, roll into logs about 1 inch wide, slice into coins, dry at 145 degrees F for 6 hours. They are soft enough to eat like fruit leather and will soften to the point where they can be cut into rice-grain sized slices.
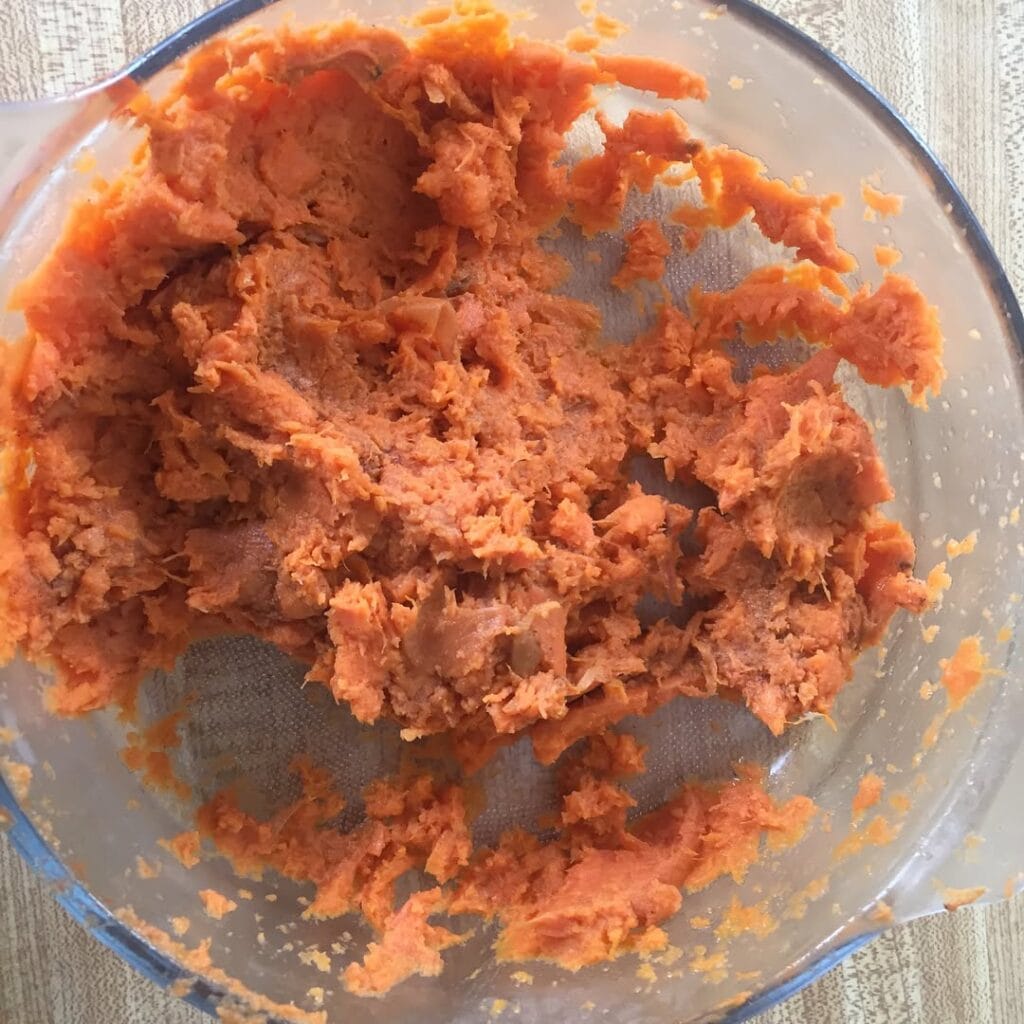
The coconut oil trick:
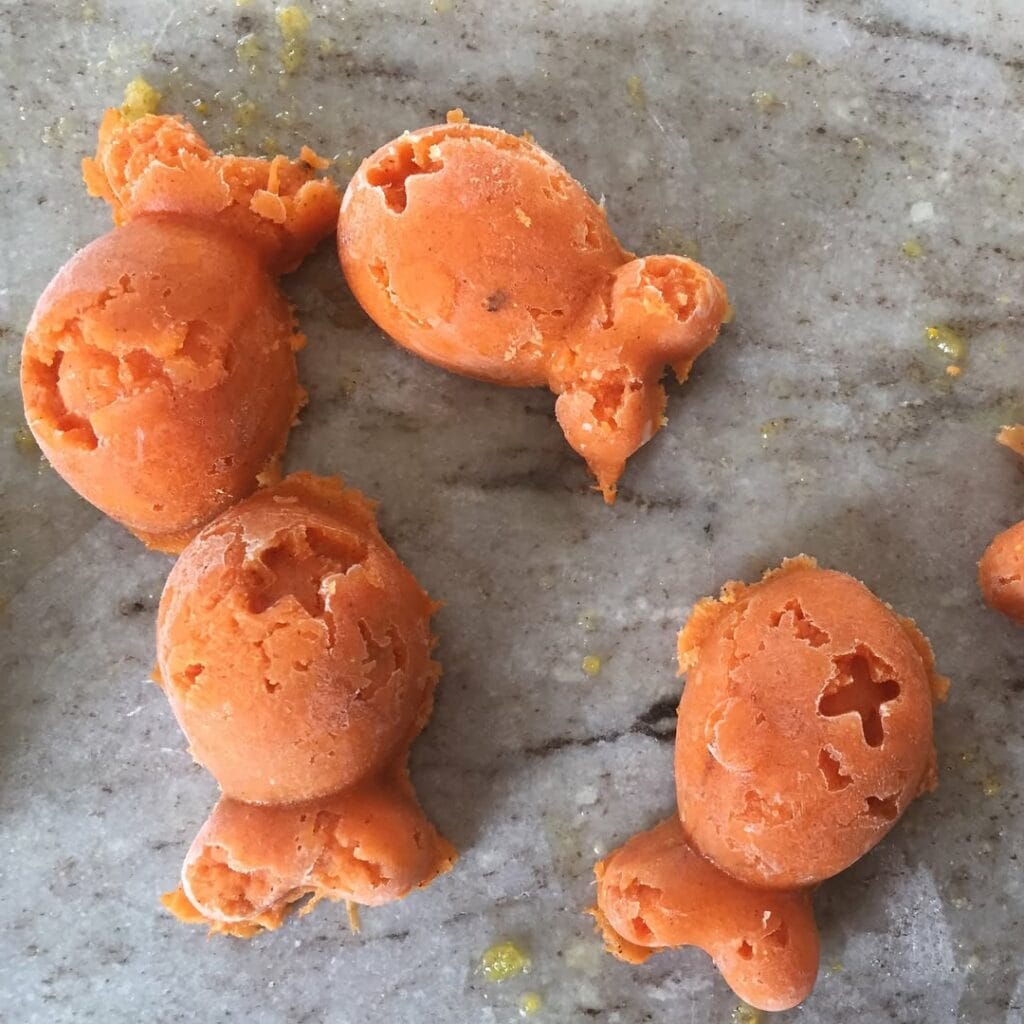
It will not harden, so you can refrigerate them for up to 3 weeks without them becoming crispy. This way you can prepare them once and then consume them every day throughout the month.
My three dogs always choose these over the store bought ones any day! They can smell the sweet potato from the other room!
Pro tip: BONUS: Freeze half of your batch in the bag (and thaw in 10 minutes), to enjoy that perfect chewy consistency.
For more simple recipes, that I have posted using similar techniques try these Homemade Dog Biscuits Recipes.
.
📸 Photo credit: Instagram @dogpiletv
#4: Pumpkin Oat Bones
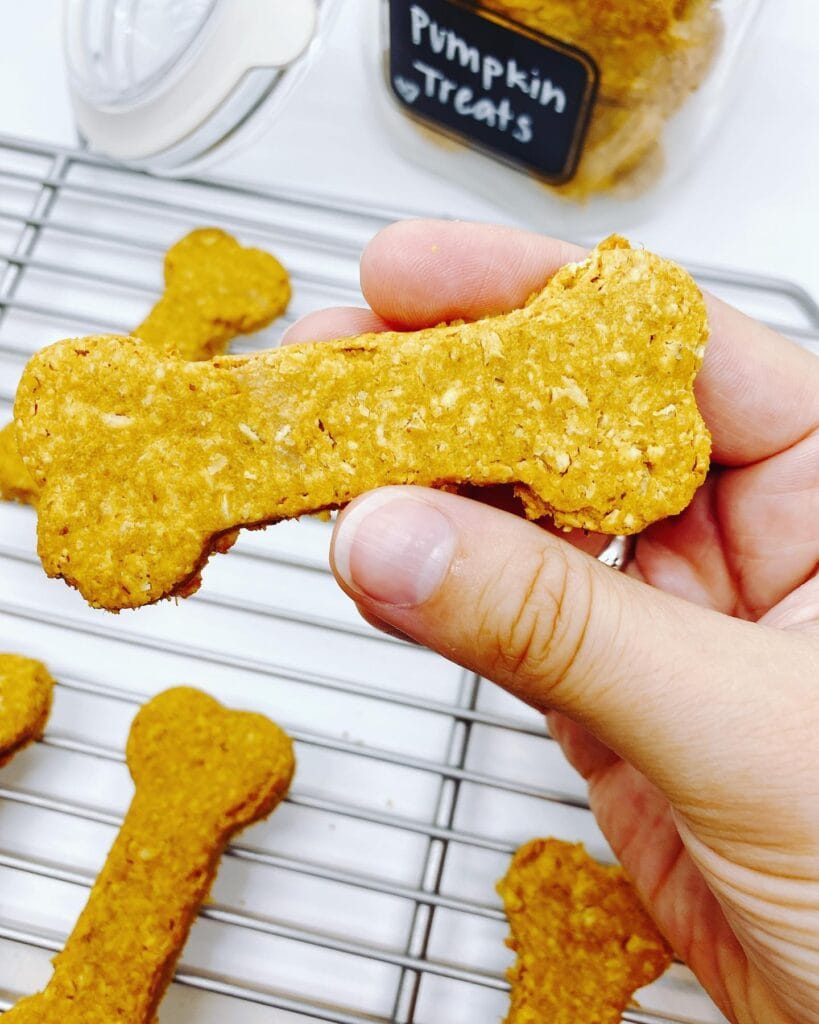
Why they work: I am not a big fan of store-bought treats, so I like to make my own. Especially when I am doing a lot of training each day, the store-bought ones disappear quickly! These stay chewy for 14 days in the fridge and I can make a batch for a few pennies.
What you need:
- 1 cup pure pumpkin puree
- 2 cups oat flour
- 1 egg
- 2 tablespoons coconut oil
How to make them:
Mix until thick like cookie dough. Roll out to quarter-inch thickness. Cut into bones (or half-inch squares). Bake at 250F for 35 minutes (will feel slightly sticky when ready, this will help keep them soft for the puppies when they are teething and older dogs that are missing molars).
Time breakdown:
- Prep: 15 minutes
- Baking: 35 minutes
- Yield: 100 treats
Texture comparison:
These are not so big as a commercial puppy treat, but not as mushy as actual pumpkin. They are firm enough to hold their shape in your pocket but can be torn apart into little pieces no bigger than rice grains. Your dog will finish them in 2 seconds, and not to mention that there’s no need for distraction to your dog when you need to call him.
Storage: Left in airtight container in the fridge, they will stay moist and the biscuits will turn hard rock solid. Keep half in the freezer for a month of supplies.
Critical note: Don’t overbake, or it will lose its chewy-ness. Overbaked biscotti will make your dogs gaze longingly at you because they want to go outside and play.
📸 Photo credit: Instagram @lesswithlaur
#5: Frozen Mint Yogurt Bones
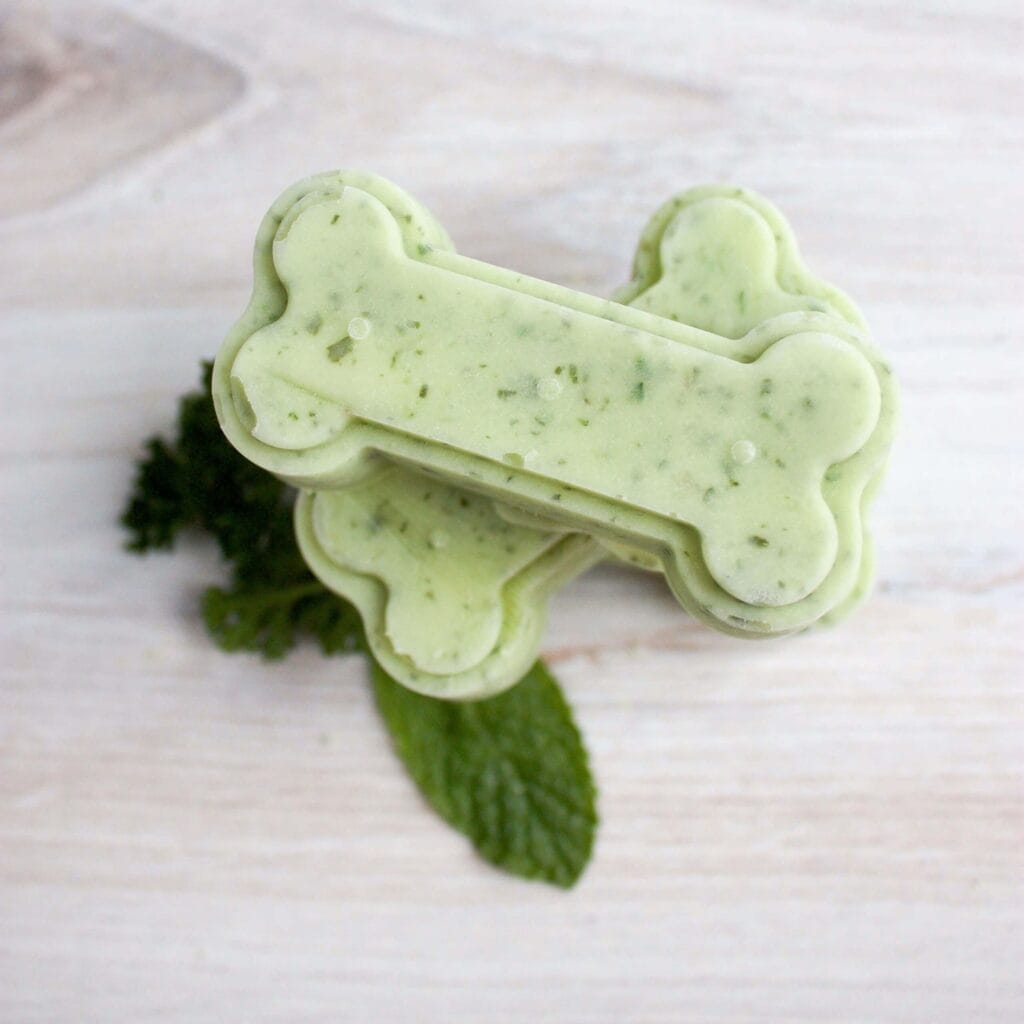
My golden retriever has another amazing training session today. She had 37 “stays” in a row and did not break focus. Those frozen yogurt bones are so soft and so yummy they only take 3 seconds to eat.
What you need:
- 2 cups plain Greek yogurt
- 1/4 cup finely chopped fresh mint
- 1 tablespoon honey
How to make them:
Mix all ingredients together until the mint is well distributed, Pour into bone shaped silicone molds, then freeze for about 2 hours, Pop them out and store them in a freezer bag for up to 4 months.
Yield: 24 medium bones
The probiotic advantage:
They melt into a creamy texture on your dog’s tongue, smoother than store-bought training treats but substantial enough to feel like a real reward. The mint freshens breath and the yogurt’s probiotics help support your dog’s digestion so he gets healthier guts to go along with his training wins!
My border collie with sensitive teeth ate 6 of these while we were at the park. Not a single bite of struggle, she just licked and swallowed.
Variation: Pumpkin puree works great too, for those dogs that don’t like mint. Also check out some homemade peanut dog treats for more flavor ideas.
Pro tip: Break a frozen bone into pea-size chunks for quick training treats. One bone turns into 15 micro-treats.
📸 Photo credit: Instagram @theproducemoms
#6: Heart-Shaped Veggie Bites
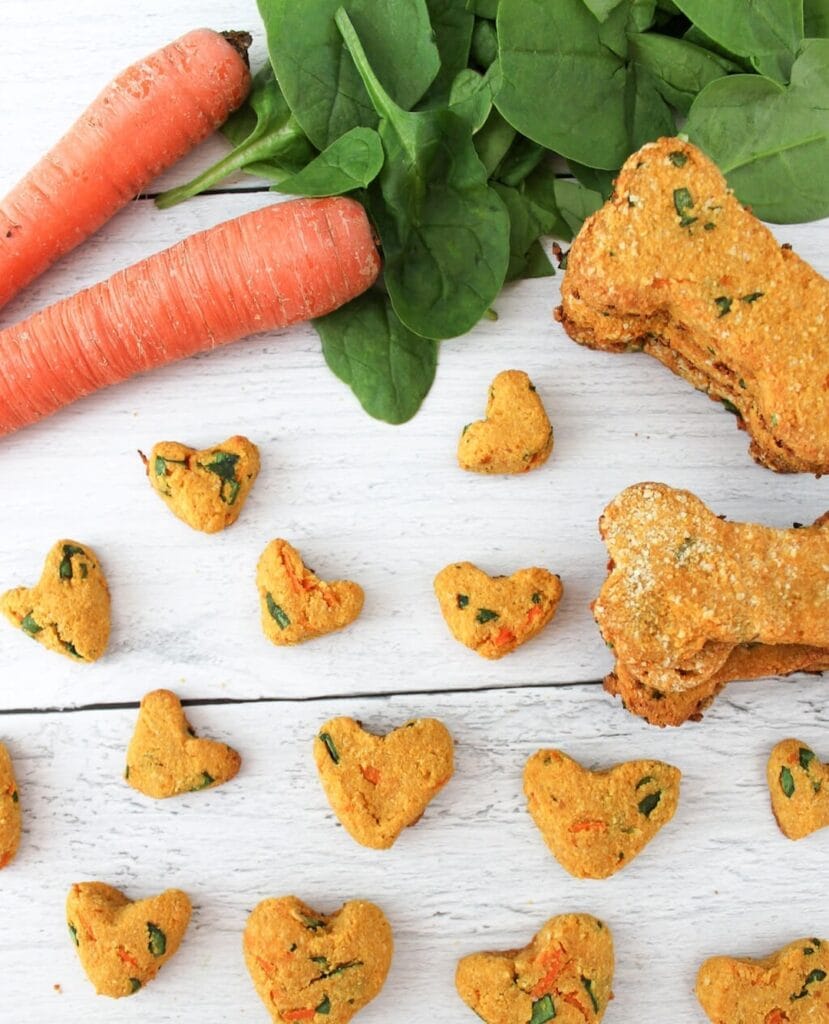
my little distraction queen ignored me at the park until i pulled out these orange carrot hearts and then sat on command five times in a row!
They are nice and pliable in your pocket and can be easily torn into pea-sized pieces giving you 200+ micro-rewards from a batch.
What you need:
- 2 cups finely grated carrots
- 1 cup baby spinach (chopped)
- 1 cup oat flour
- 1/4 cup unsweetened applesauce
- 1 egg
How to make them:
Whisk until mixed. Roll to 1/4 inch thick and cut into shapes. Bake at 250F for 35 minutes. Cookies will feel slightly springy to touch, but will hold their shape. Store in an airtight container.
Why low temperature matters:
You can also bake them at a lower temperature so they stay moist. I like these crisp just enough to be able to break apart and not crumble, but my 80+ year old mom with dental problems can easily chew one up in 3 seconds. My 100 pound crazy hound works a little harder to get the sweet carrot smell.
Storage: They will stay moist in the refrigerator for up to two weeks. You will want to store them in an air tight container with wax paper between the layers so they do not stick to each other. This makes it easier to grab one at a time to throw to your dog during the rapid-fire training.
📸 Photo credit: Instagram @thisdogslifesite
#7: 3-Ingredient Sweet Potato Chicken Bites
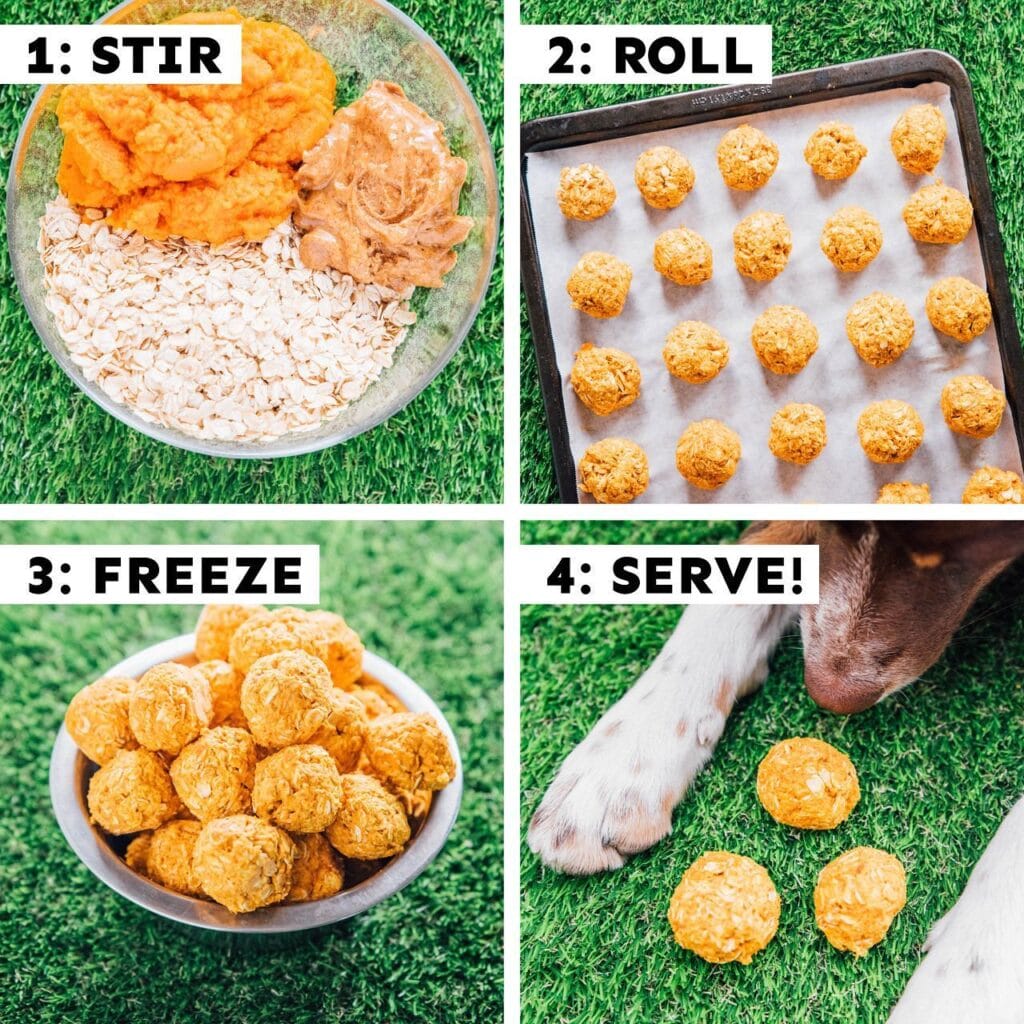
Why they work: My reactive dog spent the walk staring intently at the dog park fence, until I threw out one of my orange balls. He gulped it down in two seconds, sat down, and looked at me like I’d just presented him with a Michelin-star meal.
This is the power of using soft, high-value treats during training.
What you need:
- 1 cup mashed sweet potato (one medium potato, microwaved 5 minutes)
- 1 cup shredded cooked chicken (rotisserie works great)
- 2 tablespoons creamy peanut butter
How to make them:
Mix the mixture in a bowl until it is quite thick, like thick hummus. Roll into small marble sized balls, you will get about 35 treats. Place the balls onto a baking sheet lined with parchment paper and freeze for 2 hours.
Prep Time: 10 minutes
The freezer advantage:
Not only are these treats slightly squishy even when frozen (so your dog can bite through immediately without having to chew for 30 seconds), but they stay moist for 3 months in the freezer and give off the enticing smell of chicken from 15 feet away.
My senior with three missing teeth devour these without any struggle. I usually only give him one of these during training sessions, but there are about 8 calories in each one.
Storage tip: I wrap mine in parchment paper so they don’t stick together. I put three in my pocket before I go for a walk and they will thaw to room temperature in 10 minutes and smell like chicken.
For an easier 3-ingredient treat, try these Homemade Easy Peanut Butter and Banana Dog Treats.
.
Pro tip: If you’re training heel with a puppy or another dog who gets distracted easily, you may want to roll the extras into pea-sized pieces.
📸 Photo credit: Instagram @yourdogsfavoritefoodblog
#8: No-Bake Hazelnut Cookie Dough Rolls
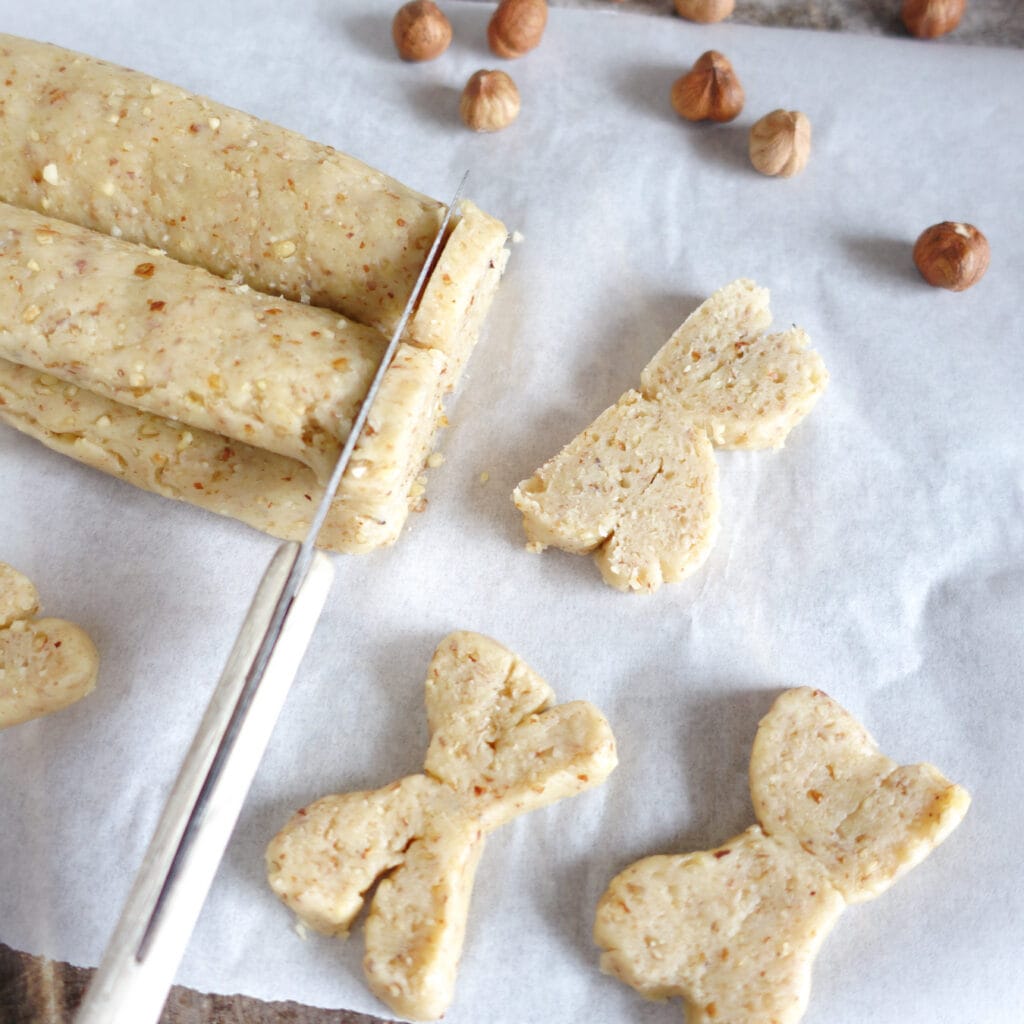
Why they work: My border collie Cooper smelled these and ran through the dog door (he’d never been that excited by a treat from the store).
These rolls are very soft, like fruit leather. You can slice them with a butter knife but they are firm enough to hold their shape in your pocket. These are great for puppies or seniors with baby teeth or missing molars because they can be torn apart without being hard chewed.
What you need:
- 1 cup ground hazelnuts
- 1/2 cup oat flour
- 1/4 cup peanut butter (xylitol-free)
- 2 tablespoons honey
- 1 egg
How to make them:
Mix all the ingredients together until they are a thick consistency like cookie dough. Roll dough into 1-inch logs and place on a piece of parchment paper. Refrigerate 2 hours or until firm. Slice into coins that are a ¼ inch thick.
Yield: 120 treats
Why no-bake wins:
These stays moist in the fridge for 14 days (honey/peanut butter retain moisture more than biscuits), as oppose to biscuit in 3 days. I cut them into small pieces for training, Cooper can eat them in 2 seconds, and move on to the next command, so I can teach him new behaviors faster.
Storage: Store rolls whole in an airtight container. Slice only what you need to serve each day as they will stick together. Sliced rolls can be frozen for up to 3 months.
Pro tip: I love using mini cookie cutters when making any kind of cookies, so of course I was thrilled when I saw these. All of the cookies came out delicious and chewy and the different shapes make them perfect for special occasions.
📸 Photo credit: Instagram @khaleesi_theblackgsd
#9: Sweet Potato Dog Bone Biscuits
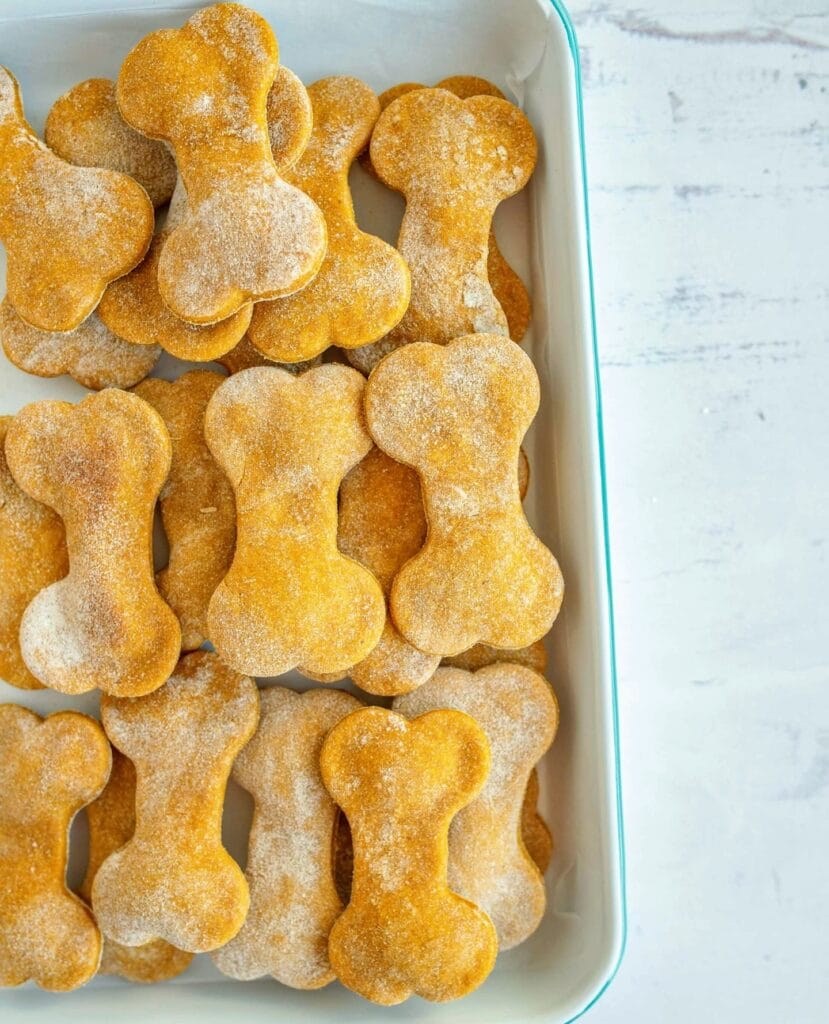
Why they work: Your Golden stares at you while he is chomping on a hard biscuit for 45 seconds. These treats are soft enough for your Golden to swallow in 3 seconds and refocus on you for the next command.
What you need:
- 2 cups sweet potato puree (one 15-ounce can)
- 1 egg
- 2 1/2 cups oat flour
How to make them:
Mix until it forms thick cookie dough. Roll it out to about 1/4 inch thickness and use a bone shaped cookie cutter to cut out cookies. Bake for 25 minutes at 300F. They come out a little soft to the touch. Harder than wet food, but easy for tiny little mouths to tear off for eating.
Yield: 60 treats (or 180 micro-treats when cut into thirds)
Temperature strategy:
But the lower temperature means they are more chewy than crunchy, so your senior with missing molars can easily eat them. Store in an airtight container in the fridge for up to 2 weeks, without hardening like regular biscuits.
My Beagle did 80 sits in 15 minutes without missing a beat!
Pro tip: Freeze half of this batch in single-serving bags, and thaw one bag every week so treats always smell fresh and exciting.
Click here for Homemade Dog Ice Cream Recipes for summer training sessions, using similar soft-texture technique.
📸 Photo credit: Instagram @blessthismessblog
#10: Peanut Butter Banana Mash Bites
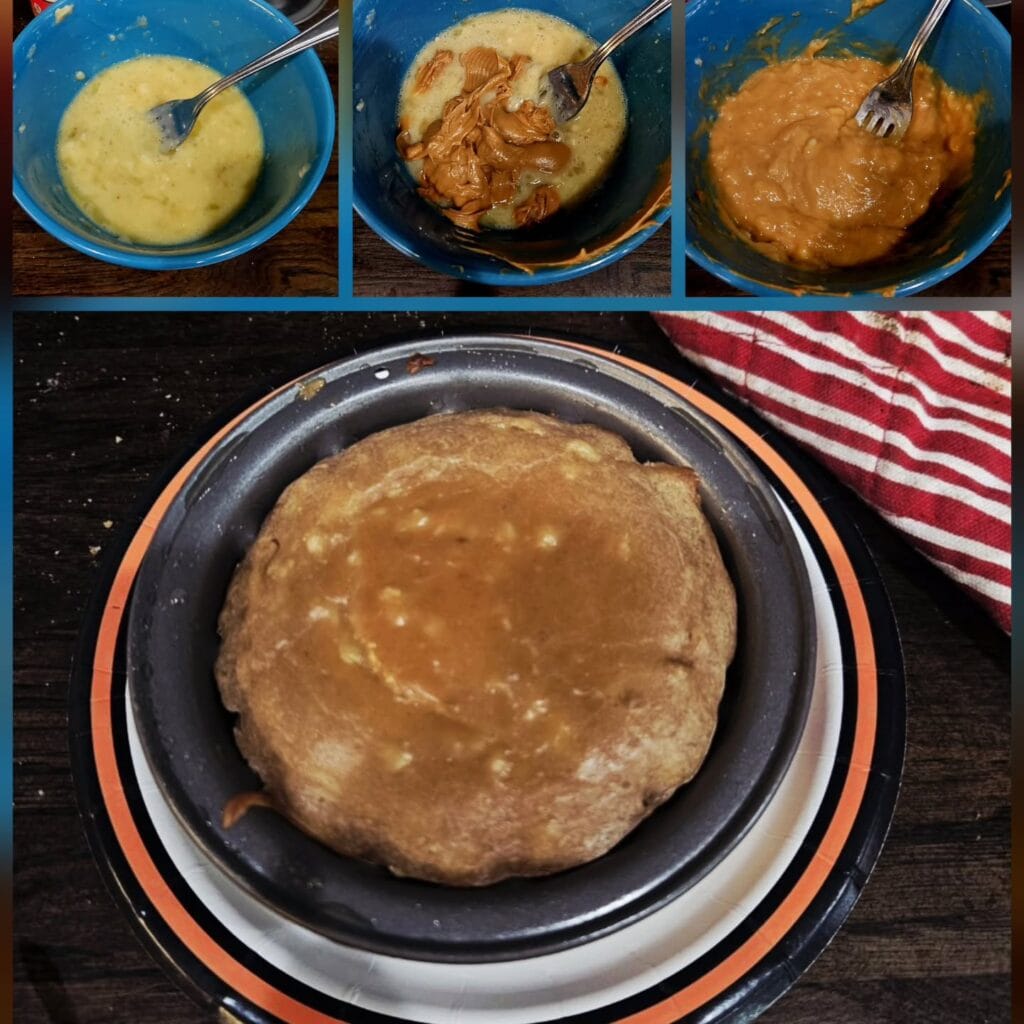
Why they work: These are perfect for dogs with loose teeth. My 12 year old Lab mix has been refusing some of her crunchy treats lately because she’s lost a couple of molars. She devoured these in seconds with absolutely no issue.
The consistency of the texture is between a baby food and thick hummus- soft enough to squish between your fingers but firm enough to slice into pea-sized pieces.
What you need:
- 1 cup mashed banana
- 1/2 cup natural peanut butter (xylitol-free)
- 1/4 cup coconut flour
How to make them:
Mix until dough is smooth and sticky. Spread 1/4 inch thick on a parchment paper lined baking sheet. Bake at 250°F for 25 minutes. Let cool completely. Cut into half-inch squares.
Time breakdown:
- Prep: 10 minutes
- Baking: 25 minutes
- Cooling: 15 minutes
- Yield: 200 treats
The moisture secret:
They stay soft like fruit leather because banana and peanut butter lock in moisture and coconut flour binds without drying out. Each treat is only 3 calories so you can reward your dog up to 50 times during one training session and not feel guilty about it!
These tear easily into rice-grain-sized pieces for puppies or toy breeds, and my Yorkie gets 8-10 of them per session.
Storage: Store in airtight container in the fridge for up to 2 weeks or freeze in portions for up to 3 months.
Pro tip: Freeze half your batch in silicone ice cube trays. Pop one out each day to use for your workouts.
📸 Photo credit: Instagram @marie.kathleen.78
Where to Buy Safe Ingredients
The peanut butter problem:
Always check labels for xylitol—it’s toxic to dogs and appears in many “natural” peanut butters. Look for xylitol-free options that list only peanuts and salt.
The coconut oil upgrade:
Unrefined coconut oil works in these recipes AND supports coat health when added to meals (1 tsp per 20 lbs body weight).
The fresh produce advantage:
My dogs can tell the difference between the sweet potatoes and pumpkin from the grocery store and the farmers market. Since these items are only in season for a short period of time, I always stock up on them and roast them all at once. I then freeze the puree in ice cube trays to have on hand at all times.
When you’d rather skip shopping:
If your dog loves ingredients, then Just Food for Dogs has all these whole-food ingredients pre-measured for you – USDA meats, organic vegetables, nothing scary.
Your Next Steps
You’ve got options:
The full DIY route: The recipes are all done in 10 easy steps. Once you’ve made all 10 recipes, you can rotate them each week for a different flavor. Your dog will never get bored of a new flavor and you’re in control of what ingredients you decide to use!
The hybrid approach: Looking for the best superfood snacks and meals for dogs? The Everfattening Bake Sweet Potato Bites are a daily training treat for a super hero dog. For those busy days that you need something quick and easy you can’t go wrong with Just Food for Dogs meals.
I was in a huge rush and decided to just stock up on some of those frozen treats for the boys and just tear them into training size pieces.
Want more recipes?
- Homemade bacon dog treats for special occasions
- 2-ingredient dog treats when you’re short on time
- Banana dog treats for sensitive stomachs
Pin that recipe and tag me when your pup eats his first one!! Which flavor are you testing out first??

Amr Mohsen is a software engineer who traded his keyboard for a leash — at least on weekends. His love for dogs inspired him to share what he learns as a dog owner and enthusiast, bringing a detail-oriented, research-driven perspective to every article he writes. If it’s about dogs, he’s probably already looked it up twice.