To watch your beloved dog going through surgery is quite an emotional experience. As any pet owner would know, dogs often have the natural urge to lick or scratch their stitches, which can slow down the healing process. If you wish to prevent your dog from licking his/her stitches, you can opt for a traditional plastic cone, however, these can often make dogs feel stressed, restricted and uncomfortable.
For this reason, many pet owners are turning to a diy dog surgery recovery suit as a softer, more comfortable alternative. A well-fitted recovery suit allows your dog to move, rest, and eat more naturally. A recovery suit also can reduce anxiety by replacing the bulky cone with something lightweight and flexible.
These are just a couple of ideas to make a “recovery suit” for your dog. If you have any additional tips, please feel free to add them in the comments!.
#1: Soft Neck Support Recovery Suit
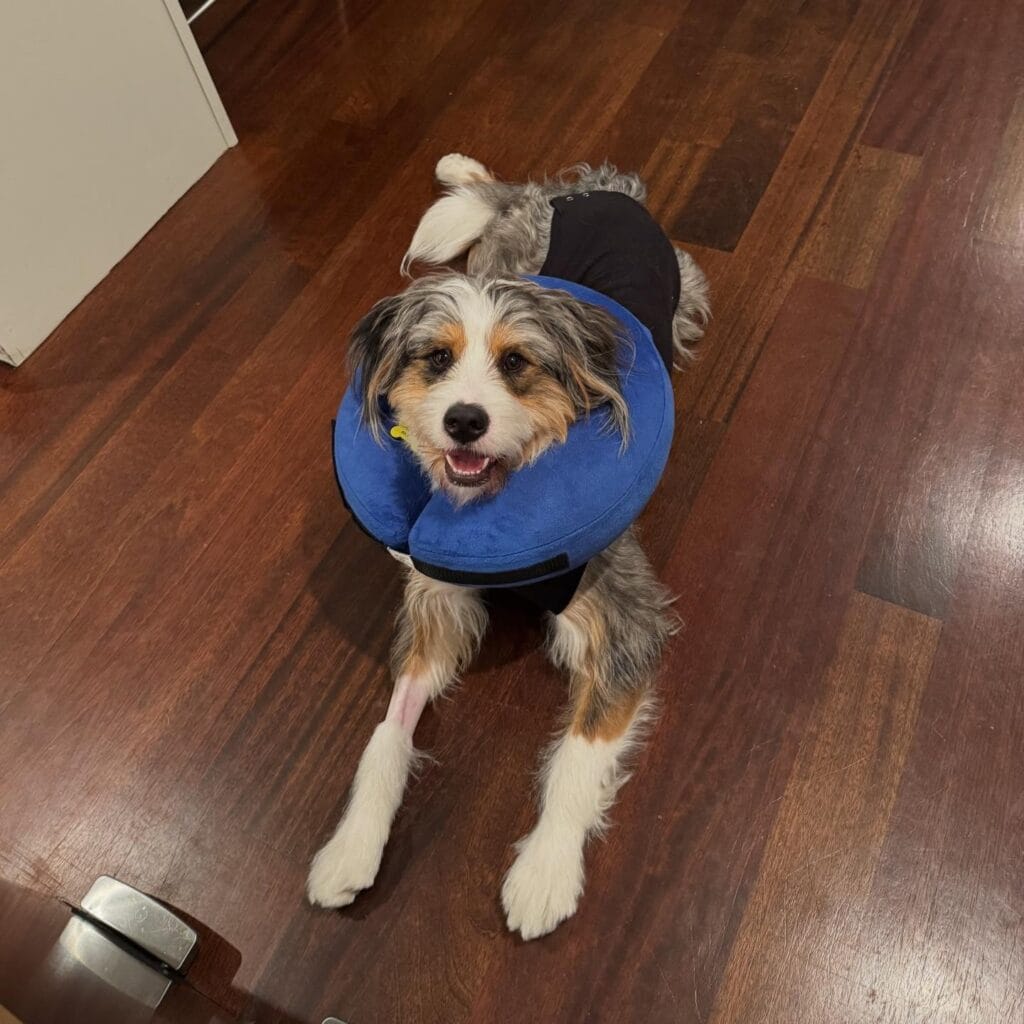
Some dogs get stressed out by the rigid plastic cone placed over their neck after surgery. A softer, donut-shaped neck cushion and a body suit can be placed over the dog for easy resting while recovering.
Materials & Tools You’ll Need:
- Soft foam neck pillow or inflatable neck collar
- Stretchable dog shirt or recovery vest
- Fabric scissors
- Adjustable Velcro straps
- Measuring tape
Prep Time: 15 minutes | Active Project Time: 45 minutes | Difficulty Level: Beginner
Instructions
Before you buy a dog armor, you should measure the circumference of the dog’s neck and chest to ensure that the suit is not too tight. Choose a soft, stretchable dog shirt or dog vest that covers the dog’s body.
Place the shirt on your dog and see where the neck pillow should sit in a comfortable spot around your dog’s neck. If necessary, use fabric scissors to trim off the excess from the neckline so that the pillow doesn’t push against your dog’s throat.
Tie a neck pillow onto the dog’s neck using adjustable Velcro straps attached to the outer collar area of the shirt. This will prevent the cushion from sliding or twisting when the dog is moving around the house.
Make sure that your dog’s recovery suit covers the surgical area but does not hinder them from walking, sitting or lying down. Watch your dog for a few minutes to make sure that they can move around and breathe easily.
This design keeps your dog from licking and is much more comfortable than a plastic cone. The soft cushion also supports the neck when your dog lies down.
Tip: Wear loose fitting, breathable fabric for your top layer to avoid overheating after a long recovery.
📸 Photo credit: Instagram @duke_the_bernedood
#2: Chest Protection Recovery Vest
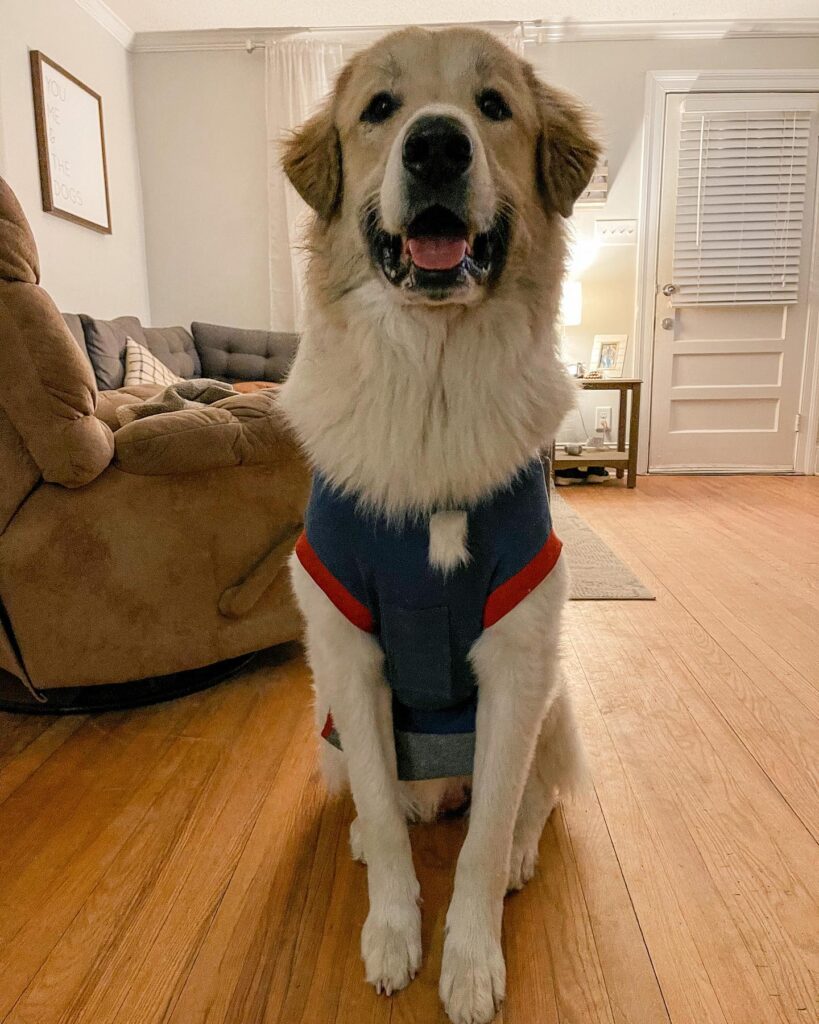
You may see your dog try to lick at the incision site after surgery on the chest or shoulders. Your dog is shown wearing a snug recovery vest that covers the chest while still allowing natural movement.
Materials & Tools You’ll Need:
- Stretch athletic fabric or dog shirt
- Sewing machine or fabric glue
- Elastic straps
- Soft padding fabric
- Measuring tape
Prep Time: 20 minutes | Active Project Time: 1–2 hours | Difficulty Level: Intermediate
Instructions
Measure your dog’s chest and length of his torso. Cut two panels of stretch fabric this length. These panels will wrap around the dog’s chest and back.
Sew or glue the panels together along the sides (leave enough space to insert the legs and neck). The idea is to get a snug, but flexible vest that will stay on the neck.
Place some soft padding inside the chest section for extra protection on top of the surgical site. Attach some elastic straps on the underside so it can be adjusted.
When your dog has their new vest, carefully place it on your dog. Adjust the straps until the vest fits snugly but not tightly. Make sure the vest isn’t shifting while your dog moves around.
A recovery vest like this helps to protect sensitive areas and lets the dog maintain normal posture and movement.
Tip: Take a few minutes to test the vest while your dog is walking around to ensure there is no rubbing or irritation.
📸 Photo credit: Instagram @everest_the_great
#3: Lightweight Sleeve Recovery Suit
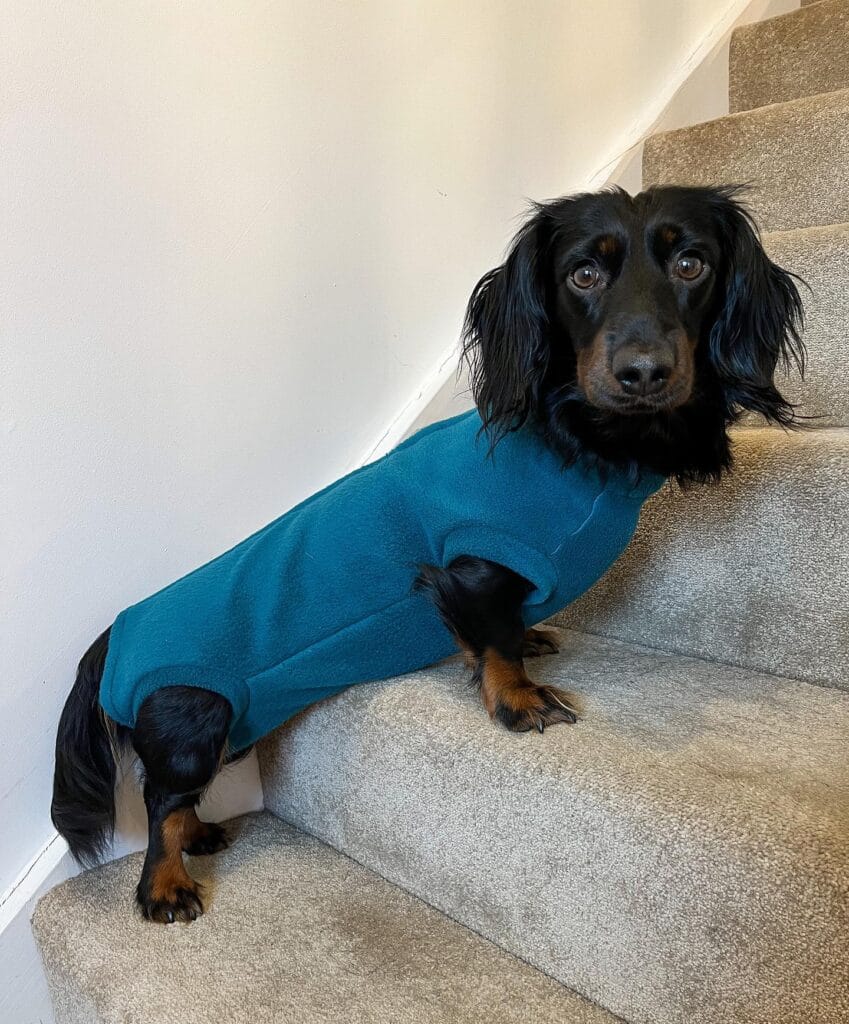
Some surgeries cause wounds on the sides or back of a dog. This dachshund is wearing a body suit for medical purposes, that covers the torso without restricting movement.
Materials & Tools You’ll Need:
- Soft fleece or cotton fabric
- Sewing pattern for dog clothing
- Fabric scissors
- Sewing machine
- Elastic bands
Prep Time: 25 minutes | Active Project Time: 2 hours | Difficulty Level: Intermediate
Instructions
Begin by laying the fabric flat and trace a simple dog shirt pattern that includes openings for the legs and tail. Make sure you take into account your dog’s body length and chest size.
Cut out the fabric and sew the edges together to make a tube-shaped body suit. Leave room for the dog’s legs so the suit fits around the shoulders.
Add a few elastic bands near the bottom and top of the belly to help the suit stay in place when your dog is walking around the house.
Place the suit on the dog and ensure that the area where the surgery took place is fully covered. Make small adjustments to the suit if necessary to ensure that it doesn’t bunch up or slip.
Light weight cover that allows dogs to move normally while protecting stitches from licking or scratching.
Tip: I like to use soft fleece with a bit of stretch. It’s comfortable for a dog lying down and gives a little bit of stretch.
📸 Photo credit: Instagram @hugoandted
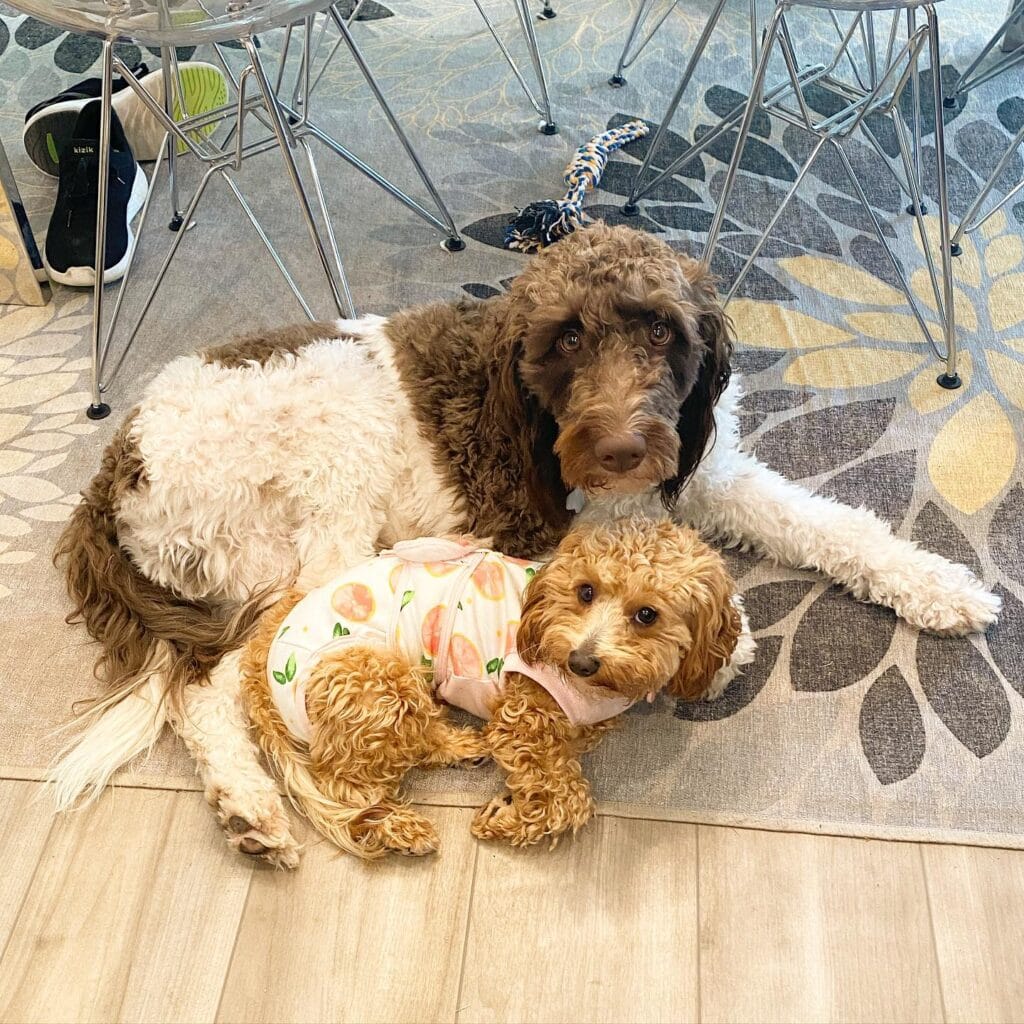
#4: Patterned Recovery Suit With Zipper Access
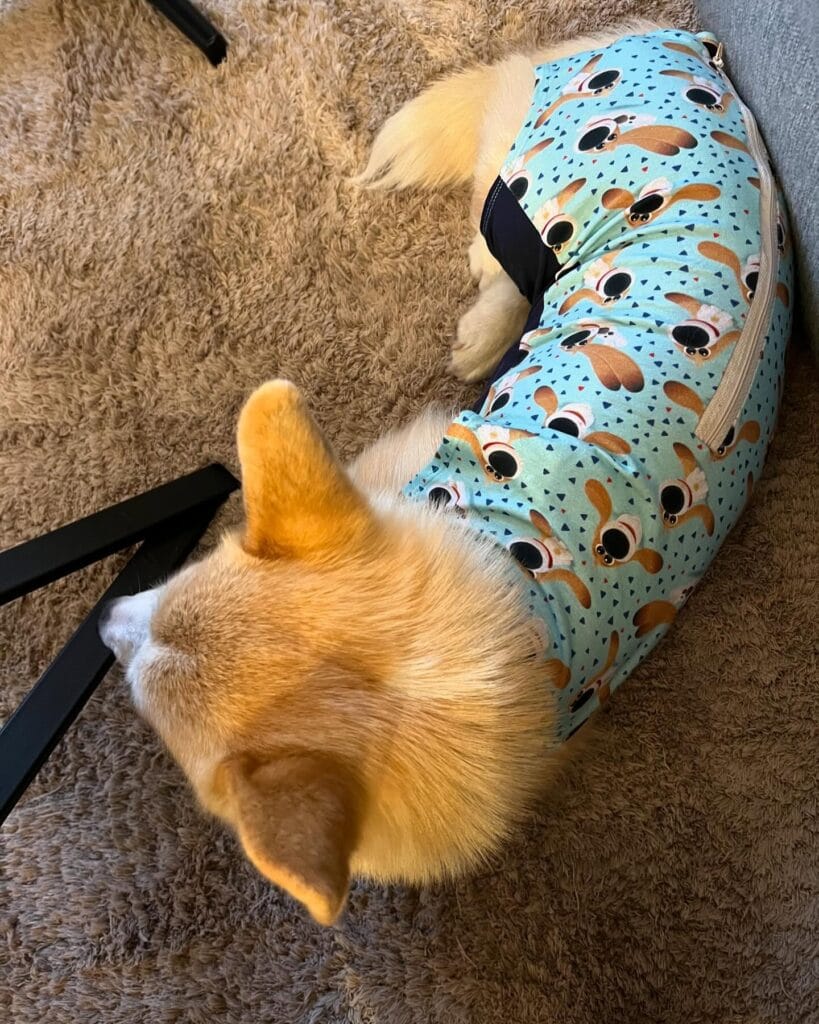
Some recovery suits may be handy for adding some extra bells and whistles. Like this one, it has a zipper at the back making it easier for owners to take off or adjust it.
Materials & Tools You’ll Need:
- Printed cotton fabric
- Zipper or Velcro strip
- Sewing machine
- Fabric chalk
- Measuring tape
Prep Time: 20 minutes | Active Project Time: 1–2 hours | Difficulty Level: Intermediate
Instructions
Mette hunden på medtjykket i hunden. Measures the length of the back, chest circumference and leg spacing. Draw with fabric chalk the suit pattern on the cotton fabric.
Cut out two of the same pieces of fabric, then sew them together along the sides and shoulders, leaving an opening in the center of the back to put the zipper in.
Again, be very careful sewing the zipper or Velcro strip here. This will allow your dog to be put in or removed easily without stressing them.
After the seams are finished, put the suit on your dog and zip it up. Make sure it is snug but comfortable.
The suit is probably a great idea. It makes it a lot easier to inspect wounds and to make adjustments as the garment heals.
Tip: Choose a fabric that can be washed. The suit may have to be cleaned often.
📸 Photo credit: Instagram @lupo_and_nuts
#5: Full Body Recovery Suit for Large Dogs
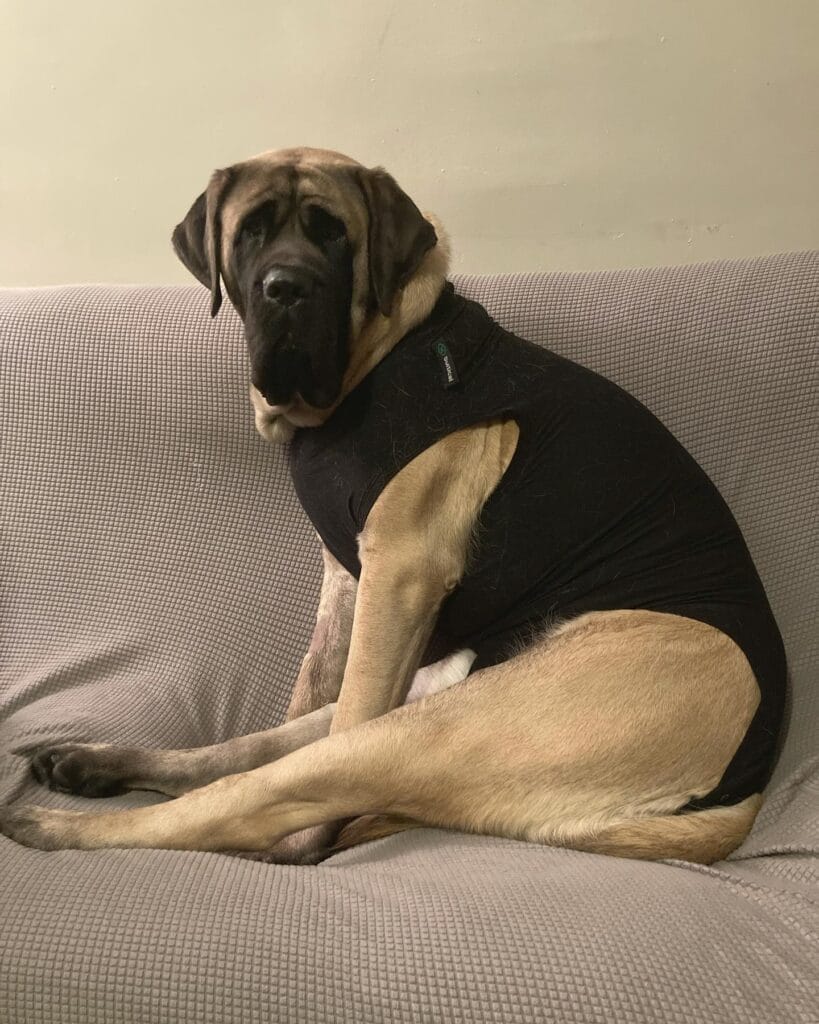
Large breeds are sometimes in need of a stronger recovery garment to cover the large surgical areas. This large dog is wearing a full body recovery suit to help stabilize and protect the patient.
Materials & Tools You’ll Need:
- Durable stretch fabric
- Heavy-duty thread
- Sewing machine
- Velcro straps
- Fabric scissors
Prep Time: 30 minutes | Active Project Time: 2–3 hours | Difficulty Level: Advanced
Instructions
Have your dog measured from the neck to tail and the chest. Cut out large panels of your chosen stretch fabric to these measurements.
Sew the panels together to make a full body suit with leg openings. I reinforced the seams with heavy-duty thread so the suit could stand up to some extra play from the big dogs.
Attach the adjustable Velcro straps to the belly area so the suit can be attached firmly but comfortably.
When it’s all done, you need to put the suit on your dog. Make sure that the suit is not too tight and you have adjusted all the straps correctly. You need to ensure that the suit is covering the surgical area and not restricting the dog’s breathing or walking.
This suit is best for large breeds and/or those recovering from major procedures.
Tip: Be sure to reinforce the seams on the belly of the tent since this is the area that gets the most stretching.
📸 Photo credit: Instagram @poppy.the.english.mastiff
#6: Comfortable Recovery Hoodie Suit
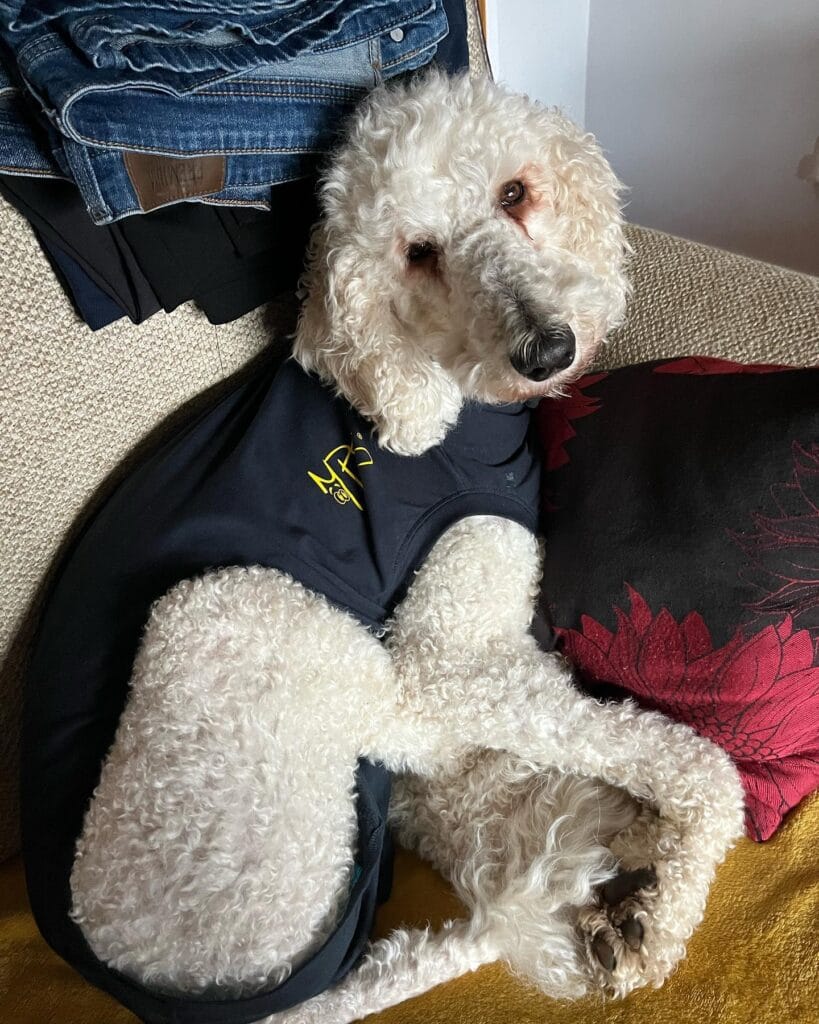
Some dogs feel more at ease if wrapped in soft clothing during their recovery. The poodle below is wearing a hoodie style suit to keep him warm and protected.
Materials & Tools You’ll Need:
- Soft sweatshirt fabric
- Dog hoodie pattern
- Sewing machine
- Elastic cuffs
- Fabric scissors
Prep Time: 20 minutes | Active Project Time: 1–2 hours | Difficulty Level: Intermediate
Instructions
Trace the hoodie pattern onto the sweatshirt fabric and cut out the pieces according to your dog’s measurements.
Sew the body first, and then attach the sleeves and hood. Make sure the leg openings are wide enough for you to move comfortably.
Add some elastic cuffs to keep the sleeves from sliding down. Place the hoodie on your dog and adjust as needed.
A recovery hoodie can provide warmth and comfort while keeping the surgical area protected.
Tip: You should also try our soft fleece-lined fabric during the colder months.
📸 Photo credit: Instagram @rosietheapricotpoodle
#7: Protective Suit Combined With Recovery Cone
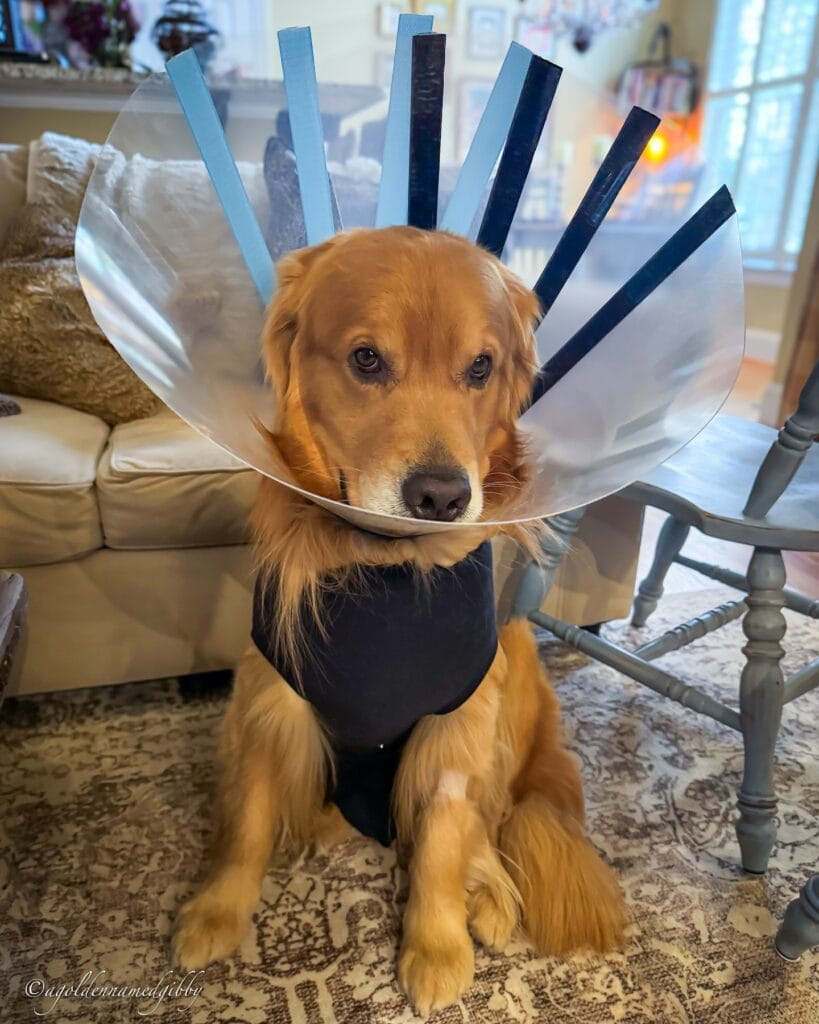
Sometimes a dog needs extra protection after surgery. The dog in this picture is wearing both a recovery suit and a protective cone for added safety.
Materials & Tools You’ll Need:
- Stretch recovery suit fabric
- Adjustable dog cone
- Velcro straps
- Sewing machine
- Measuring tape
Prep Time: 15 minutes | Active Project Time: 1 hour | Difficulty Level: Beginner
Instructions
Create a simple recovery suit which covers the torso and surgery area. Make sure it’s snug enough that nobody can get at the stitches.
After you put on the suit, put the adjustable cone around the dog’s neck. Make sure the cone does not press against the recovery suit or restrict breathing.
Watch your dog walk and rest to see if the combination will keep him comfortable while walking and resting.
If you are one of those owners who have a dog who is determined to reach his stitches, it is a good idea to use both methods of protection.
Tip: Remove the cone for supervised periods to allow your dog to relax.
📸 Photo credit: Instagram @agoldennamedgibby
Conclusion
Helping your dog get over a surgery can be a little tiresome. Taking care of it while it is in recovery can be tough. We understand how hard it can be to make your dog comfortable and safe. So, we thought of giving you an idea of what you can do to help your dog recover in the most comfortable way. We have come up with a diy dog surgery recovery suit for you so that your dog can be safe and comfortable!
I wanted to share this simple idea of using a simple vest, hoodie or full body suit to provide protection to surgical wounds to allow the dog to move and rest easily and comfortably. With a little creativity I hope you too can find a suitable option for your dog.

Amr Mohsen is a software engineer who traded his keyboard for a leash — at least on weekends. His love for dogs inspired him to share what he learns as a dog owner and enthusiast, bringing a detail-oriented, research-driven perspective to every article he writes. If it’s about dogs, he’s probably already looked it up twice.